|
Click on any picture to see a larger version.

|
|
Figure 1
|
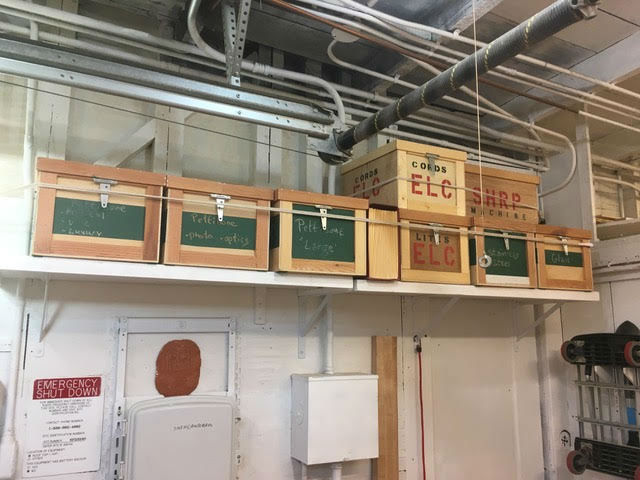
Building your own shop storage has a surprising number of factors that must come together for effective results. Consider these ten requirements:
-
Quick as well as inexpensive to make.
-
Container itself is relatively light.
-
Strong, for stacking.
-
Wastes little shelf space between containers.
-
Modular - yet modifiable.
-
Easy to pull off a crowded shelf.
-
Easy to identify contents.
-
Dust-proof.
-
Ideally, water-resistant.
-
If it looks good too, you won't get tired of staring at it day after day as you work.
Sure, cardboard file boxes and plastic bins meet many of those criteria. But I believe the approach I've developed will get you
all
the ten benefits above, with a minimal investment of effort and money.
Just one warning: upon completion, your snappy storage system may receive more impressed "oooohs and ahhhhhs" from shop visitors than the current project on your bench!

|
|
Figure 2
|
Raid the Scrap Bin
For starters, use scrap wood you already have laying around. One advantage of this design is that no piece of wood is longer than about 18 inches, and only 1.5" wide. That lets me cut out knots, splinters, and warp from whatever I've got.
Panels are best made from 1/4" ply. No need for Baltic Birch or anything fancy. Better yet, I've had good luck gluing up small leftover pieces into a larger panel (visible in the crate top pictured further below). I put down waxed paper on melamine, use a rub joint with
Titebond Quick & Thick Multi-Surface Glue
, weigh down the pieces, and let dry overnight. Trim to size later. By the time you add the edging, panels are perfectly strong. Note: I still suggest only using them for the top, where there is little stress.
|
|
Figure 3
|
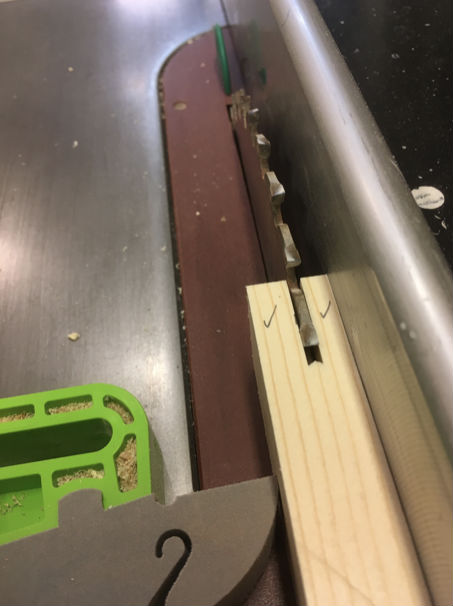
Prep the Panel Frames
Cutting your wood for panel frames and lid edging is simple: a standard table saw blade
is 1/8" so re-sawing a 3/4" piece of wood gives you a 3/8" strip for the frame and a 1/4"
strip for the top, with only one cut.
|
|
Figure 4
|

|
|
Figure 4A
|
The 3/8" framing on your two end pieces is plenty strong, but not overkill. It also
provides plenty of purchase for glue and nails when you add the plain (no framing)
panels for sides and bottom. Additionally, the 3/8" is perfect for gripping and lifting the
crate (tip: round off bottom edge to save your fingers).

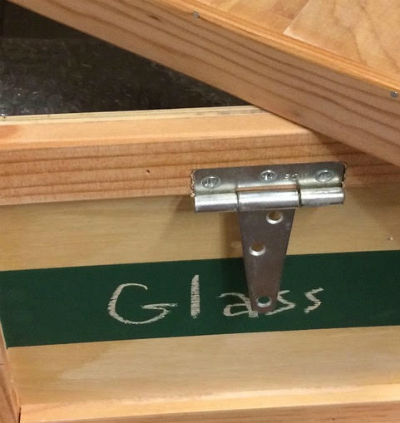
|
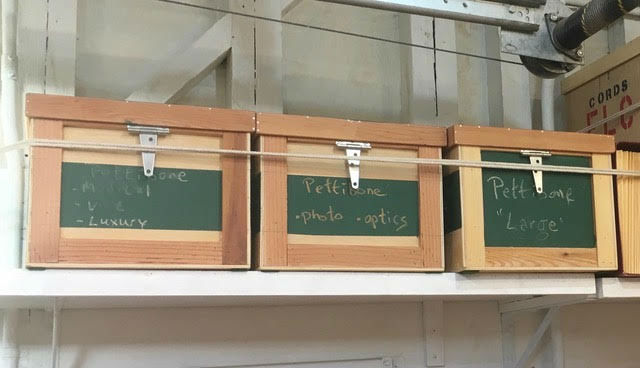
Figure 5 - Entire interior is available for storage; that is, no corner
braces in the way. Cross piece with t-hinge/pull strap has a rounded
bottom edge planed onto it to provide comfortable lifting.
|
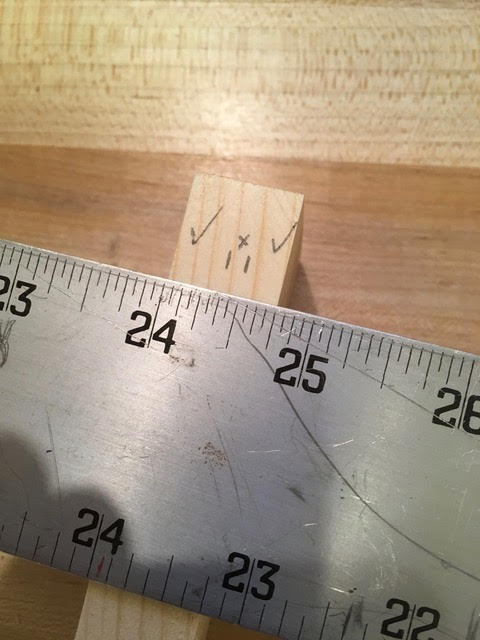
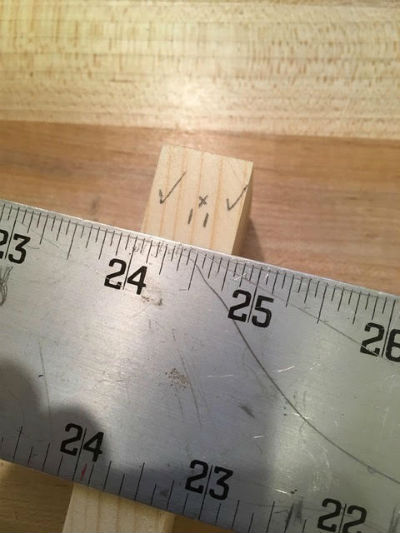
Cut Once, Build Thrice
I've found it most efficient to make 3 crates at once, and I pair each of the two end panels (marked with chalk) as I go. I trim the pair to exactly match on the table saw. This way any slight size variations are insignificant — just cut your sides and bottom to go with each individual crate.
Glue up everything with right-angle clamps for good 90-degree joints. With 3/8" thickness you'll have no trouble running your nail gun down the edges, well-centered. Do the sides first. Then, while the glue is still damp, immediately cut your bottoms (exactly to fit) and add them. Using the bottom panel like this ensures the boxes end up dead square. Where the bottom overlaps the two sides I hand-nail since you only have 1/4" (the plywood thickness). I run a pencil line 1/8" in from the edge, drill pilot holes, and use #18 5/8's brads (no heads). Don't skimp on the glue here.
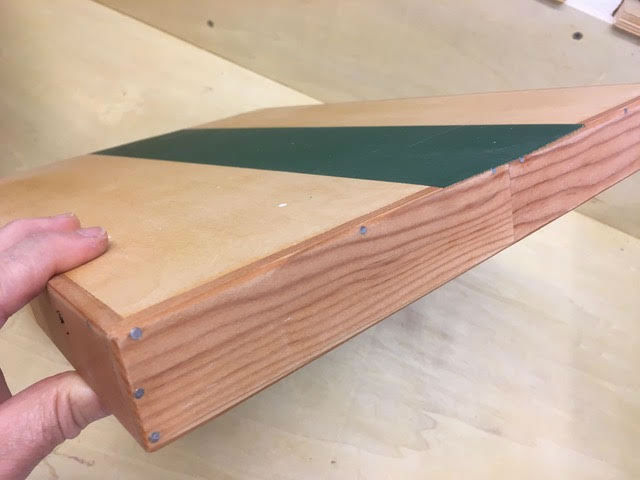
Put a Lid on It
Gather your rough panels (Figure 3) and 1/4" wood strips (Figure 4A). Measure the OD of the top of a crate, add 1/16" to length and width, and cut on the table saw. Glue and nail strips around the outside edge (Figure 6). I've had best luck using box nails (with heads) for this part; they clinch the wood down nicely. I avoid box nails on the bottom of the box as they are more likely to scratch your shelf or floor.

|
Figure 6 - I'll also glue up wood scraps end-to-end for edging. By the
time it's attached to the lid that weak joint is insignificant. And this
lets you use all those short pieces you usually toss.
|
Cutting each lid after "its" box is done lets you custom-fit the size: then by putting the edge strips on the outside of the panel you end up with a fool-proof 1/32" (half your 1/16" added dimension) all around. This is essentially a dust-free fit, almost airtight…especially if the wood expands or warps a bit.
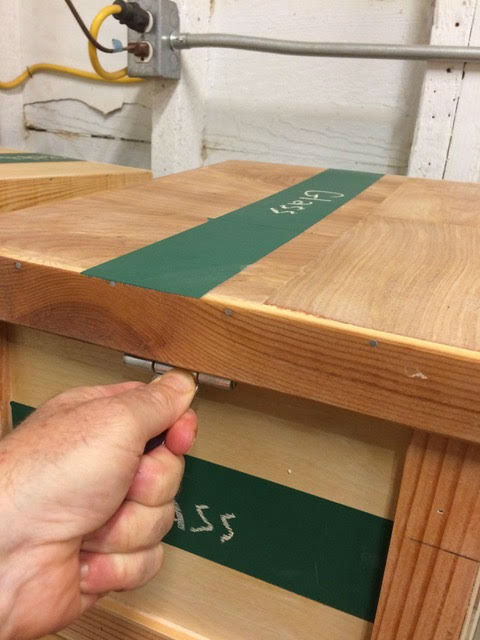
T-Hinges to the Rescue
One problem with lined up, closely-spaced boxes is they're hard to get off a shelf — no place to grab. Adding handles on the front or sides would solve this...but every box would require four handles (two on sides, two for front and back). Worse yet, they'd stick out and waste valuable shelf space.
Inexpensive T-hinges are the solution. Rout a shallow depression on the top front panel edge so the hinge thickness won't block your snug lid.
|
|
Figure 7
|
Now you can easily pull each crate off a shelf...and when it's not needed the strap of the hinge flips down flat out of the way.

|
|
Figure 8
|
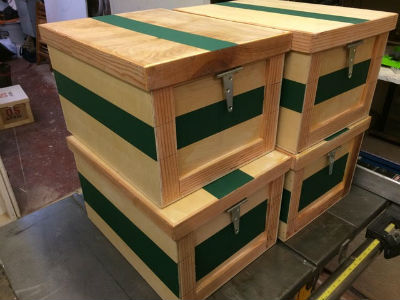
|
Figure 9 - Here crates are adjacent; they could also be placed end
to end and the t-hinge grip straps remain out of the way. The hinge
knuckle never extends past the top's lip
|
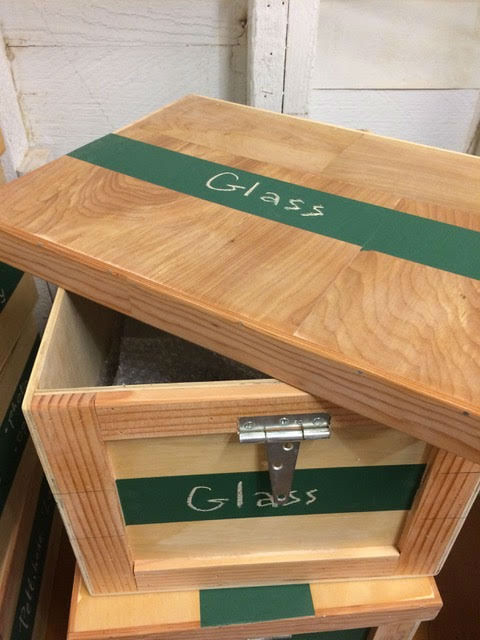
Stencil or Chalk - Your Choice
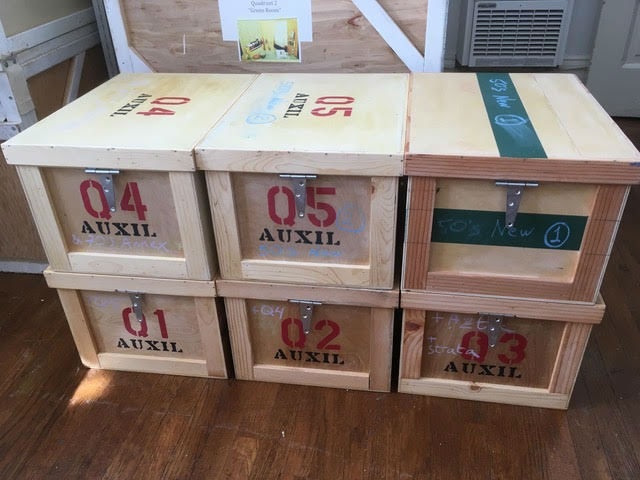
OK, now you have a number of crates…and making them all the same size will ensure easy, space-efficient stacking. But storage of any kind without a way to remember what's inside is not very useful. I use two solutions for this.
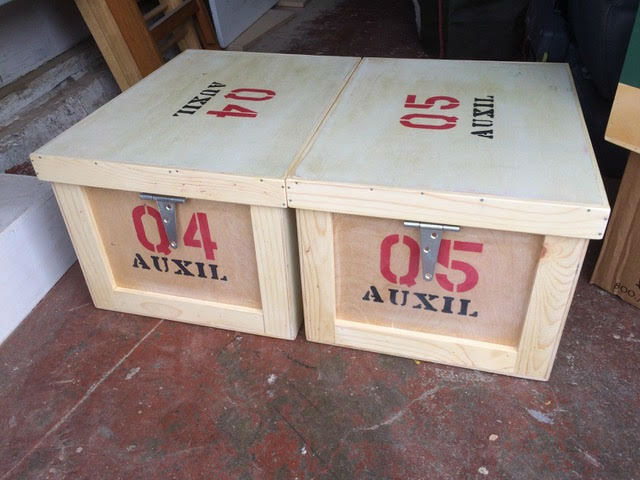
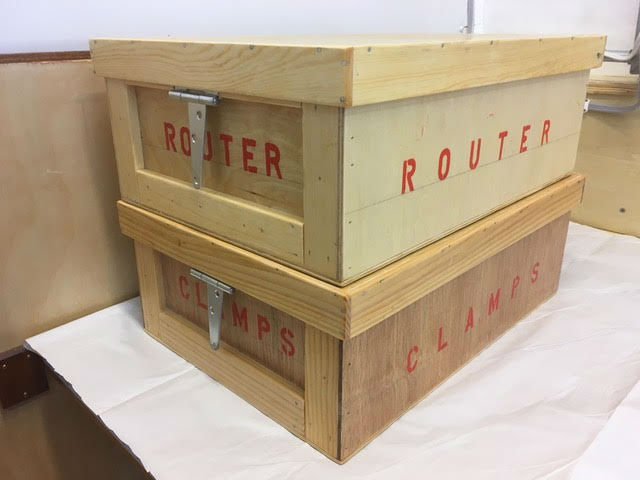
First, for crates where I know the future contents, I stencil information on the outside. Do the top and all four sides. It may seem like overkill now, but when the box is sitting in a crowded room you can see at a glance what is what. Also handy if things get shelved "backwards."
Second, for crates in general use, I paint strips of green chalkboard paint (get crisp edges with Frog Tape or other quality masking tape) on all four sides plus top. Contents are quickly labeled — and easily changed with the swipe of a rag.
Before adding stencils or chalk board paint, exteriors all received one heavy coat of semi-gloss polyurethane; crates can then withstand a little rain, transport in bad weather, or worst of all, a slightly leaky workshop roof! To save time and effort I leave all interiors sanded but unfinished.
Felt - The Final Touch
A nice detail: felt squares added to the bottom protect chalked notations on top of other crates. Especially important as you drag one crate off another. Squares are placed flanking the top strips — so they never erase your written label. Four pieces of 1" x 2" works well.
Interestingly, even though these crates are only made of pine scrap and 1/4" plywood, each one easily holds 50+ lbs. I also use them to move tools to a job site — their modular size makes packing about as smooth as it gets.
Feel free to alter this basic design as you wish; I knocked off a smaller set for my router and clamps.
In conclusion, when you need fast, inexpensive, efficient, modular, and sharp-looking storage I hope you'll consider this approach to crates. I've probably built 20 or more; my shop looks neat, professional, and welcoming.
Paul Baker is an artist and woodworker with 25+ years of experience...and a compact San Francisco garage shop of only 330 square feet. You can email Paul at
bakerp100@gmail.com
. You can also visit his website at
C-Clamp Studios
.
Return to the
Wood News Online
front page
|