|
|

|
Here's My Workshop!
By Mark Corso
Plant City, FL
|
|
|
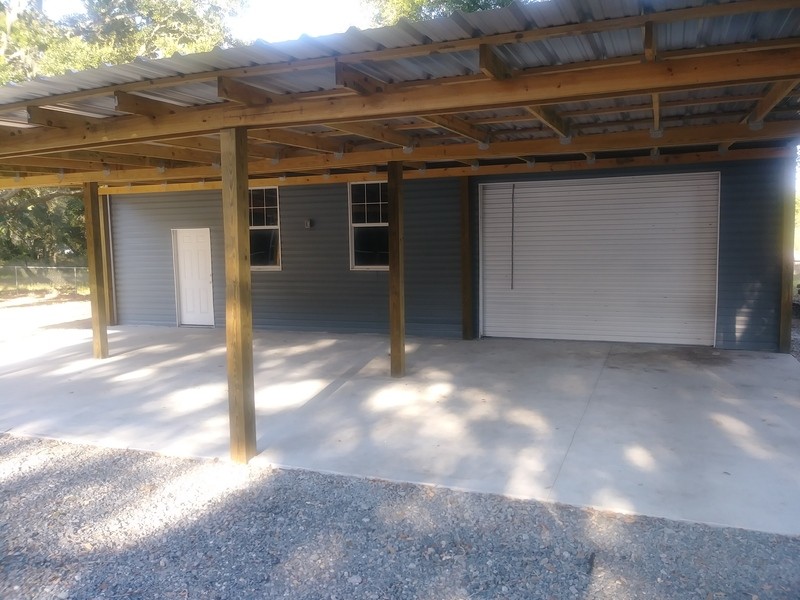
I recently purchased a home which had a detached 24' x 42' building, that I could
dedicate to a workshop. I am retired and have been woodworking and carving
since I was about 13 years old. I have had previous workshops but have only dreamed
about a space like this to enjoy. It also has a covered area that can be used during
nice weather which doubles its footprint.
The above photograph shows the building as purchased. It had 2x6 exterior walls
and a metal roof over trusses. Being in Florida, I wanted an air conditioned space so I
insulated the walls with 1" ridged insulation followed by R-19 batts. I also had the
attic spray foamed and I installed a 2 ton central air unit. There was a disconnect
box that could handle a few lights but it wasn't suitable for a full shop.
Consequently, I had to add a 100 amp electric service and wire the shop.
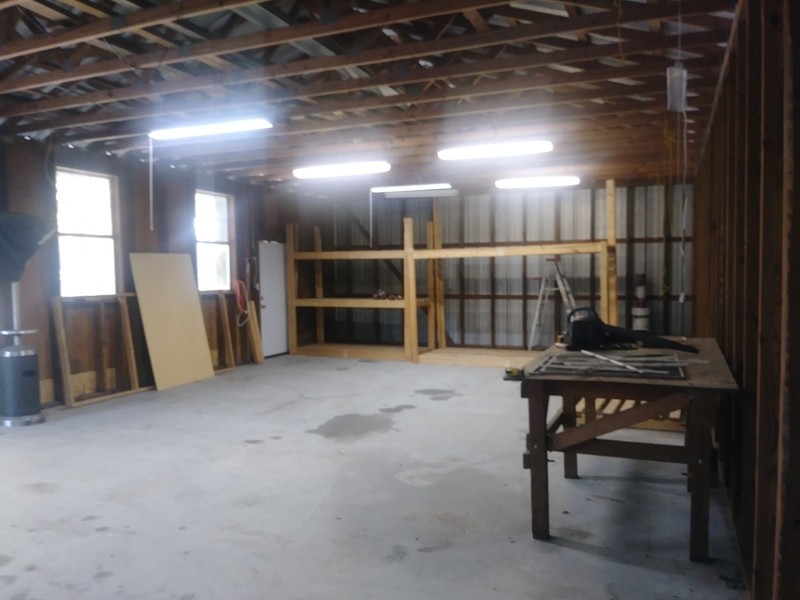
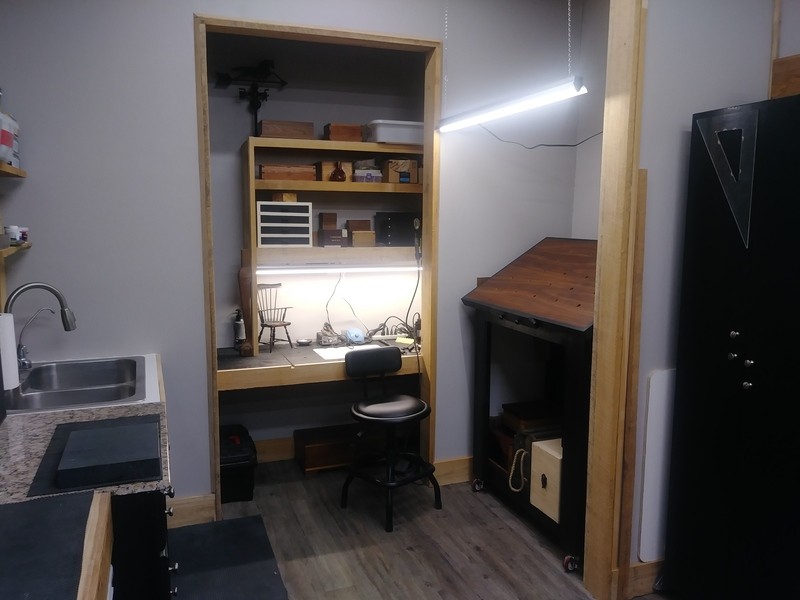
I wanted a bench room for hand tool woodworking and carving. Something that I
could keep reasonably clean and tidy so that it would be a comfortable
environment to work. I framed an area 10' by the width of the building which is
24'. The remainder is for machine tools and not incorporated into this article for
brevity. Looking at the photograph you will see the entrance door. Along one wall
I built a workbench and a cabinet to hold sharpening supplies which is adjacent to
a sink. Building the workbench into the wall has proven to be a fantastic idea as it
is rock solid and has zero movement.
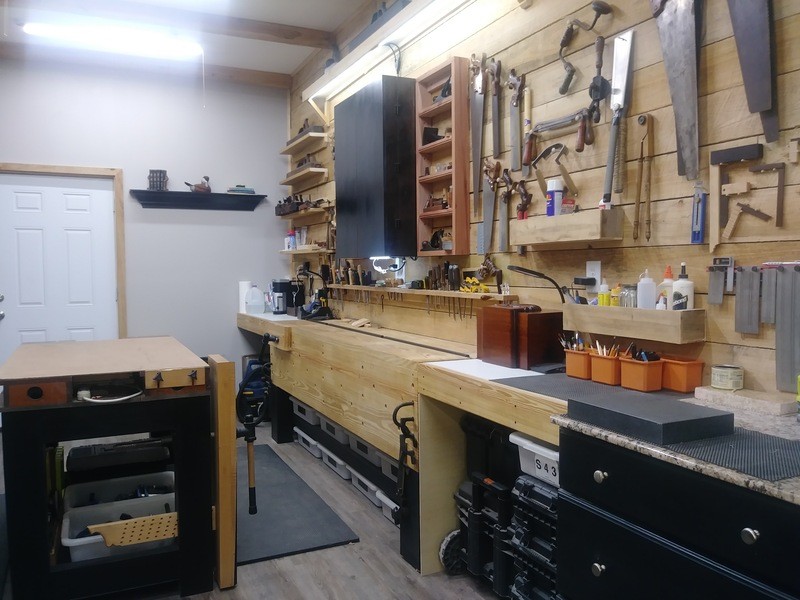
The walls are rough sawn Cypress obtained from a mill and provide a solid
backdrop for the tools. It's amazing how fluid things are when you can take a tool
right off the wall and when done, put it right back where it belongs. Prior to this I
was always digging and searching.
The ceilings in the building are 10' and I built some Cypress beams to continue the
rustic look. I added LED shop lights which are daisy chained to each other. I used
desk style grommets to run the wires through the ceiling, where necessary, to get a
clean and finished look.
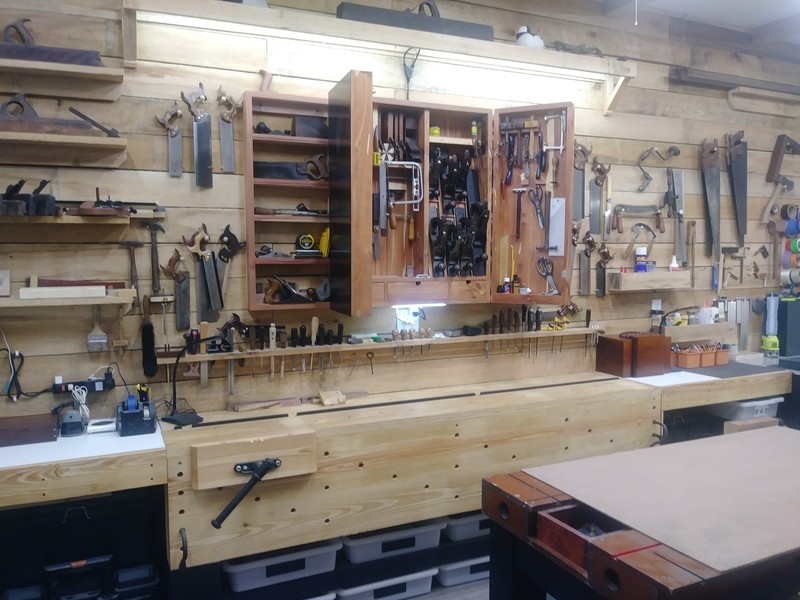
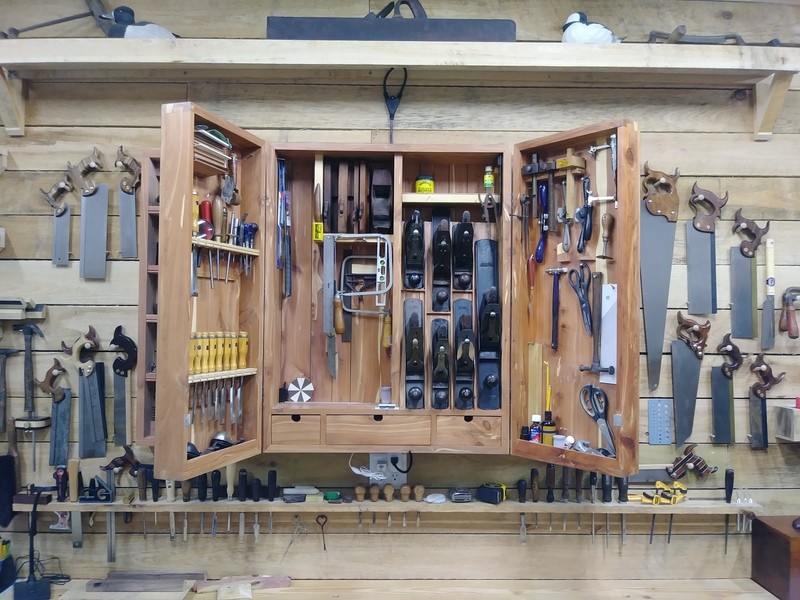
The above views show the tool cabinet when opened. It holds a variety of hand planes,
chisels, and other tools. At the end of the wall is a sink which is used all the time.
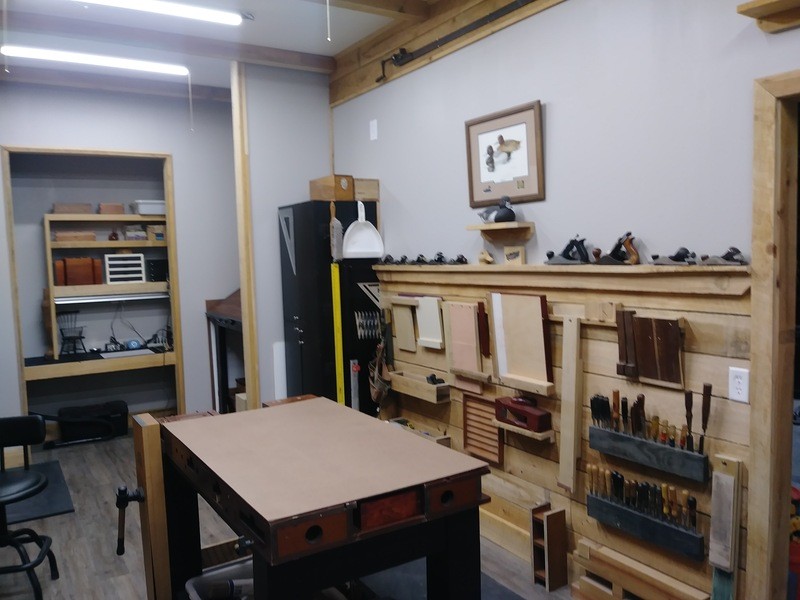
This is the opposing wall and is used to hold bench jigs, planes, and some other
chisels. In the 80's and 90's I did a substantial amount of wildlife carving. There is
a small shelf with a decorative decoy that I carved and it is a reminder of past
years. In the background is a carving station.
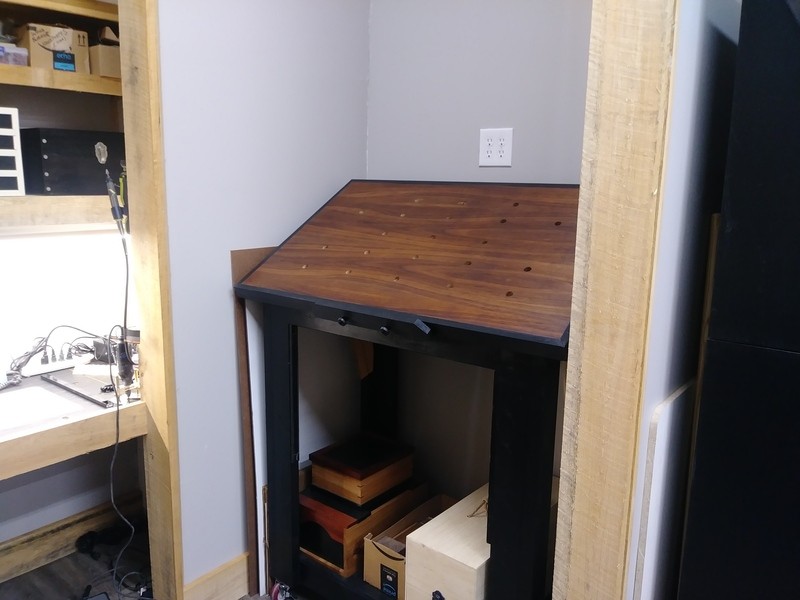
This little alcove used to house a carving bench. It has dog holes for work holding
and can be adjusted from 0-90 degrees as necessary. It is on locking casters and
can be moved as needed. It also holds all my carving tools on the lower shelf. I
also use it as a drafting table by placing a piece of masonite over the top to get a
smooth surface. It's not used a whole bunch for drafting since SketchUp is so versatile
and free.
This is my power carving station with a small down draft area. Wood dust is
removed to a unit on the opposite side of the wall where I don't have to hear it.
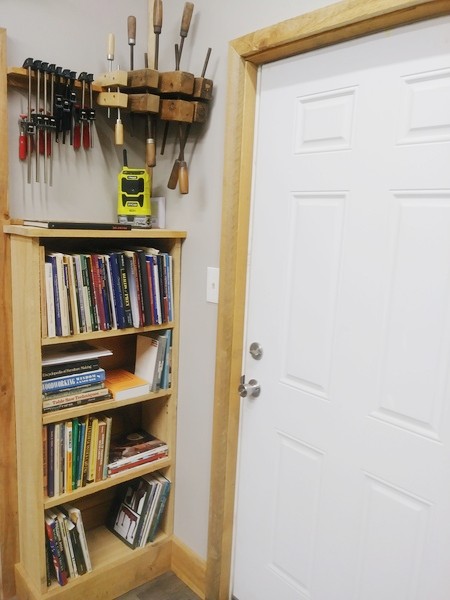
A small bookshelf provides an area to hold some books and a few clamps.
In conclusion, I am extremely happy with what I have done. I am particularly
pleased with separating the hand tool area from the machine area. The wall I put in
also gave me more space to hang tools and cabinets on each side. Most
importantly, I am no longer sweating over my projects and I have a place that's not
only wonderful to spend my time, but a great place to entertain friends, family, and
fellow woodworkers.
You can email Mark at
mcorso45@yahoo.com
.
Return to the
Wood News Online
front page
|
|
|
|
|