|
Click on any picture to see a larger version.
Woodturning demonstrations, such as we do at the
Wilson Museum
each summer in July
and August, are relatively efficient from start-to-finish, and both attract and engage an audience. The speedy process of "unwrapping" a square-cut or full-bark piece of wood
with a chisel and revealing a useful object within, sometimes with unexpected natural
figure, while the on-lookers observe can be nearly miraculous, a trick of hand-and-eye
with the speed and fascination of an accomplished magician performing.
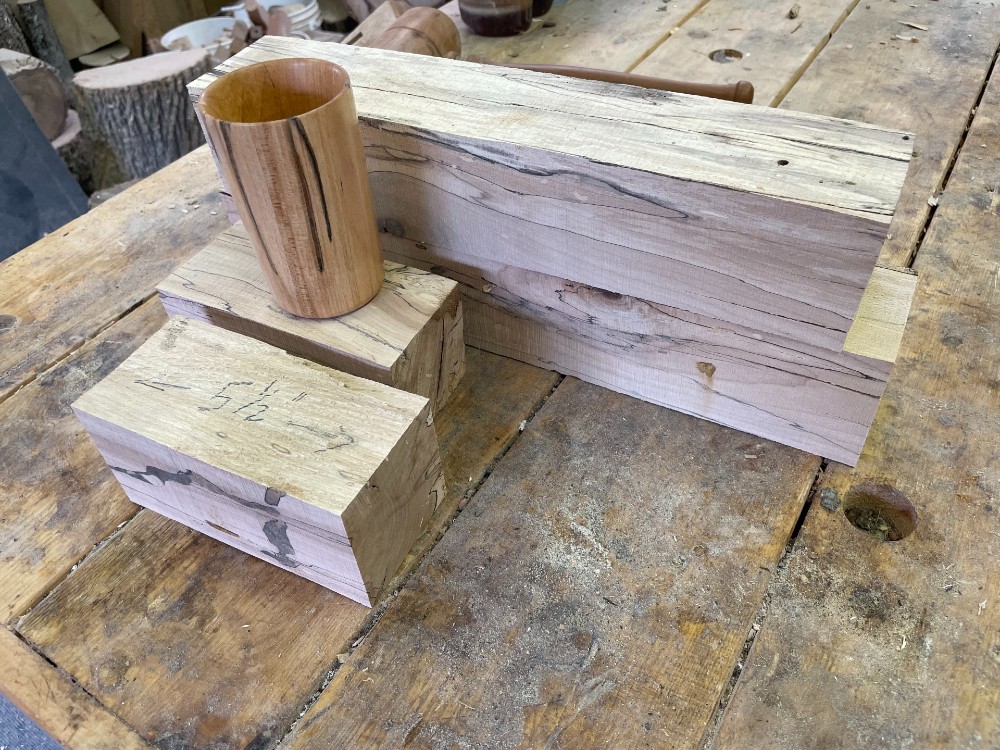
The place to start a project,
as referenced last month
, is with the choice of the
wood blank – color, figure, texture, tensile strength, orientation - and the imagined
vision of the finished piece, in this case heavily spalted birch.
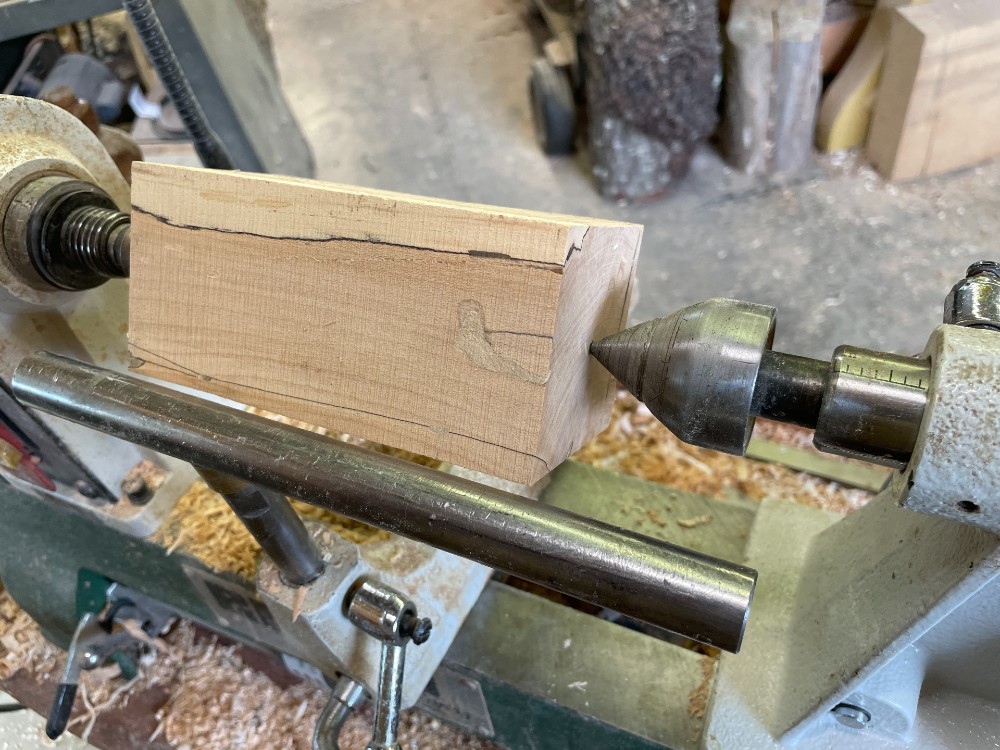
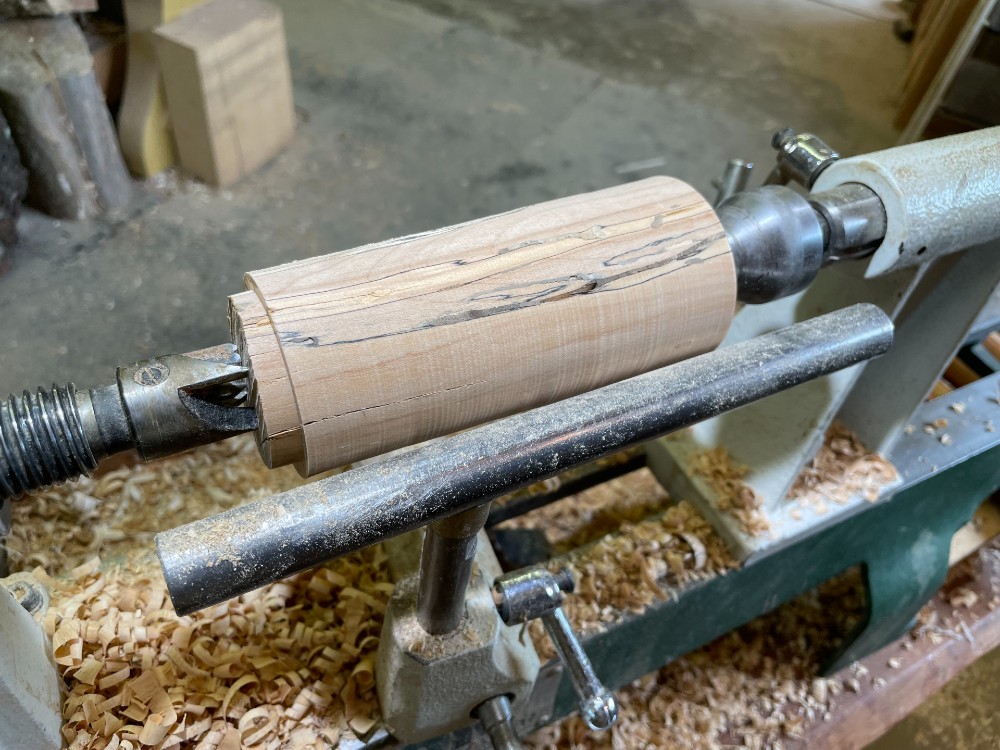
With those decisions generally made, the demonstration begins on the lathe.
As a spindle, with the grain running between centers and the blank sized in diameter and
length, the end-to-end orientation decision is guided by what parts of the highly figured
wood can be kept, and what must be sacrificed by cut chips falling to the shop floor.
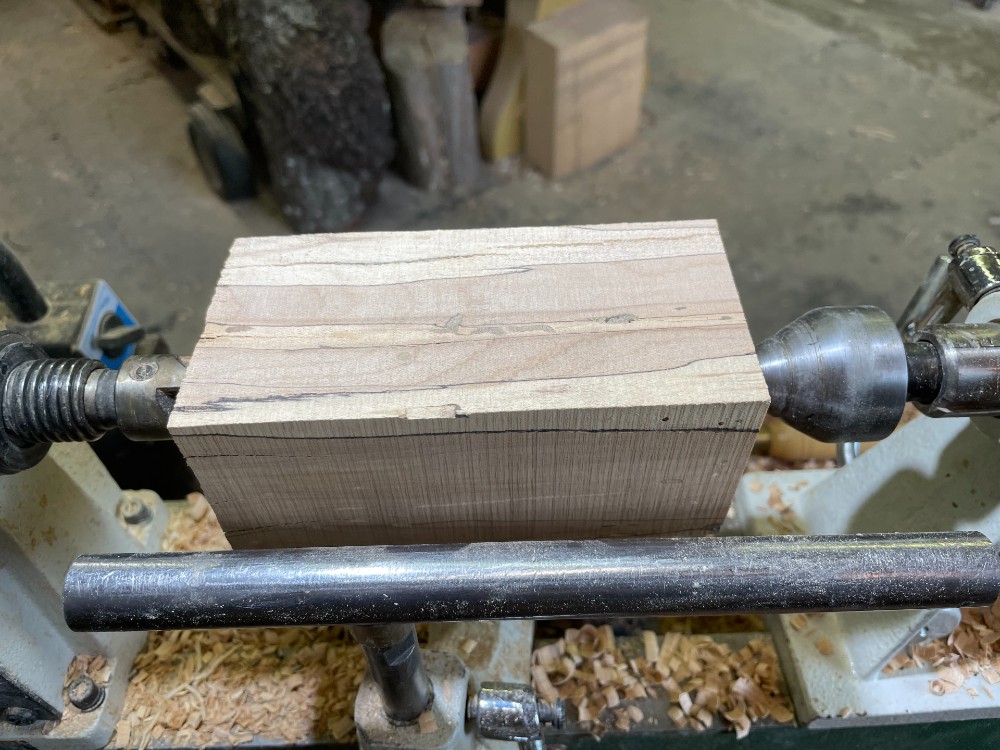
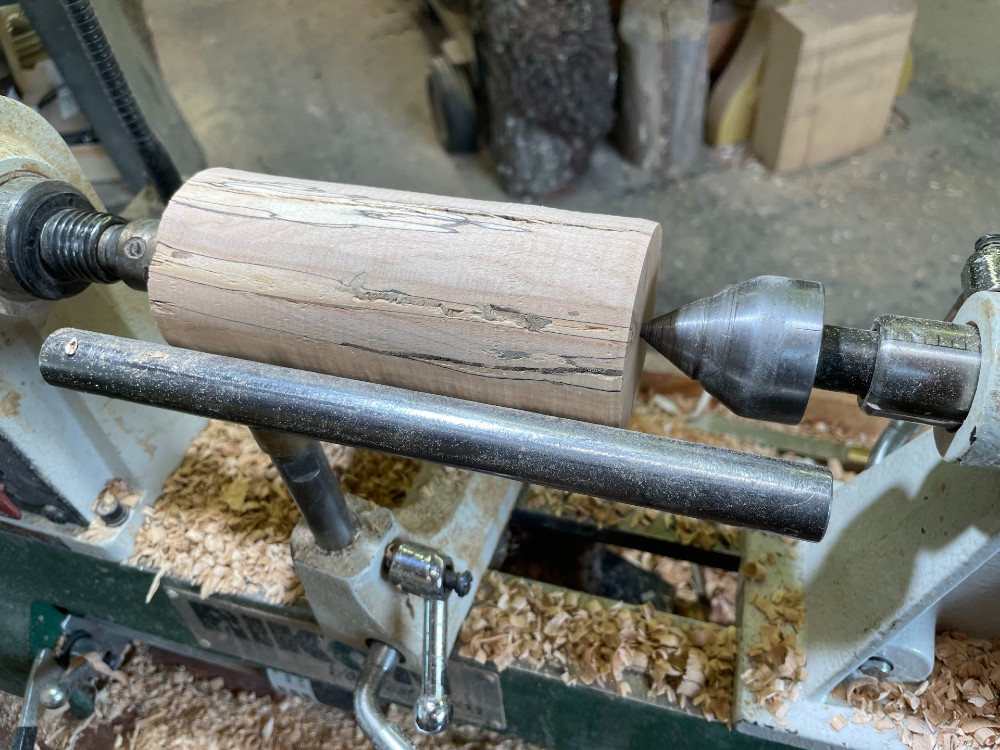
Rough-to-round further reveals the spalted figure that might be featured in the finished form.
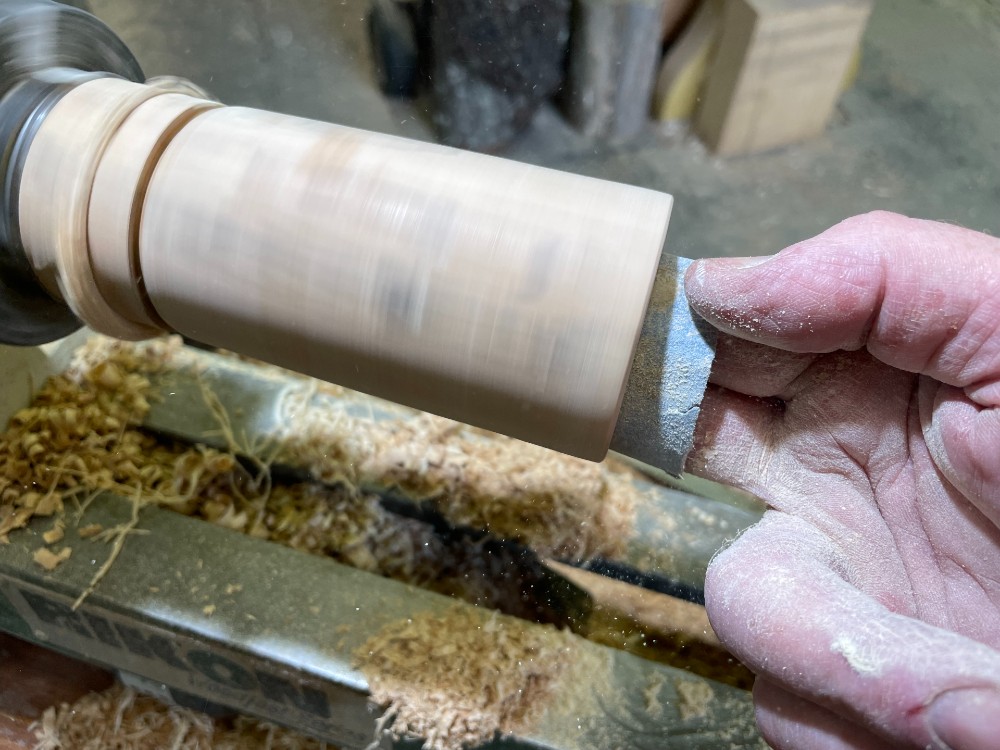
Given the plan to mount this blank on a four-jaw chuck for hollowing, the holding tenon
will be ultimately cut away. With a different design, the holding tenon could be
incorporated into the finished piece, but with an overwhelming pile of available wood
plus the desire to keep a demonstration within the 5-8 minute timeframe, this would be
an unnecessary and pointless refinement.
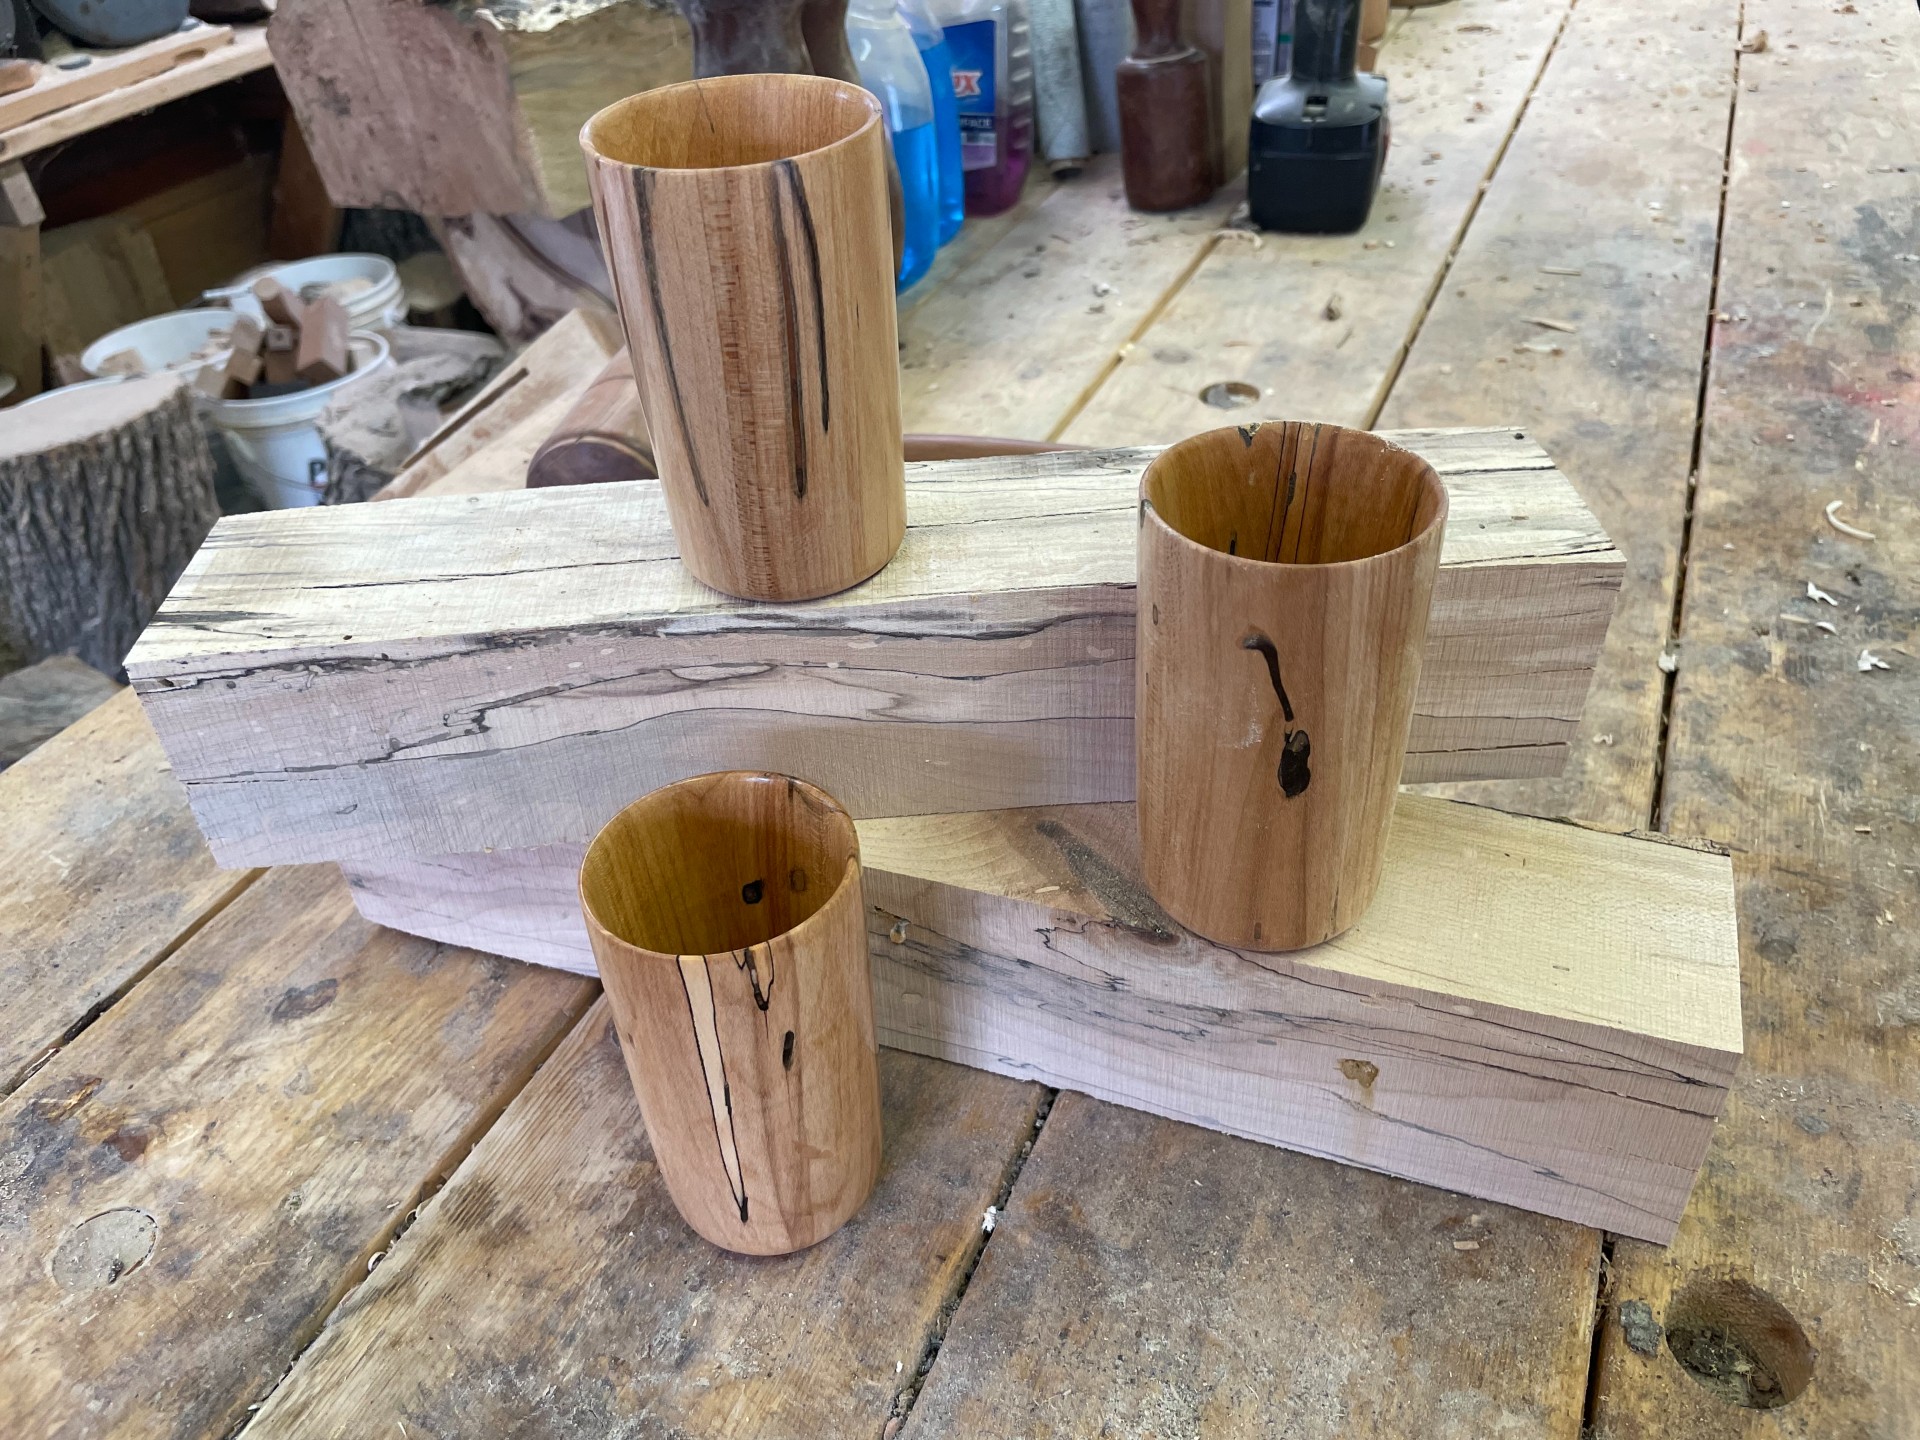
For these demonstrations, sizing is approximate rather than exacting. These tumblers will
be given away individually to someone in the audience with patience enough to watch the
entire demonstration. While looking "similar" to each other, the demonstration goal is not
to create a matched set. The spalting similarly makes each cup significantly
individualized while appearing to be part of a set.
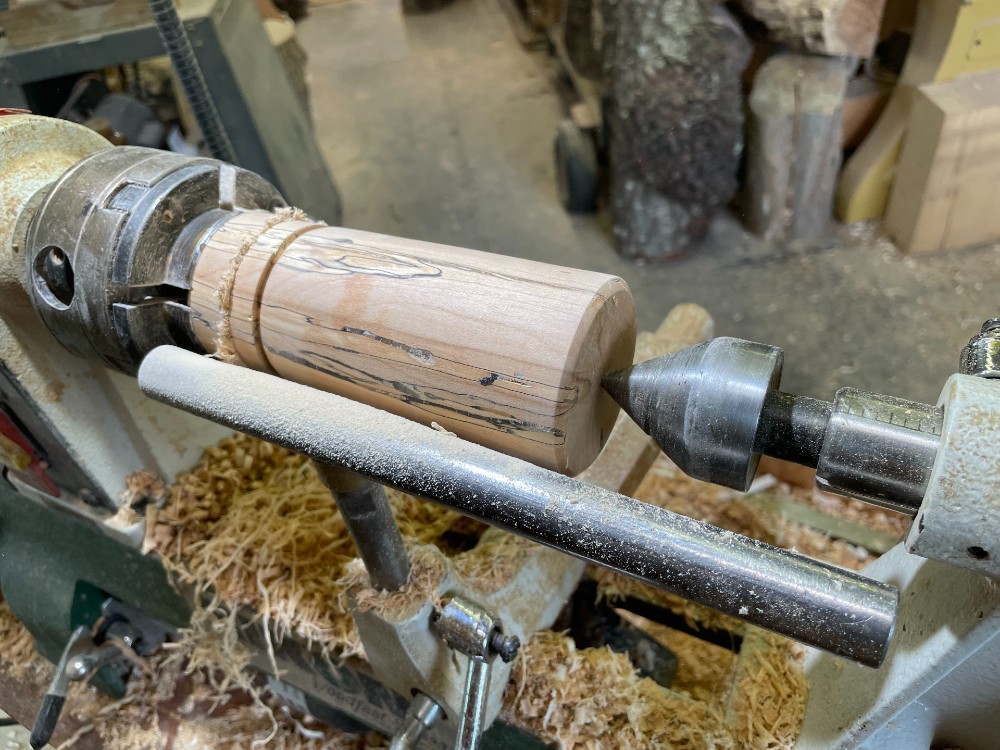
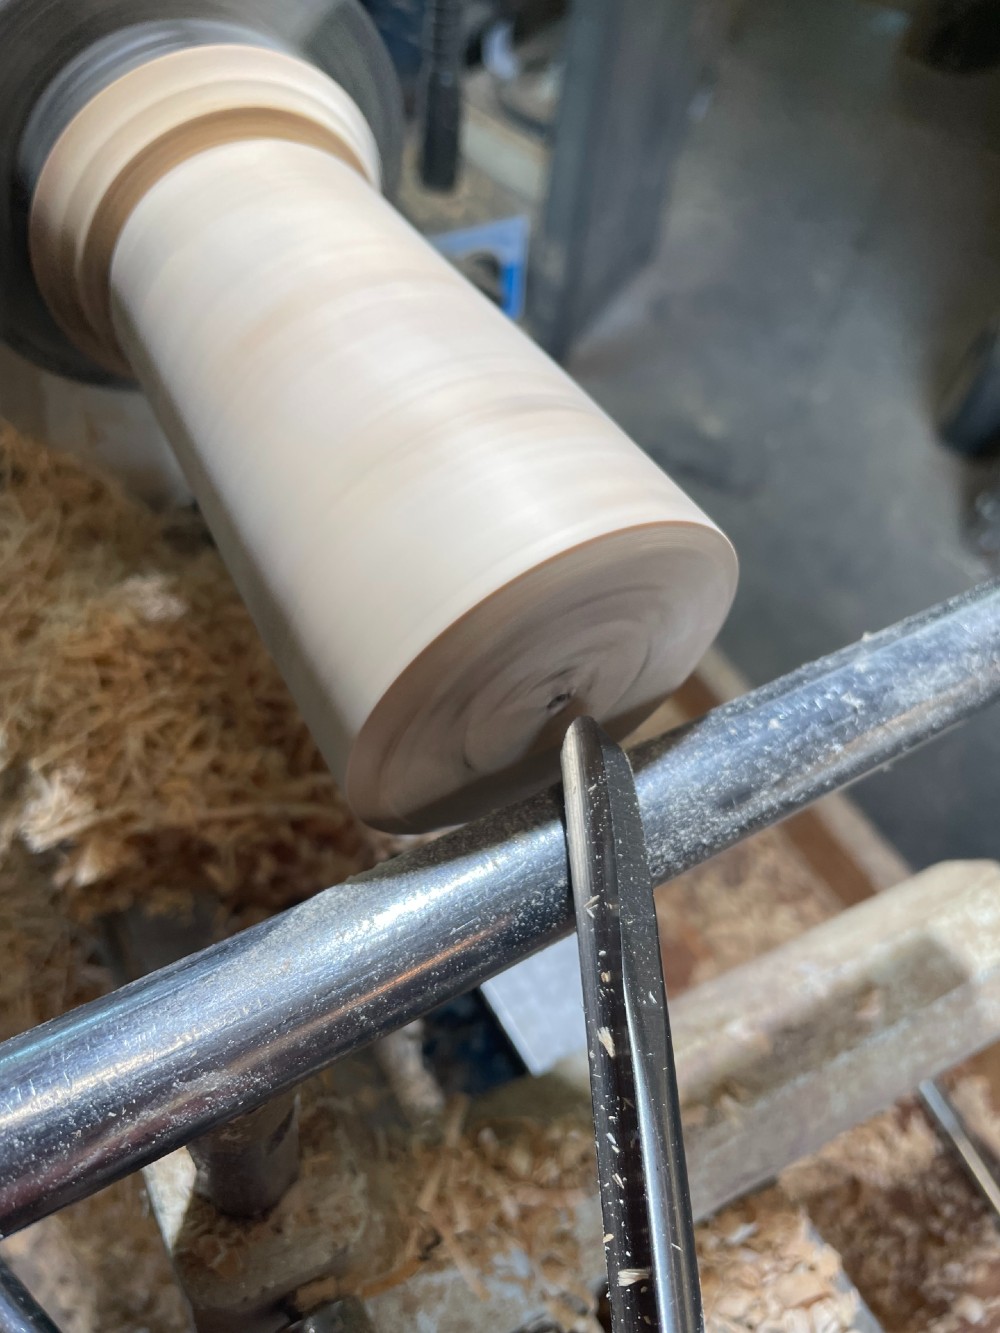
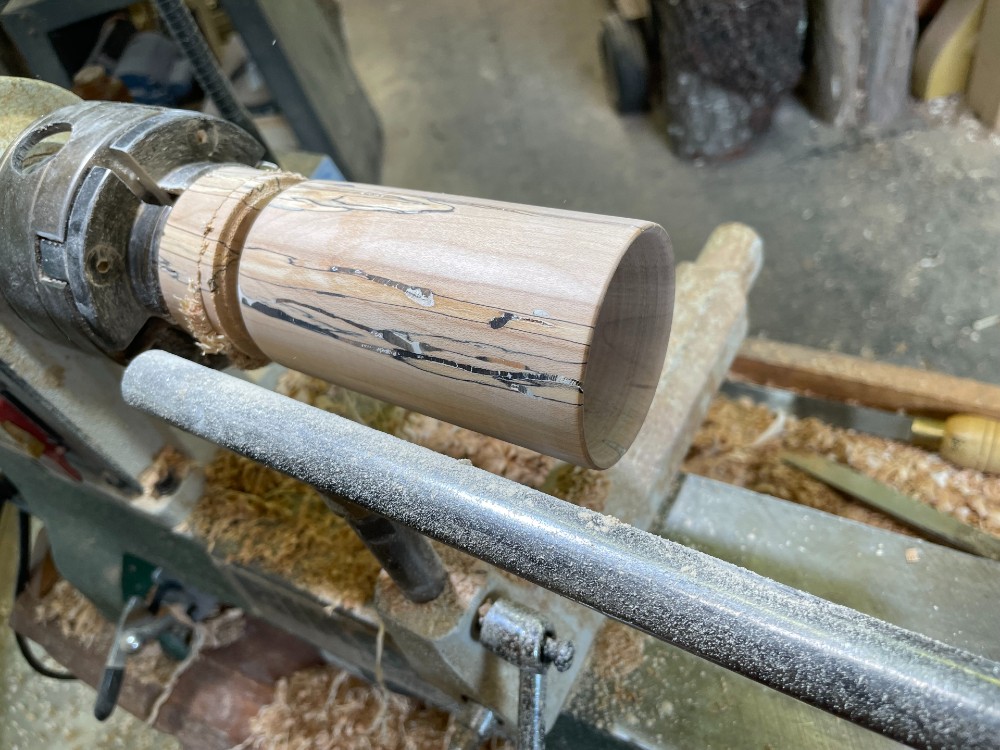
With the blank generally sized and outside shaped, the hollowing can begin using the most efficient and safe methods available. The two
most popular would be using a scraper versus the Ray Key method.
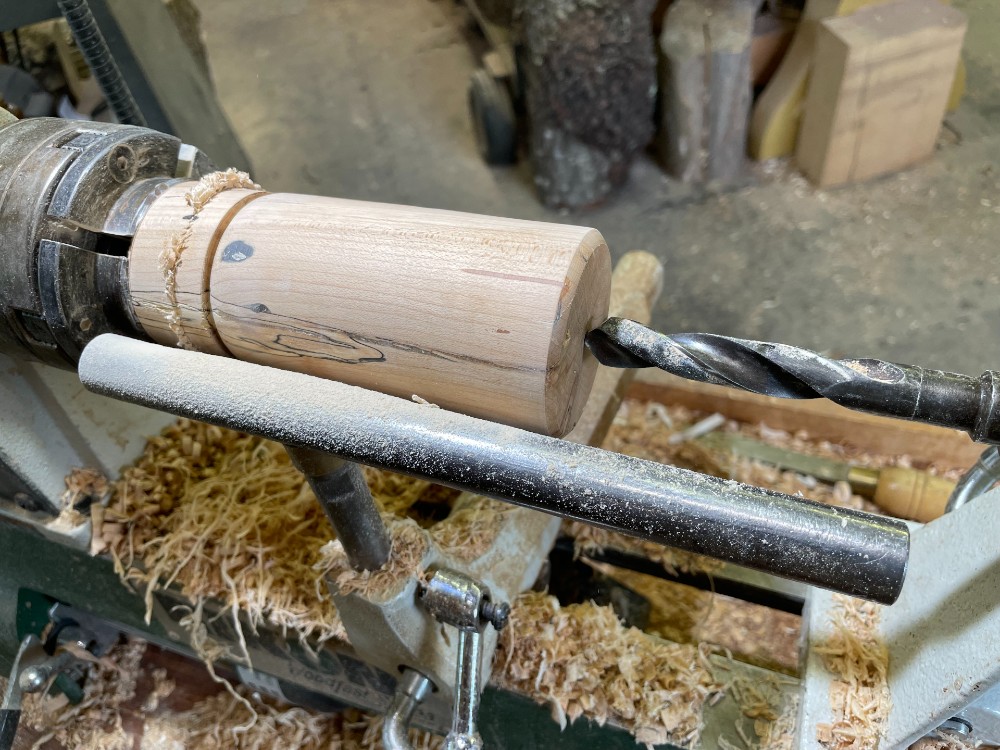
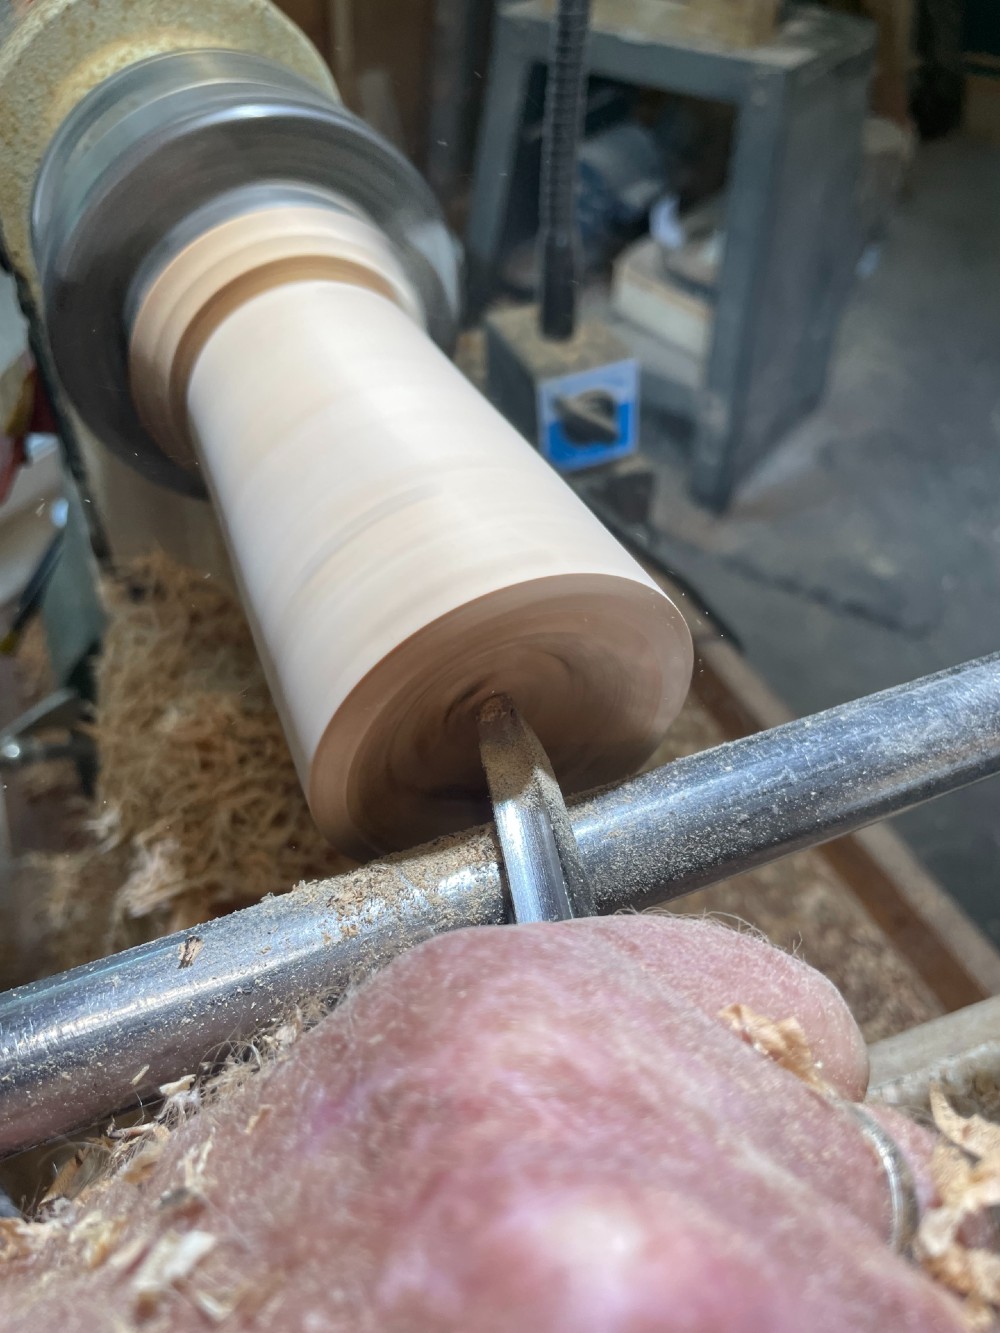
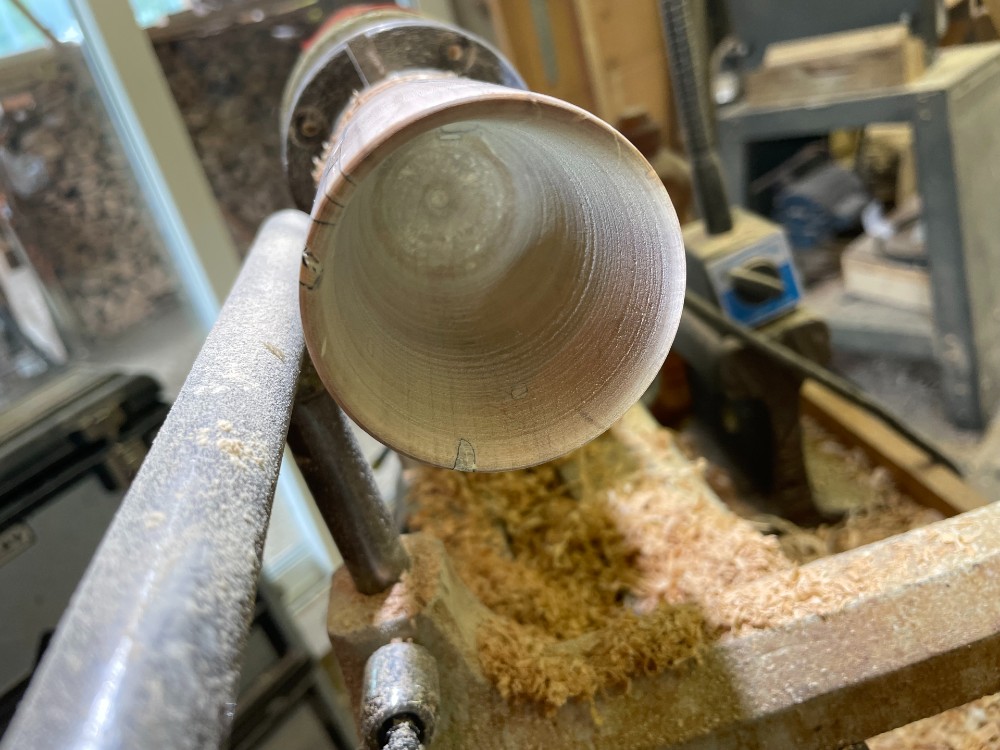
The center point (also known as the "dead" center) is a challenge regardless of the
turner’s preferred hollowing method and using a 1/2" twist drill adds the advantage of
establishing the desired depth from the beginning.
While some folks prefer to do this sort of hollowing with a large forstner bit, that takes a
longer time and does not allow for tapering the inside to the same pitch as the outside.
Drilling with a large forstner bit also does not take advantage of showing off the
woodturning tools, hand-and-eye, and methods that would be most readily available to
woodworking audience members.
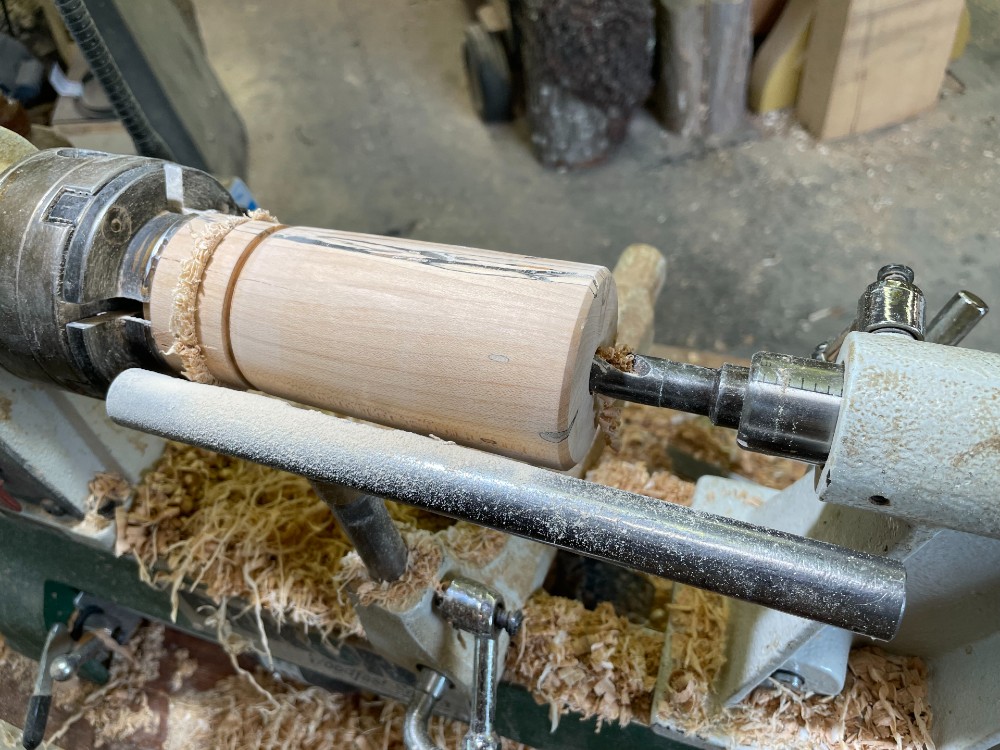
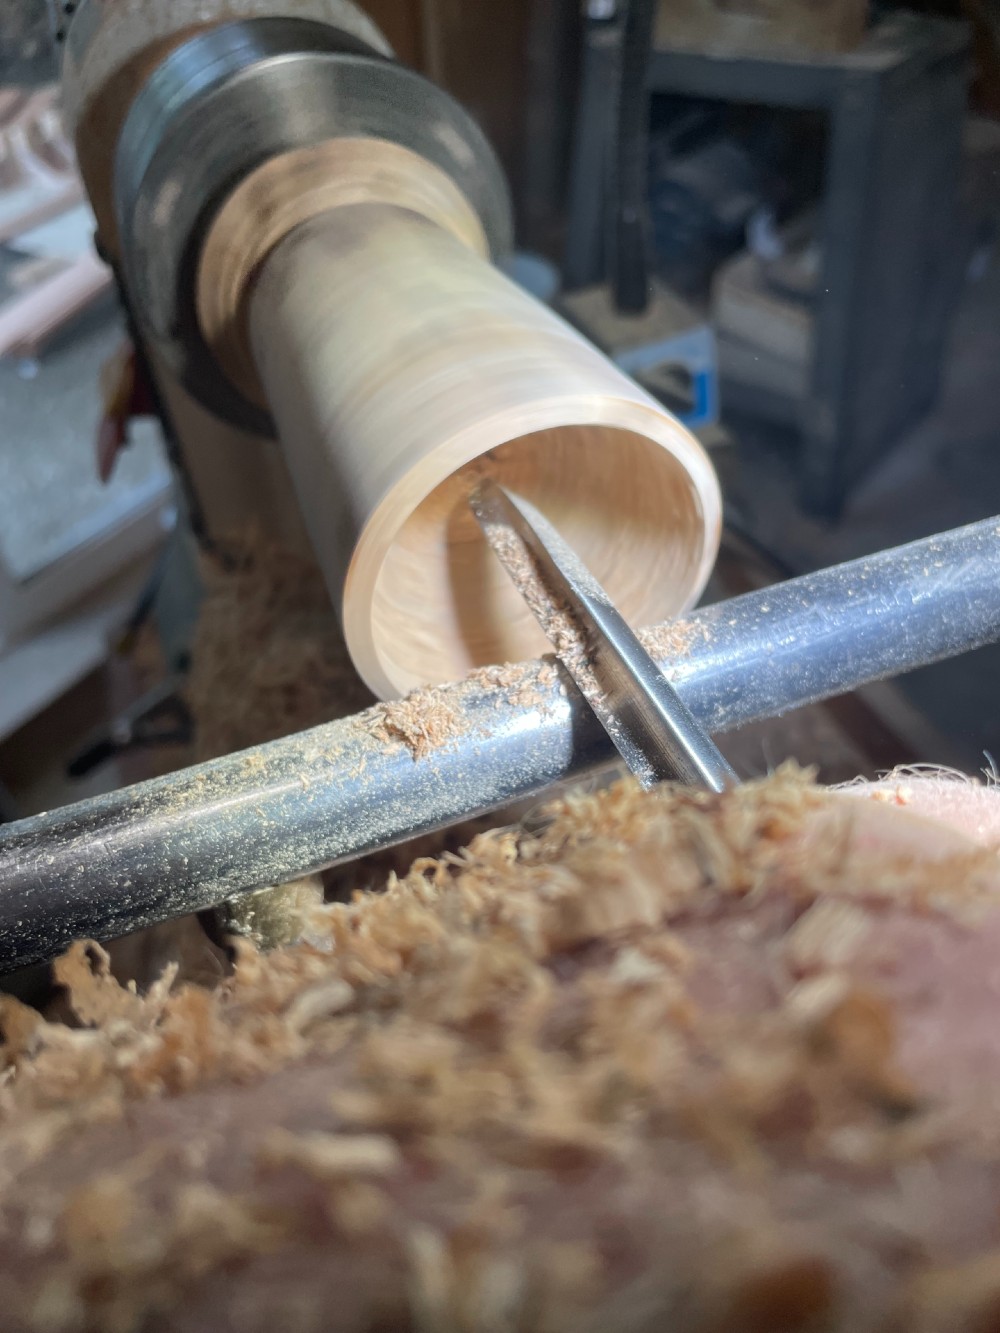
The scraper method is efficient, low-skill level, and it produces rapid adjustable results.
The Ray Key method of using an especially sharpened fingernail gouge is similarly more dramatic, efficient, quick, and rapid.
This method requires more skill from the demonstrator. In my own work, I adjust to the
audience, only a few of whom appreciate or care about the Ray Key method.
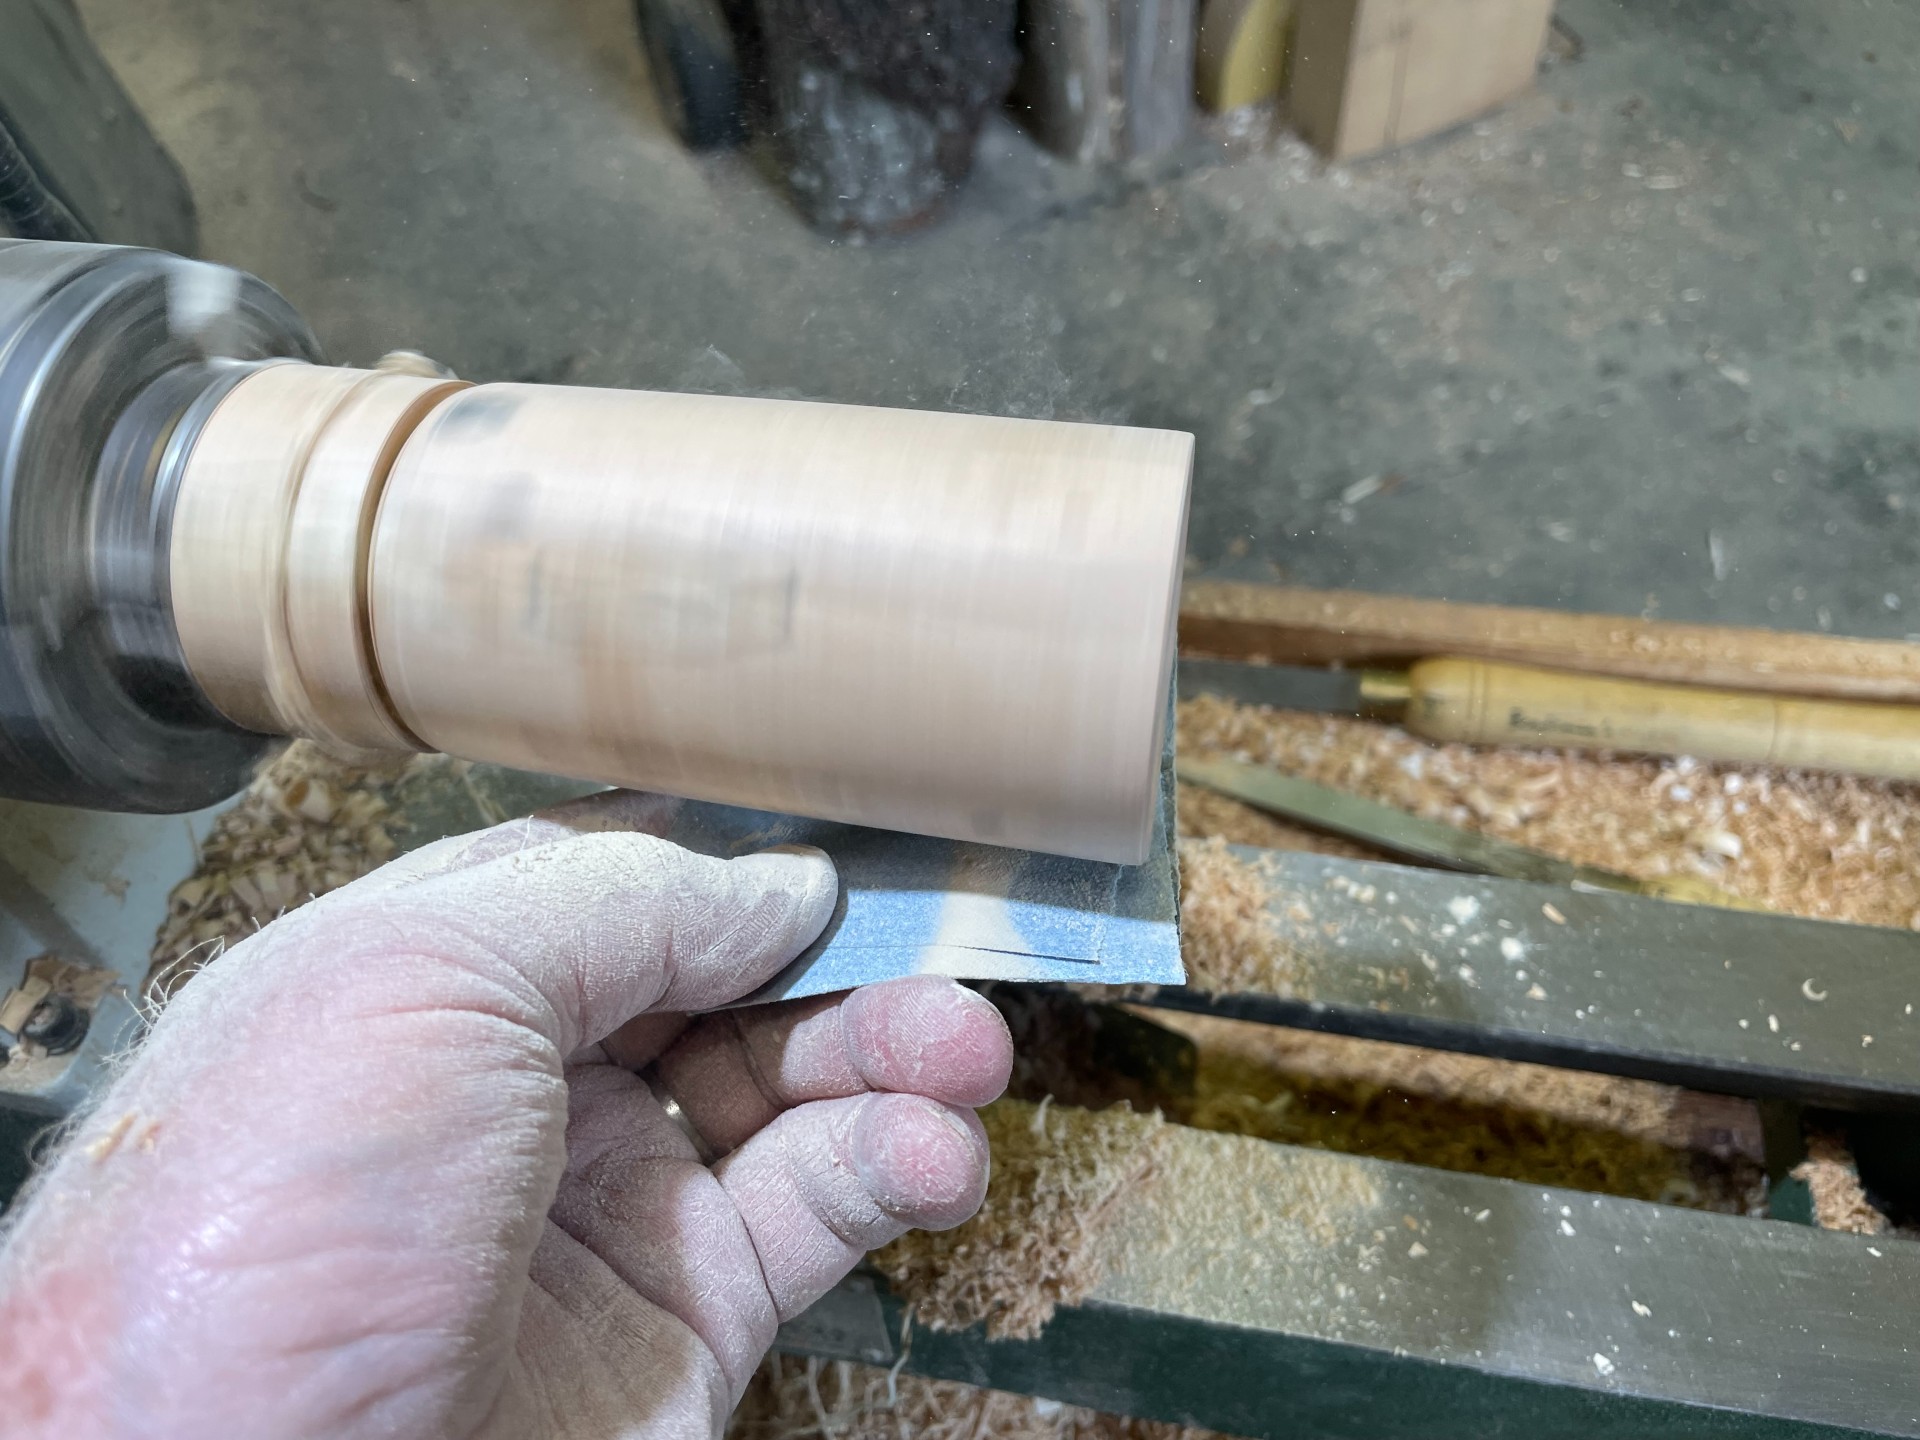
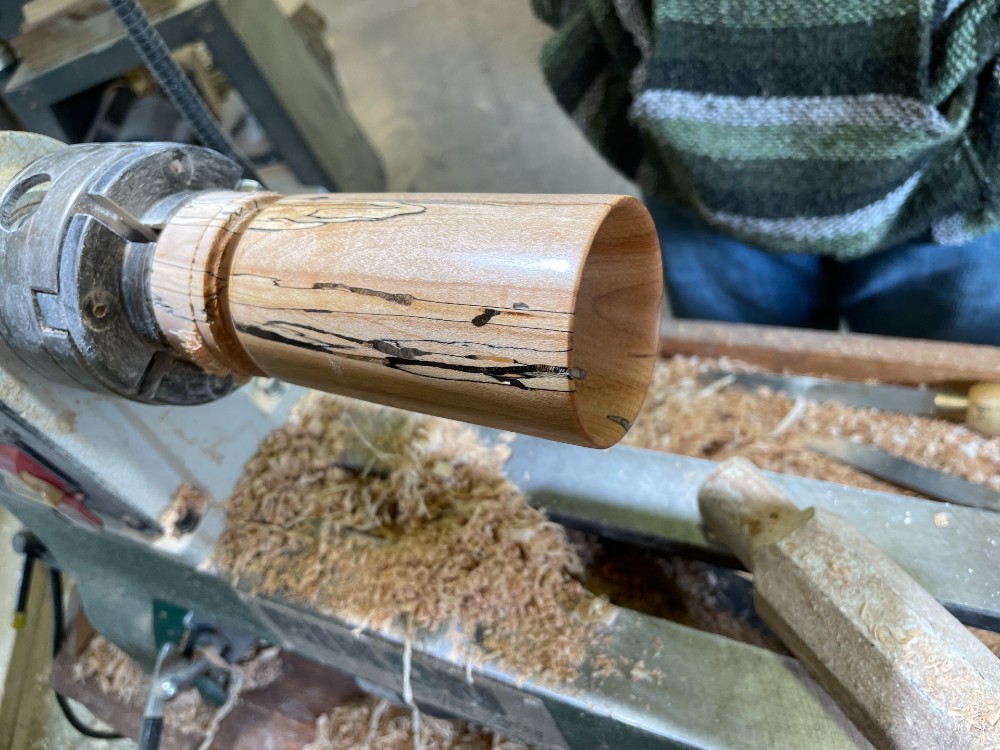
Sized, shaped, hollowed and formed, the tumbler (or is it a cup?) is ready for finishing.
Sanding 220 then 320 then 400 grit creates the smooth feel (woodturning is, after all, extremely sensual) and prepares the piece for finishing.
The overall simple shape is enhanced by the spalted figure and grain.
The interior similarly has a less obvious figure (hard to see in there) but should match the
taper of the outside to avoid making the tumbler appear clunky or less pleasing.
Somehow even the parts we cannot see clearly impress our awareness of their harmony
(or disharmony) with the whole.
Finishing the outside with a friction polish or wax helps clean and shine the piece while
adding a pleasing texture. Leaving the sanding dust on when applying the exterior finish
causes the dust to act as a filler/sealer. The best food-safe material for the inside, walnut
oil, enhances the interior wood attractively while also, over time, hardening in the grain
and reducing the leakage. The weakness of these tumblers is that the liquid materials do
leak out, mainly through the bottom end grain – significant with oak, marginal with
poplar. For those who want to actually use these as tumblers to drink from, the lower
section and bottom need to be left thick, and they need to be seasoned in much the same
way that a wooden boat must "swell-up" its joints when first launched. Epoxy, glass
insert, and other products properly dried might also help, but frankly they are offensive to
the clean look and appeal for the wood left to its own best presentation.
From rough blank to finished tumbler, this demonstration helps the audience observe and
learn a great deal about why wood it such a popular material and how important the lathe
and woodturning have been to a colonial village – especially in the kitchen.
With our annual woodturning, boatbuilding, blacksmithing and colonial cooking
demonstrations
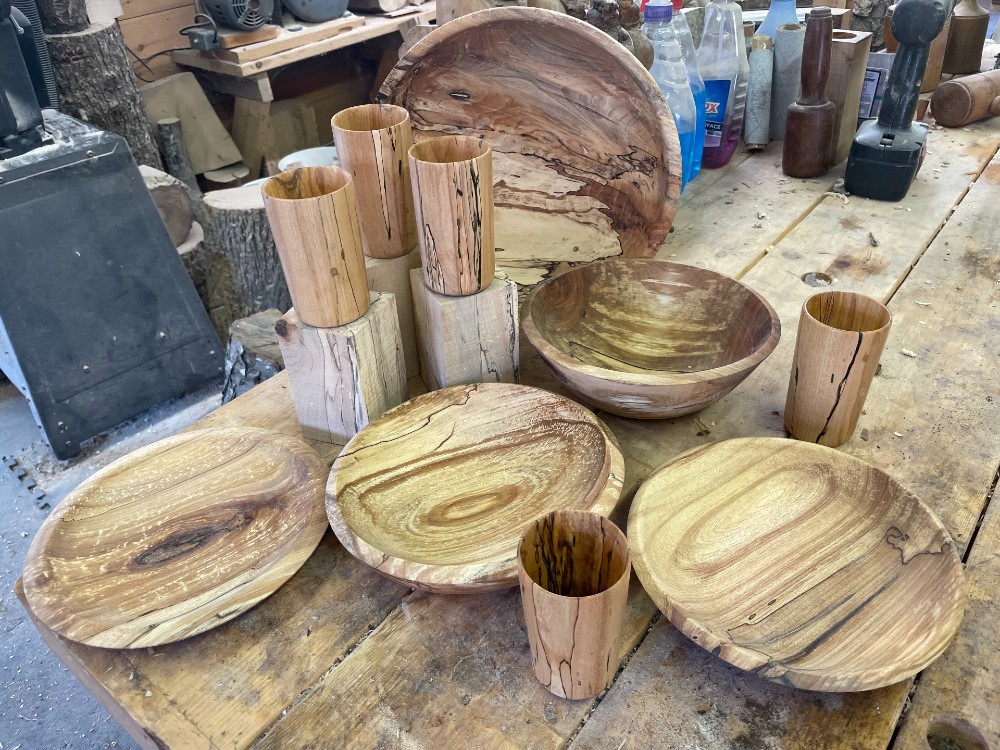
at the Wilson Museum opening up in July, one of the most popular will
be the wood-fired open-hearth oven bread baking where our talented Executive Director
will give her audience a fresh loaf of bread presented on a large grape-leaf
supported by a newly turned, spalted birch bread-plate perhaps with a newly turned
spalted tumbler.
This is the kind of planning that makes our museum demonstrations the talk of the town!
Located in Castine, Maine, Highlands Woodturning gallery and shop offers woodturning classes and shop time, a gallery of woodturned art, custom woodturning for repairs, renovations, and architectural installations. You can email Temple at
temple@highlandswoodturning.com
. Take a look at Temple's Website at
http://www.highlandswoodturning.com/
Return to the
Wood News Online
front page
|