|
EDITOR'S NOTE: Always exercise fire safety precaution when working with woodburning tools!
|
|
Figure 1 - A small burning wire tool made from a hacksaw
|
A burn line is a quick and easy way to decorate a workpiece. Although you can buy this tool, you can easily make one for very little money.
|
|
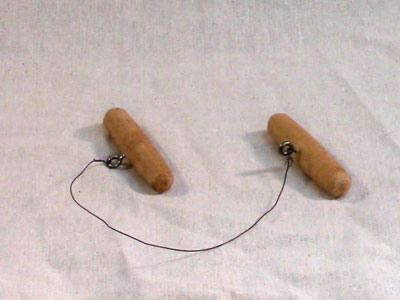
Figure 2 - A large version of the burning wire tool
|
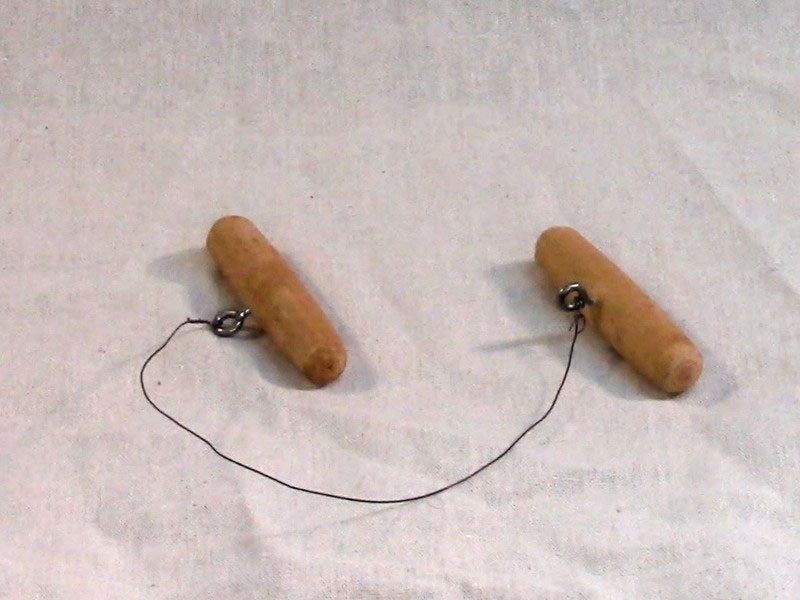
A burning wire tool is nothing more than a single wire attached between two handles. My first homemade burning wire tool was two turned handles with an eye screw in each and a piece of wire about 12” long.
|
|
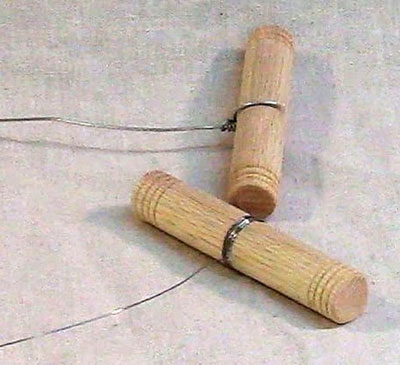
Figure 3 - My first burning wire tool, homemade of course
|
How Do You Use a Burning Wire Tool?
Using a burning wire tool is simple. You hold the wire taut with the handles, stretch it over the workpiece, contact the workpiece with the wire, apply some pressure, and friction burns a dark line in the work.
|
|
Figure 4 - Stretch the burning wire across the work...
|

|
|
Figure 5 - ...hold the wire down on the work until you get some smoke
|
It is also advisable to cut a small groove on the work before burning so the wire won't slip around on contact. The cut shouldn't be too wide or deep – just the tip of a skew or a point tool will do the job. This is a necessity on the sloped side of a bowl – the wire will just slip down the side otherwise.

|
Figure 6 - Without a small groove, the wire will slip around the surface
of the workpiece
|
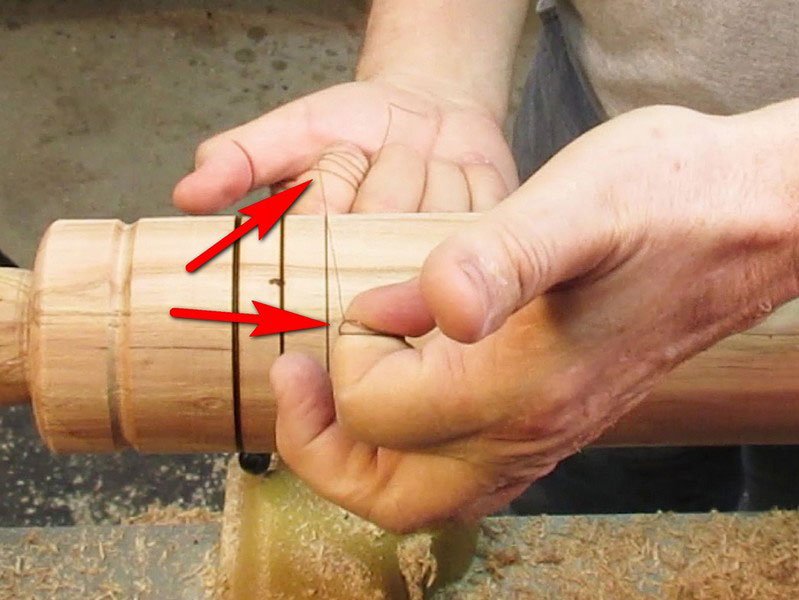
However, as tempting as it may be, don't just wrap a wire around your fingers! This isn't a dental-flossing exercise. If the wire gets tangled or snags on something, it could do some serious damage to your fingers.

|
|
Figure 7 - DO NOT USE YOUR FINGERS!
|
There's one thing to watch out for when you're burning a line – if you've turned the work very thin, such as the side of a bowl, it is possible to burn all the way through!
Making the Burning Wire Tool
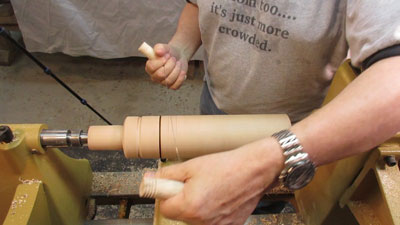
There are several ways to make a burning wire tool. The simplest is to get a couple of small pieces of wood, turn them into cylinders, and drill a hole right in the middle. I'd suggest making them about 4” long, but use whatever length you're comfortable holding.
|
|
Figure 8 - Turn two small handles and put a hole in the middle
|
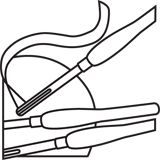
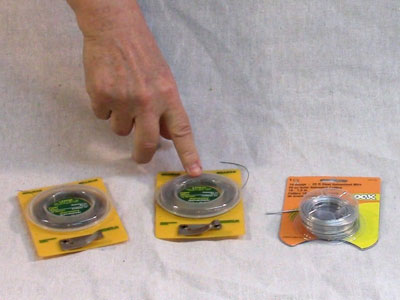
You'll also need some wire…I'd suggest steel wire.
|
|
Figure 9 - Several sizes of steel wire
|
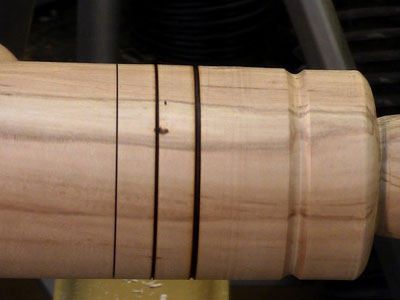
The wire size I use most is 22 gauge (center of picture above). I have 28 gauge (left of picture above) and occasionally use it, but although it burns a nice thin line, it also burns through very quickly, so requires gentle pressure and longer burning. I also have some 16 gauge (right of picture above) which I sometimes use to burn thicker lines.
|
|
Figure 10 - These three burn lines were made with 28\22\16 gauge wires
|
Guitar strings also work well, I'm told. Wire types that you don't want to use are copper and aluminum (from residential wiring cables, for example) – they will melt very quickly and are almost impossible to burn a line with.
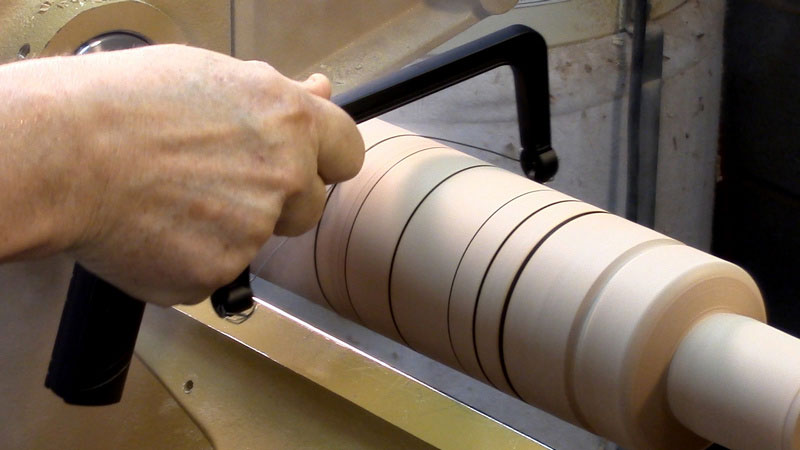
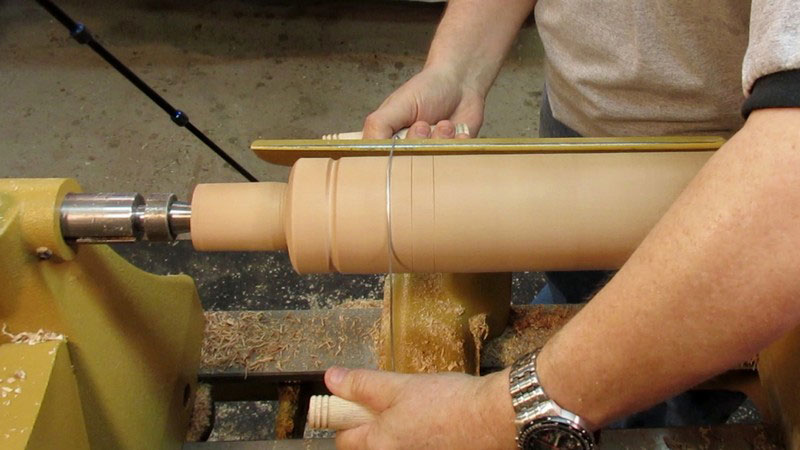
One disadvantage of the two-handle burning wire tool is that you have to put one hand behind the spinning workpiece – a safety issue.

|
|
Figure 11 - When using this tool…
|

|
|
Figure 12 - ...you have to put one hand behind the work
|
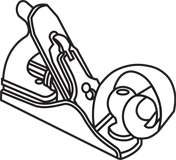
There's a better and safer burning tool that you can make just as easily as the two-handle kind – possibly even easier! Why not use a hacksaw?

|
|
Figure 13 - Hacksaw frames make perfect burning tools!
|
I got the larger hacksaw from a home center for around $6 and the smaller for about $4. I removed the saw blade and fastened my burning wires to each end. It's quick, easy, and cheap! There are a couple of things to be careful about:
-
Don't leave excess wire hanging from the attachment points once you've wrapped each end on the hacksaw frame.
-
Don't leave too much slack in the wire between the attachment points – the wire doesn't have to be taut, but shouldn't be so slack that it will hit the frame when in use.
This type of burning wire is more convenient to use than the two-handle type. It can be used with one hand if desired. It doesn't require you to reach over the spinning workpiece to apply tension to the wire, and is therefore safer.
|
|
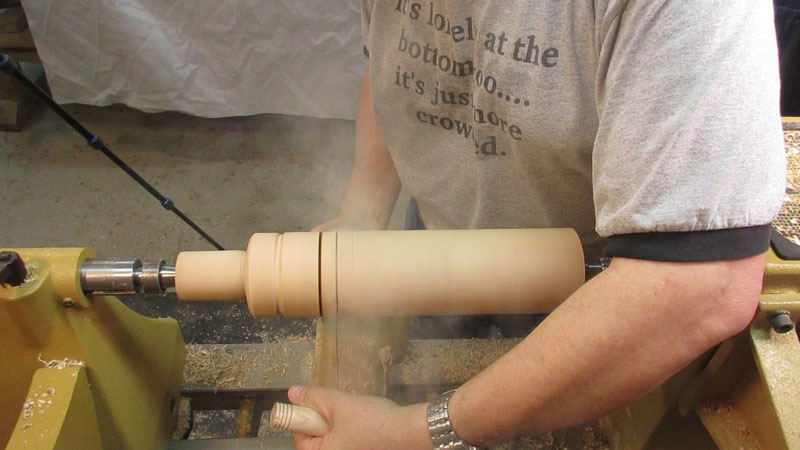
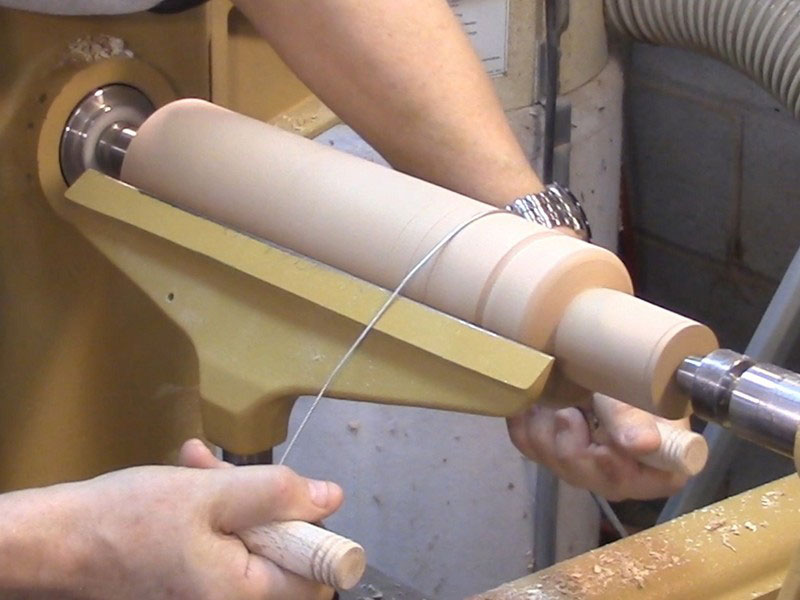
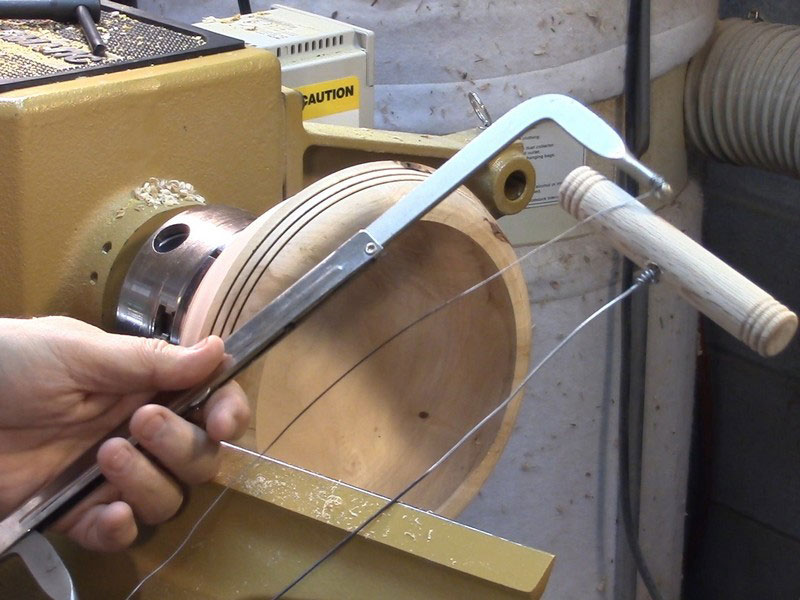
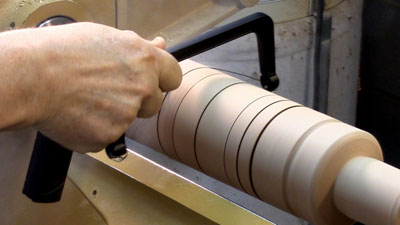
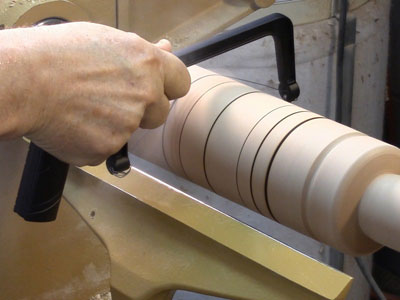
Figure 14 - One-handed operation of the small hacksaw burning tool
|

|
|
Figure 15 - Operation of the larger hacksaw burning tool
|
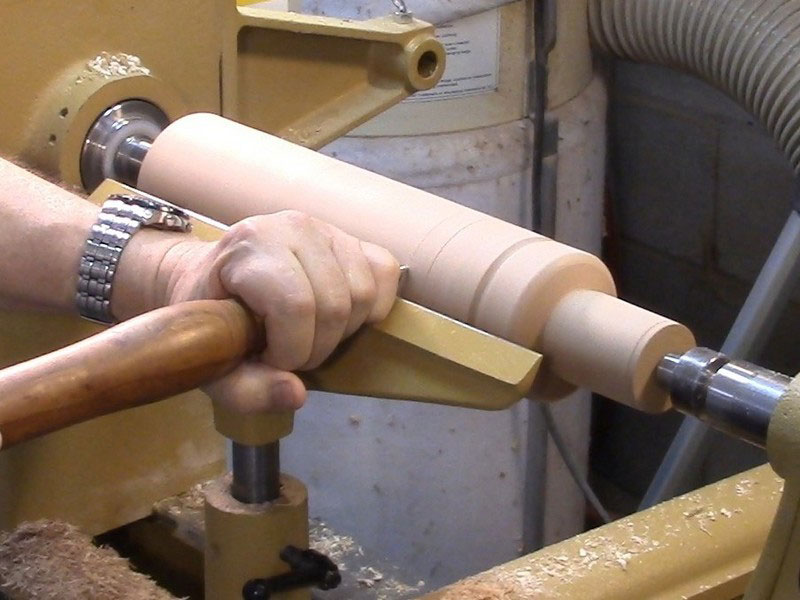
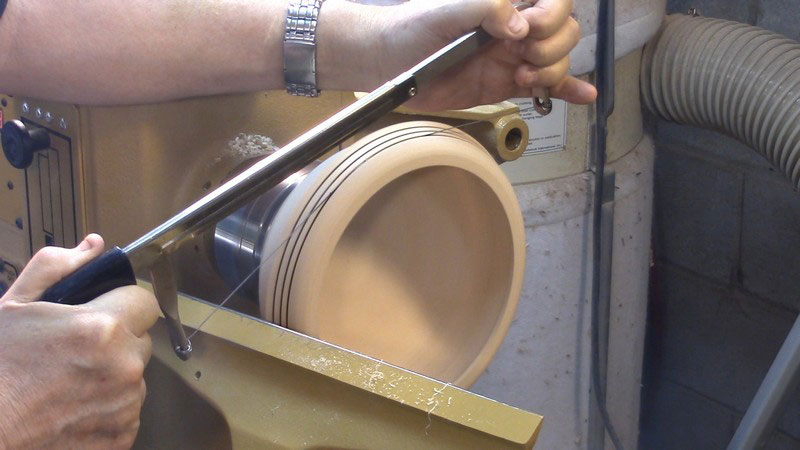
With the larger burning tool, two-handed use is easier than one-handed use if you're working on a large diameter project. Even with two hands on the tool, you're not reaching as far over as with the other tool demonstrated earlier.

|
|
Figure 16 - Two-handed operation of the larger burning tool
|
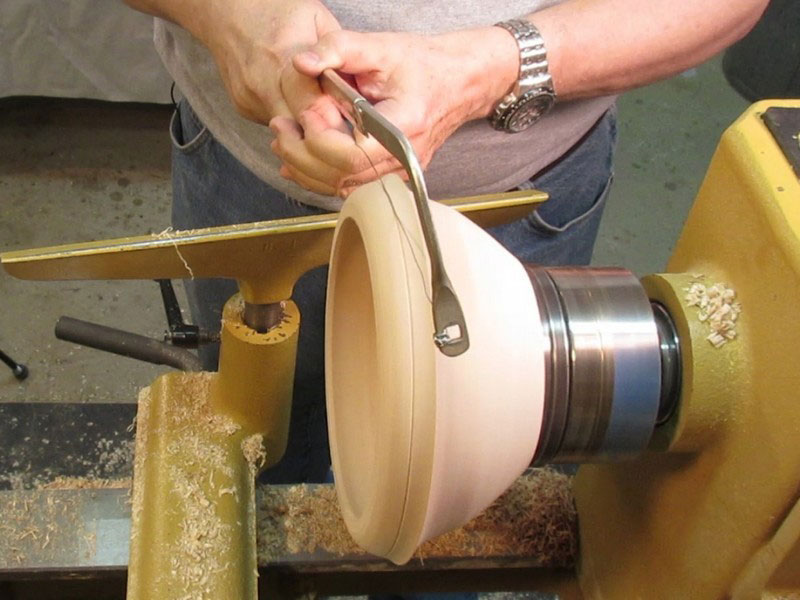
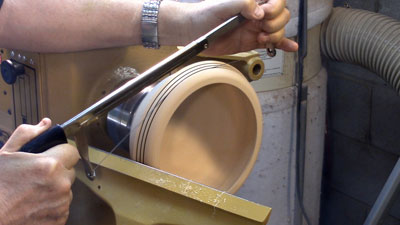
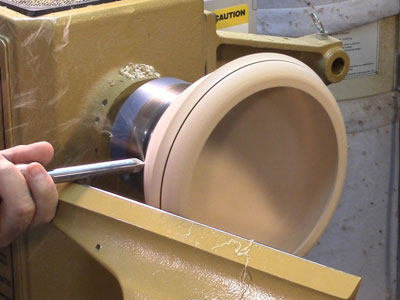
On larger work on a sloped surface, such as the side of an 8” or greater bowl, cutting a small groove for the burning tool is a necessity. The wire won't stay in one place on that sloping surface. Even with a groove cut into the work, it can still be tricky to get the burn started.
|
Figure 17 - For large work with sloping sides, always cut a groove
for the wire to ride
|
No matter which type of burning tool you make, I'm pretty sure you'll be happy with it. The burn lines can really dress up a project made with plain wood.

|
|
Figure 18 - My burning wire tools
|
If you have any questions you can email Rick at
rickandcathymorris@gmail.com
.
Return to
The Highland Woodturner
front page
|