|
Click on any picture to see a larger version.
Difficulty: Beginner / Intermediate
Tools used: Gouge, saw, chisel*, scraper, sandpaper, spokeshave*, rasp*, file*, compass*, calipers*
*: Optional
I recently bought a
35mm #7 Hirsch Gouge
from Highland Woodworking. I immediately wanted to put it to use, so I decided to make a bowl. I had a board of 4.5" wide 8/4 Alder on hand, so I cut up a 4.5" x 4.5" piece and got to work.
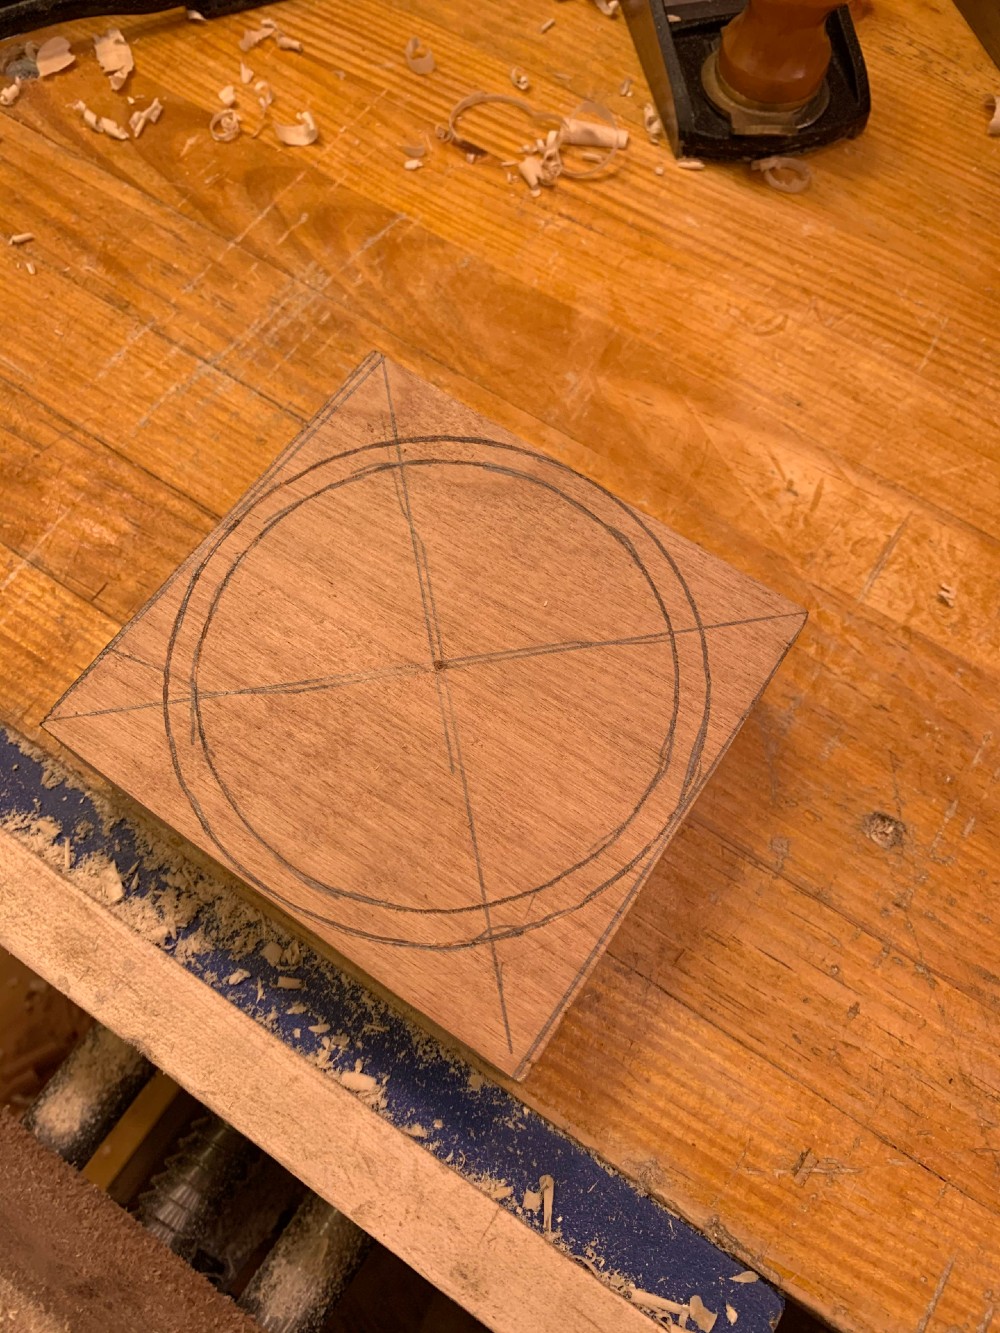
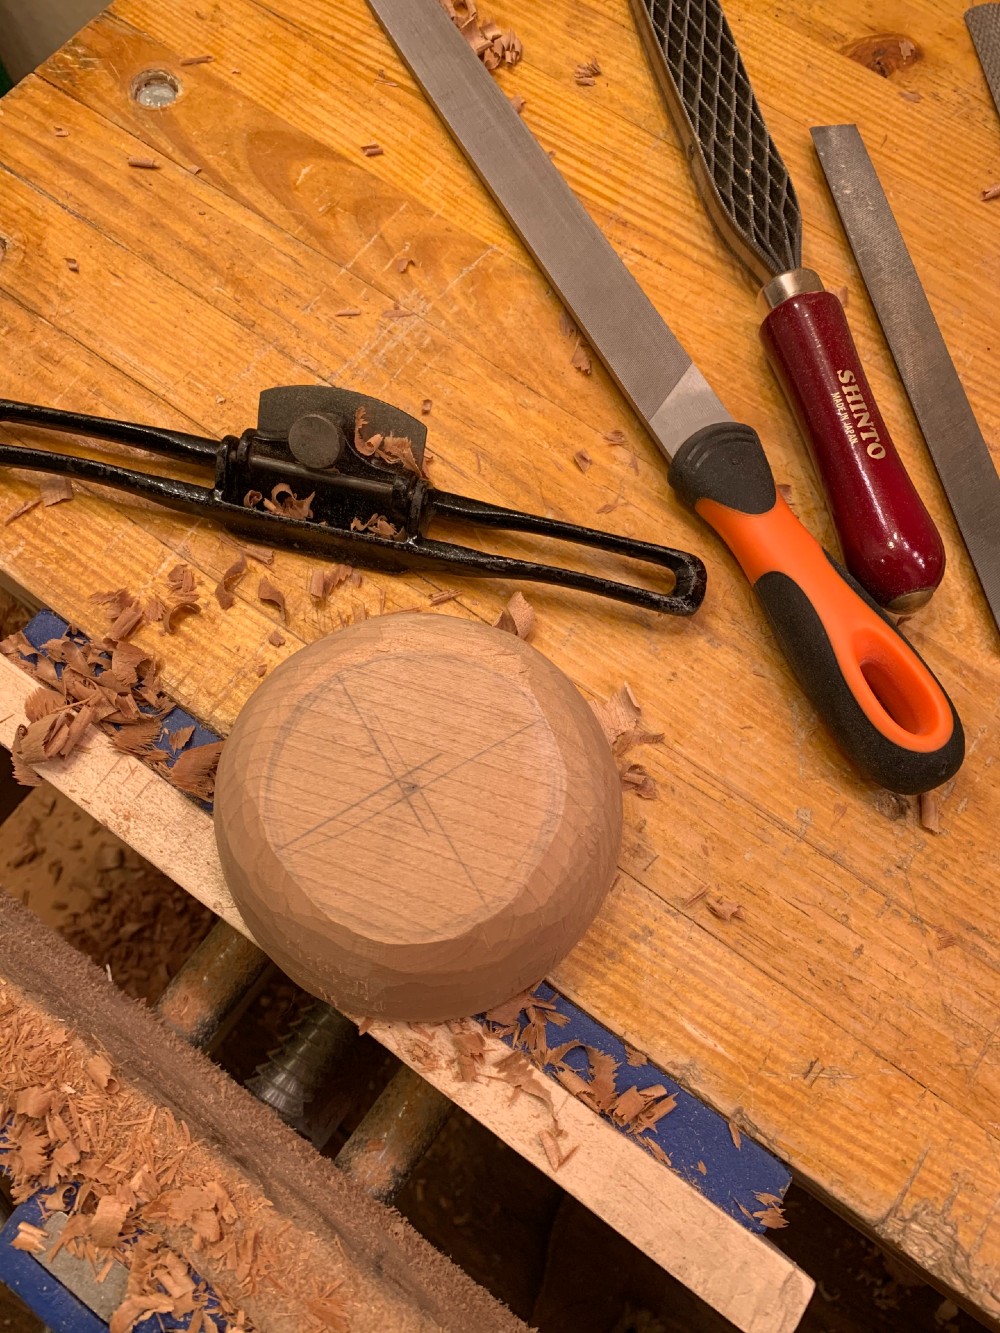
I joined the corners to find the middle point, and, with the help of a
compass
, drew two circles to mark the inner and outer diameters of the bowl. If you don't have a compass, you can always just grab a cup or a small plate from the kitchen and trace around it. You could also just free-hand draw an oval shape if that sounds more appealing.
I prefer to carve the inside of the bowl before shaping the outside. This allows me to hold it nicely in the vise, which provides a safer work environment.
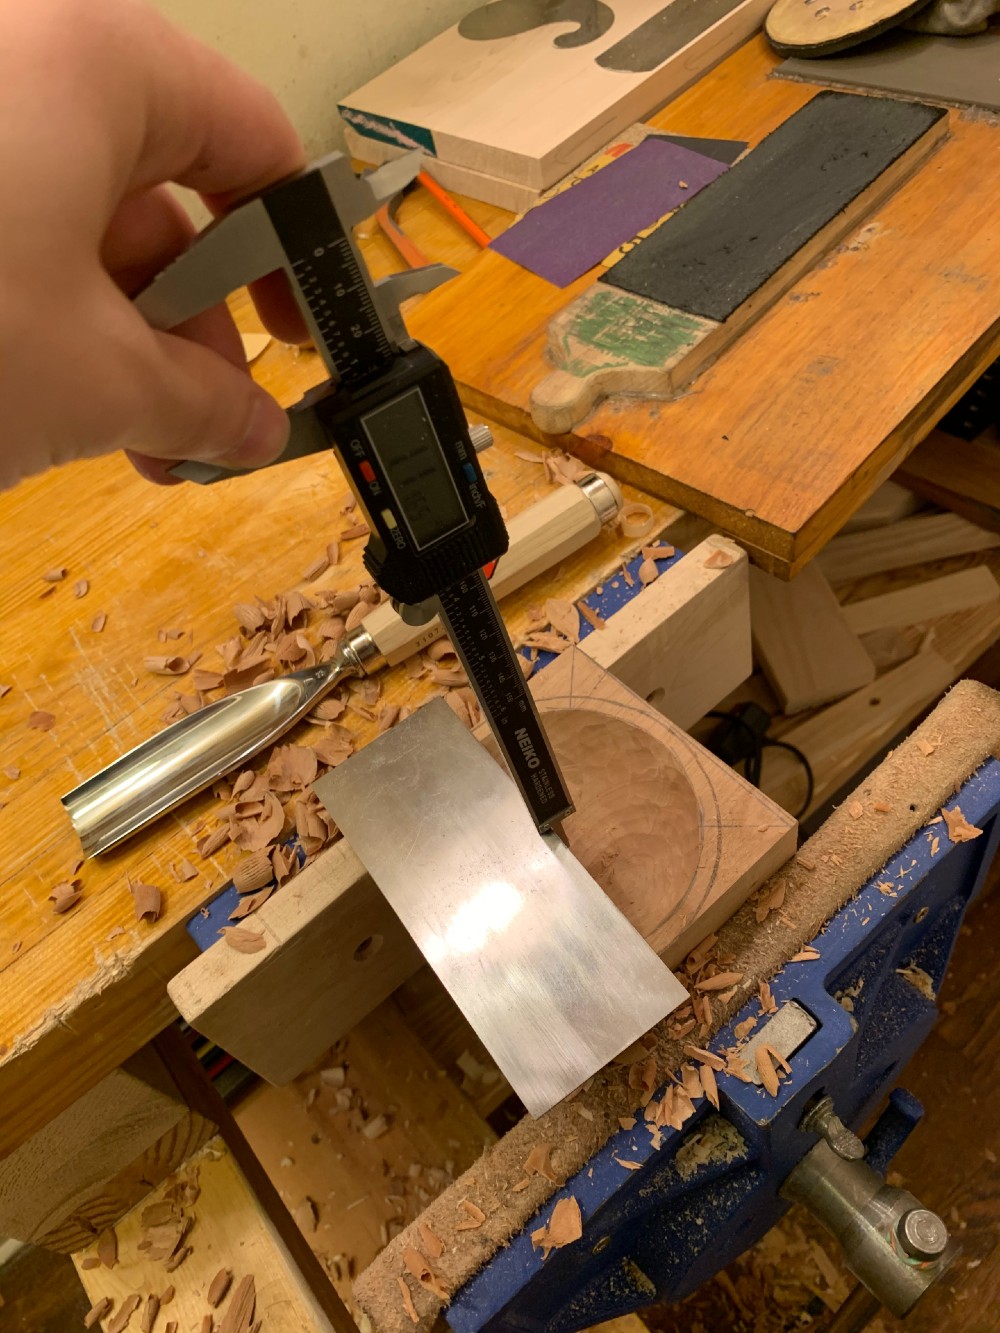
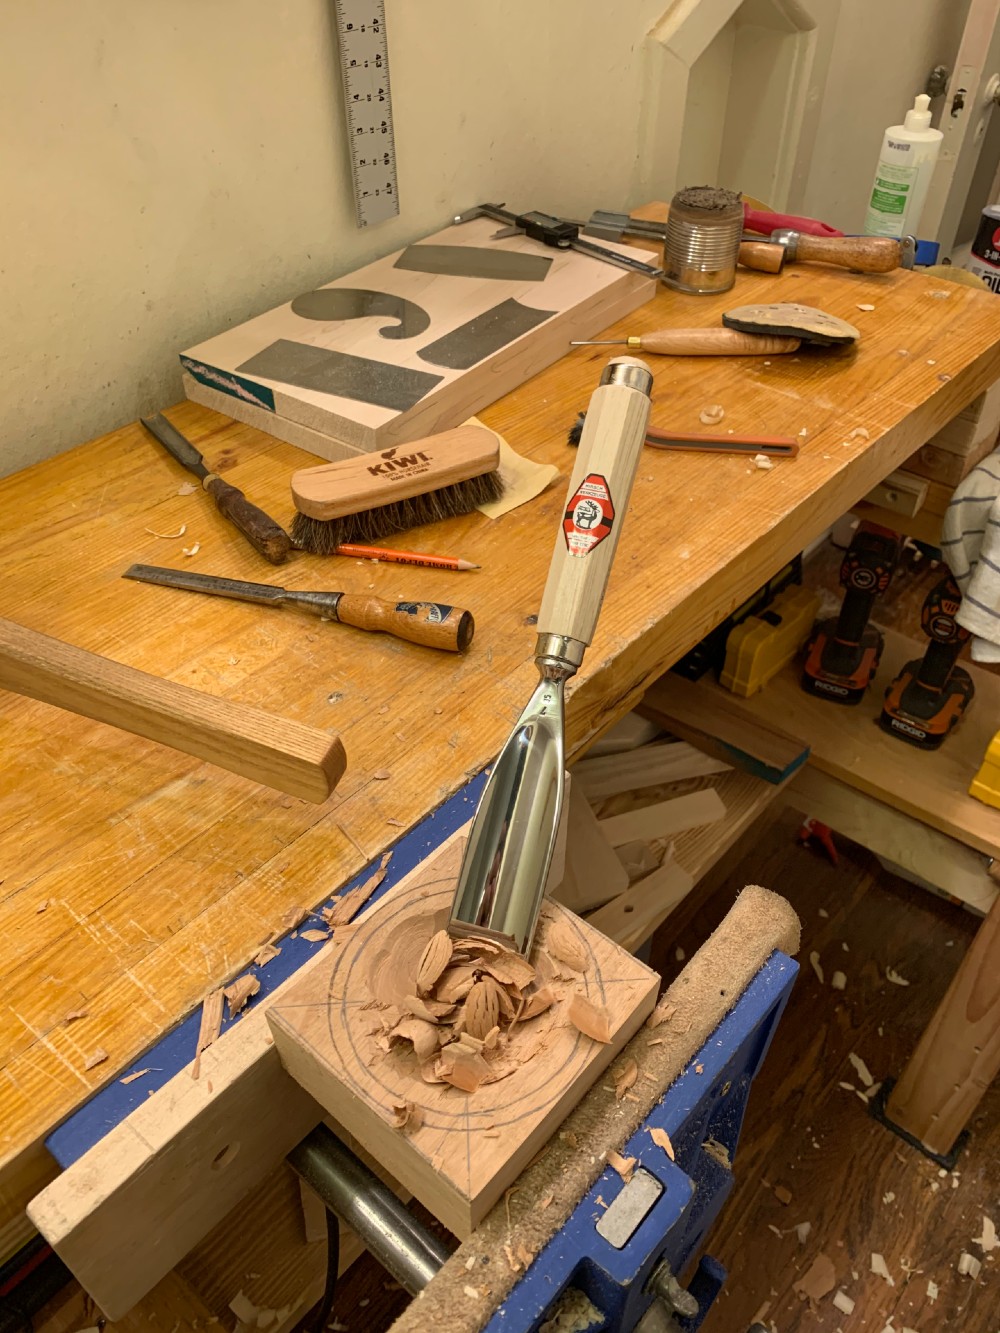
I used a chisel to remove some of the waste, then switched to using the gouge. Using a two-handed motion that reminds me of scooping ice cream, the gouge removes the waste quickly. I carve little by little from all around the bowl to make even progress. I kept a
strop
nearby, and frequently touched up the cutting edge to prevent it from getting dull. I used a
scraper
to bridge the gap, and checked the process by measuring the depth with
calipers
. I aimed for about 0.3" of thickness at the bottom.
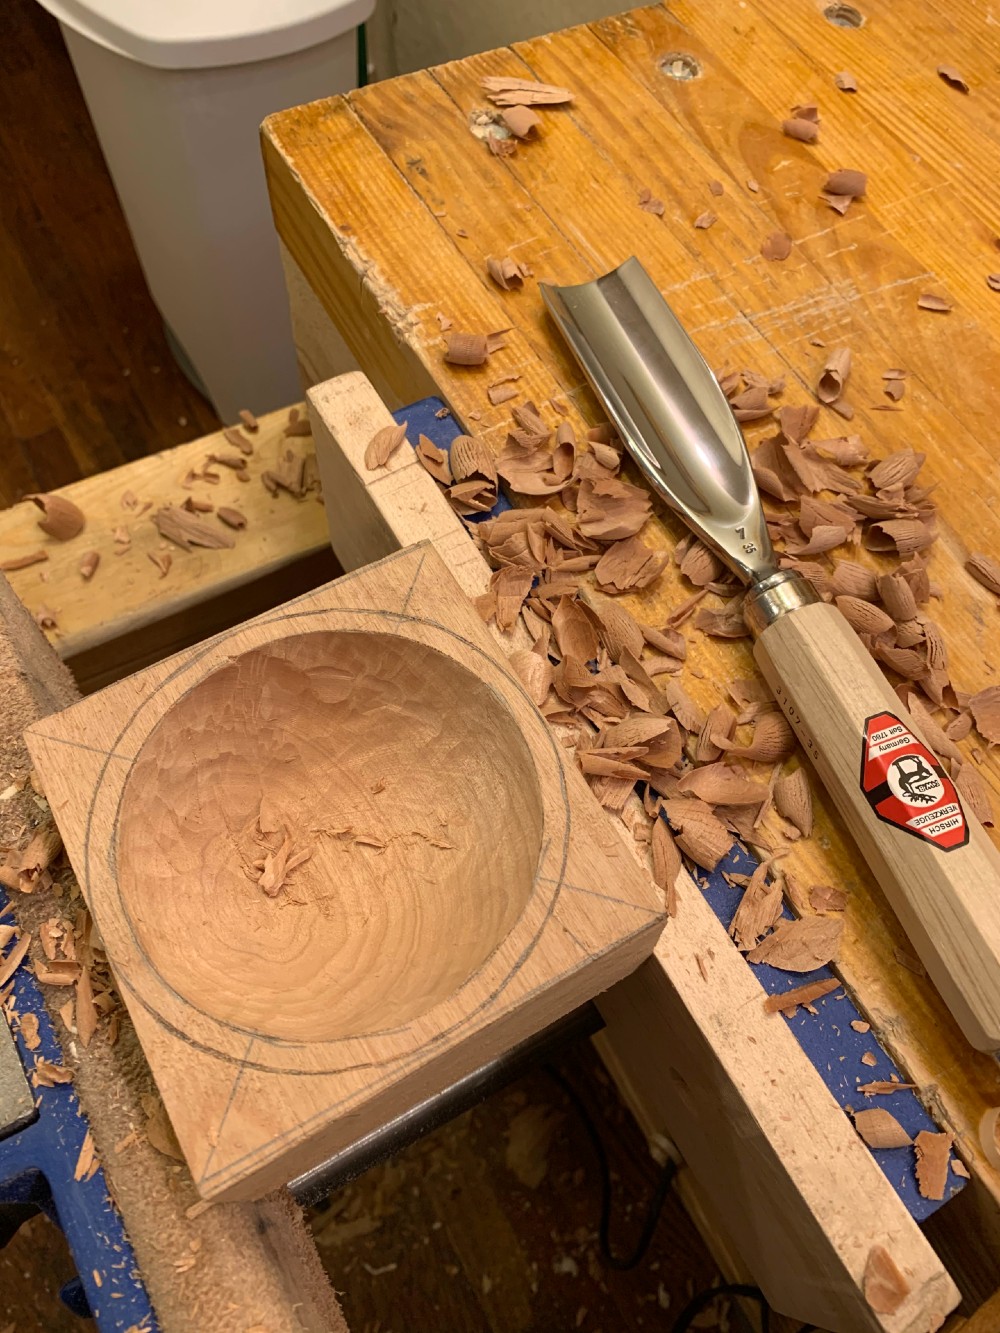
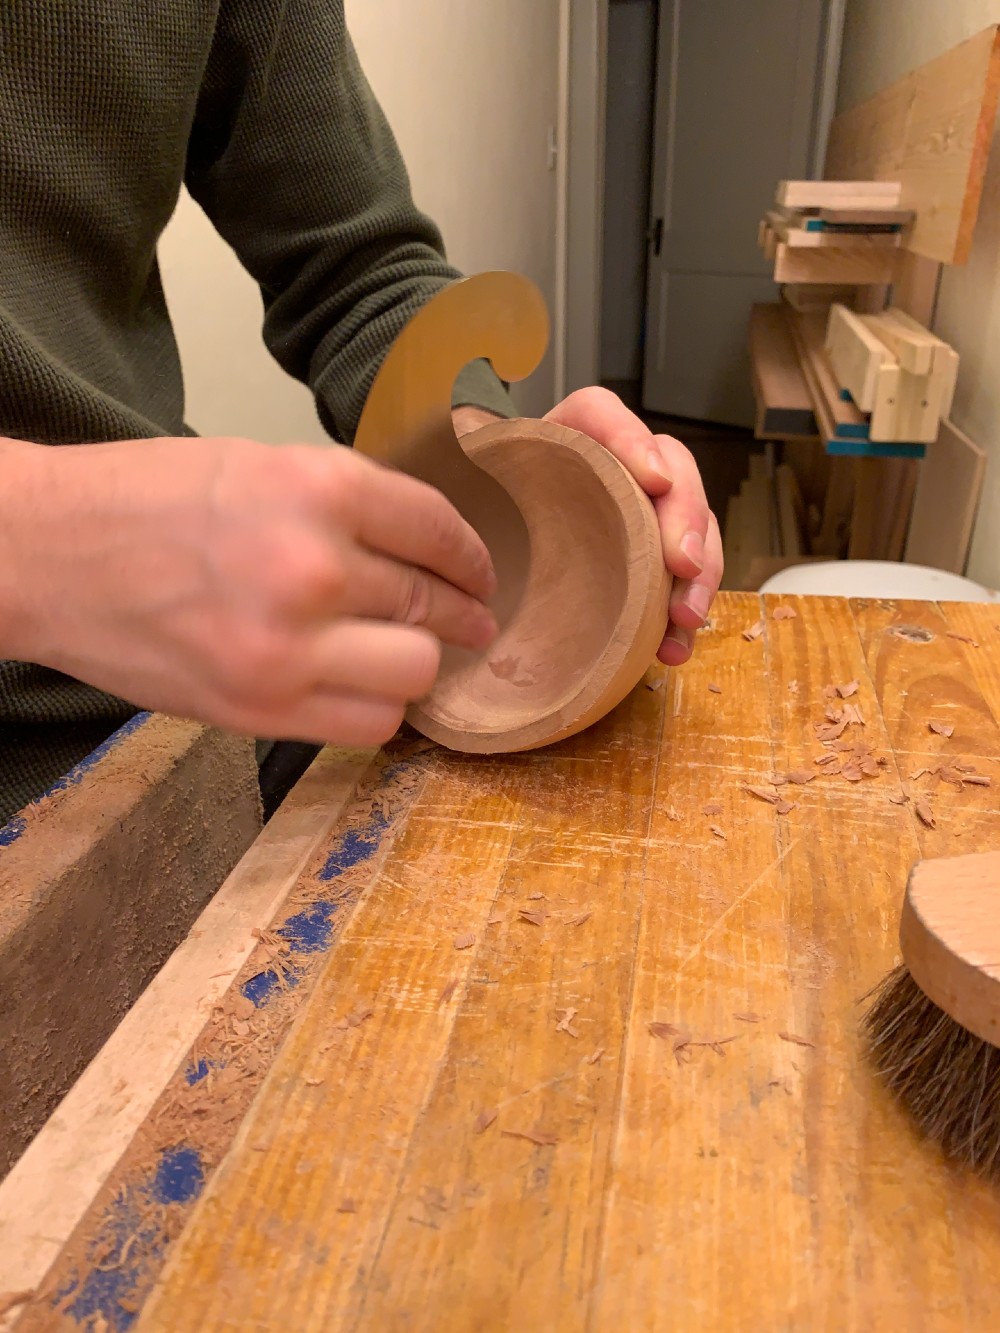
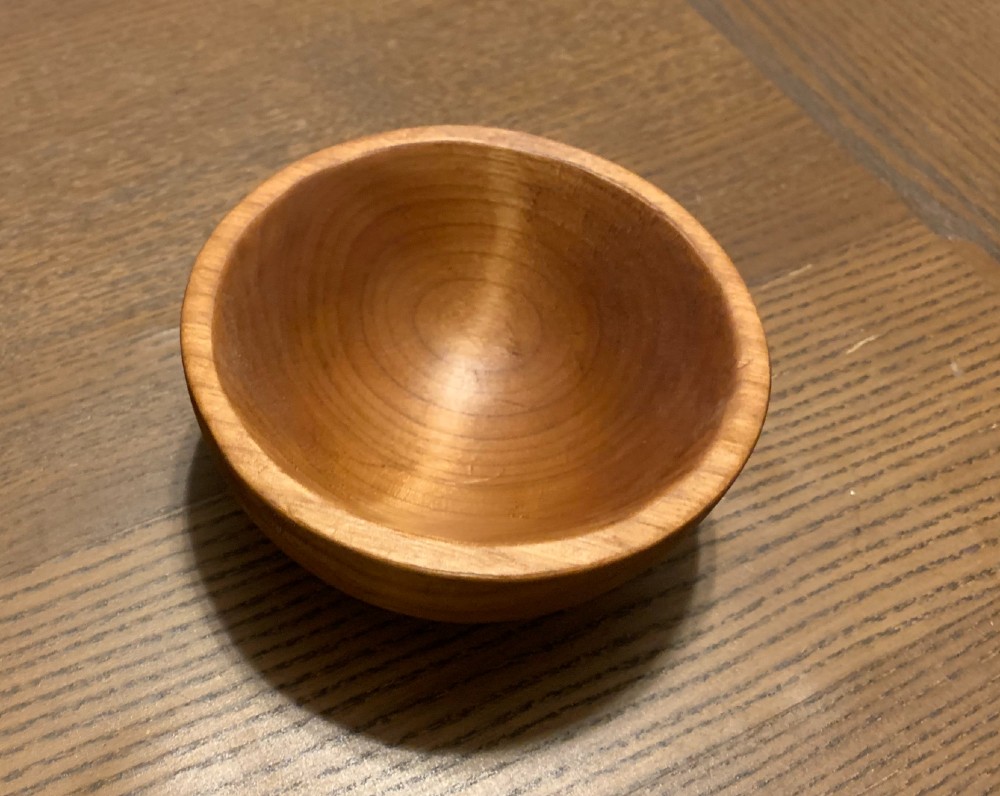
Once I was satisfied with the rough shape, I switched to a
gooseneck scraper
to remove some of the toolmarks. A scraper makes a quick work of the toolmarks and cuts down on sanding. I leave the inside of the bowl in this half-finished shape, and move on to shaping the outside.
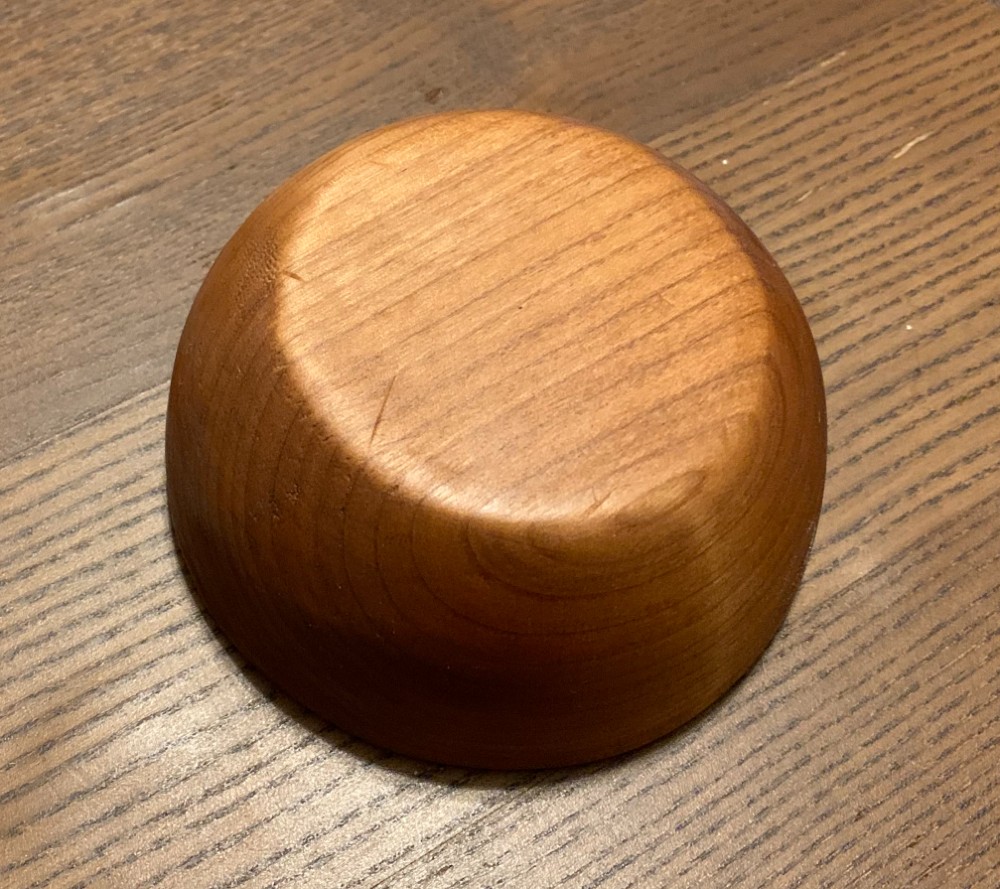
I wanted a simple rounded figure on the outside, so I marked a circle as a guide.
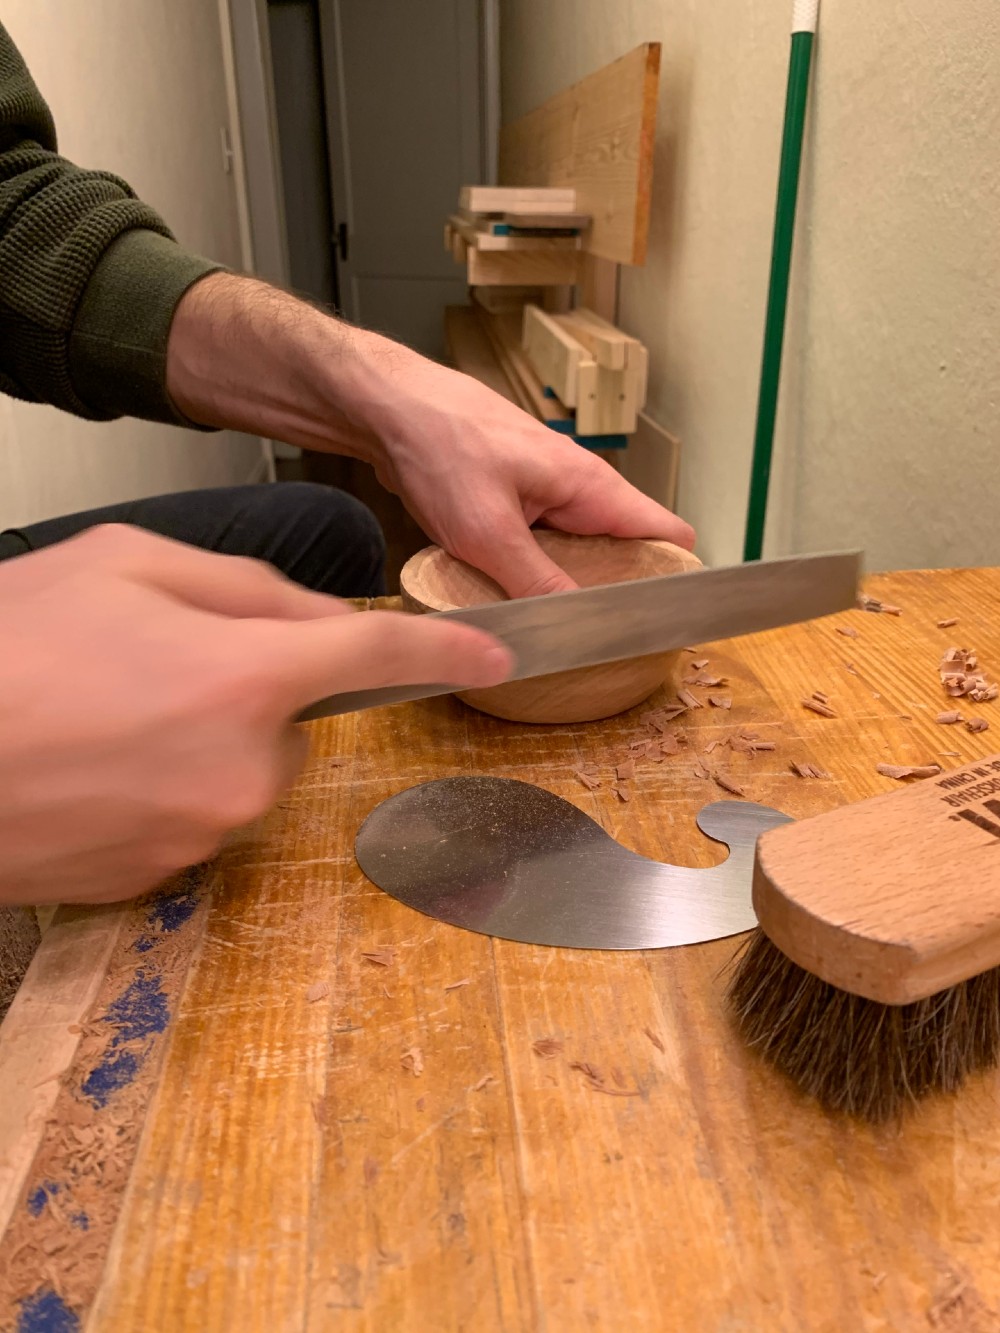
I used a saw and a chisel to remove the bulk of the waste. I then switched to a
spokeshave
to get the rough shape, and refined it using a
rasp and a file
. If you are missing any of these tools, you can just wrap a piece of coarse sandpaper around a block of wood, and shape the bowl with that.
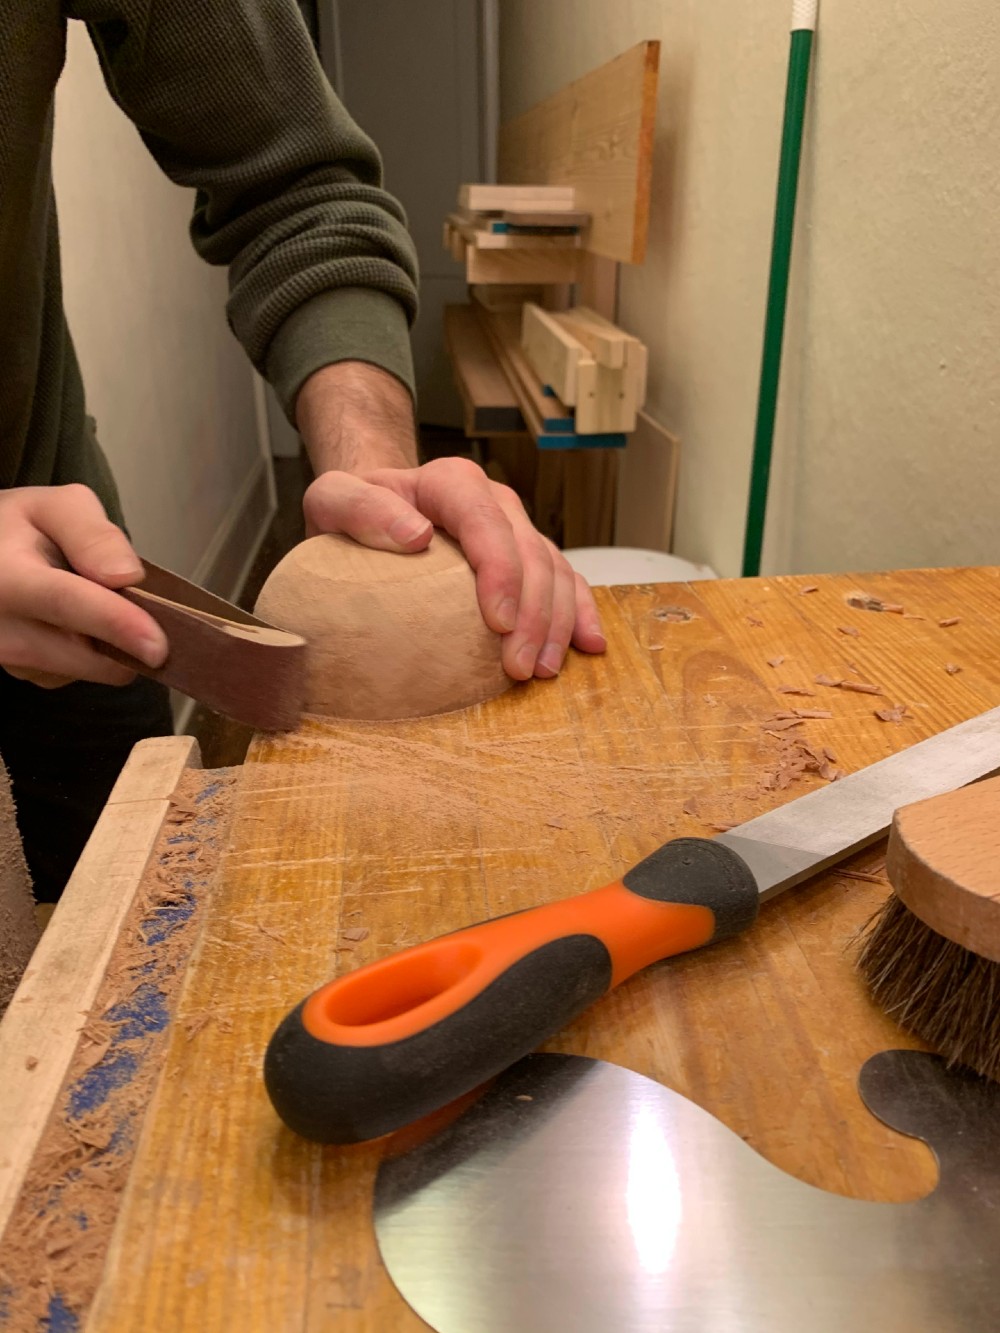
I do more scraping, filing and sanding as needed to get the desired shape. I like leaving a few tool marks as evidence of hand work, but I also like having a smooth-to-touch surface. A scraper, a file and 120 and 220 grit sandpaper gets me where I want.
Once I am satisfied with the shape, I wash the bowl with warm water and let it dry. This raises the grain, which gets sanded down with 220 grit sandpaper. I found that if I skip this step, the grain rises the first time I wash the piece, and I need to sand to get it smooth again. I think it is better to get it out of the way before using the piece. If you plan to use a film finish, the water should never reach the wood, so you may not need this step.
I finish my bowl with four coats of
food-grade mineral oil
. I wipe it on with some steel wool, let it absorb for 15-30 minutes, and wipe off the excess.
Here is the final product, and thanks for reading!
Click here
to visit the Highland Woodworking Carving Department
Sait is a PhD student in Operations Research at Georgia Tech. He has been a woodworker for the past 1.5 years. He enjoys working on small projects, and restoring vintage tools in his small apartment workshop. He can be reached at
saitcakmak@outlook.com
. You can visit his website at
https://www.saitcakmak.com/woodworking
Return to the
Wood News Online
front page
|