|
Click on any picture to see a larger version.
|
|
 Brian Graham
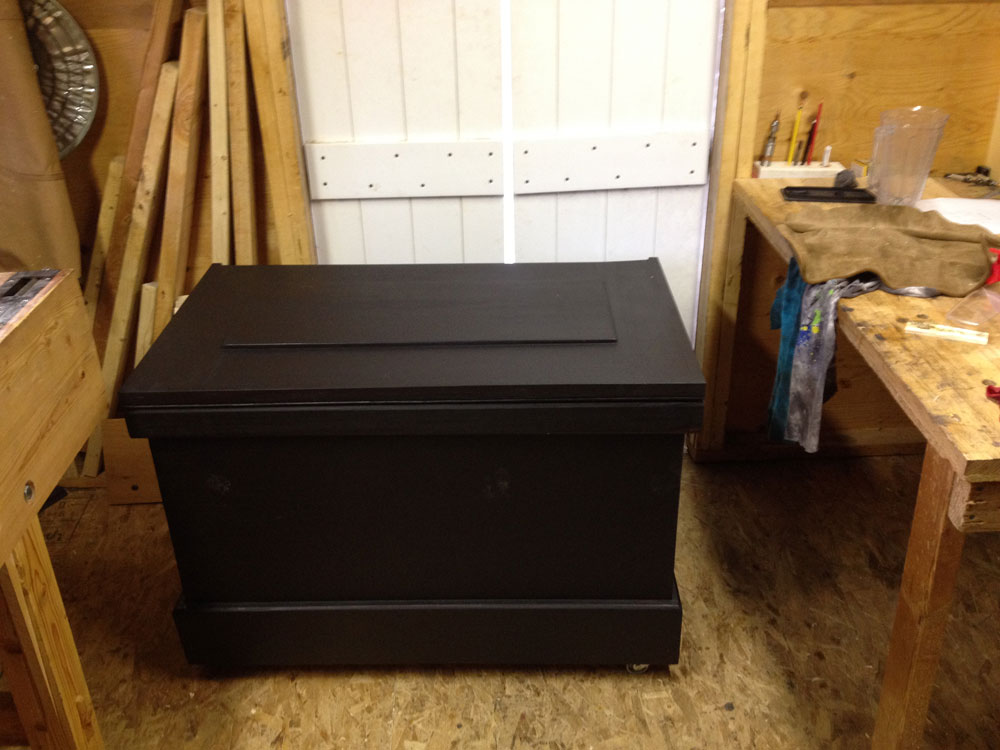
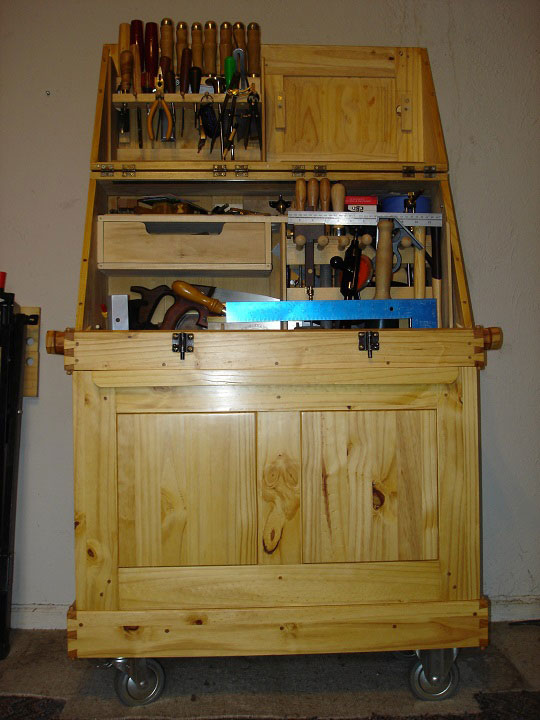
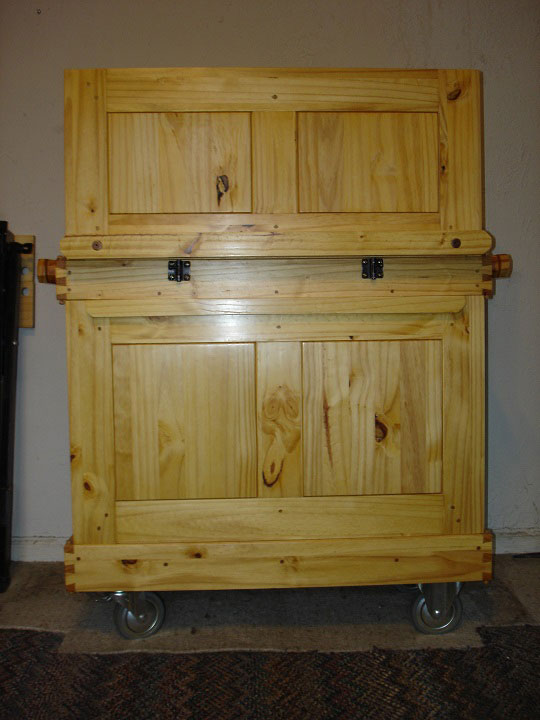
Here is my tool chest I made based on one from Paul Sellers.
|
|
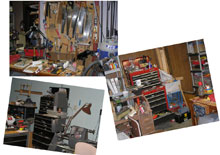 Bob Groh
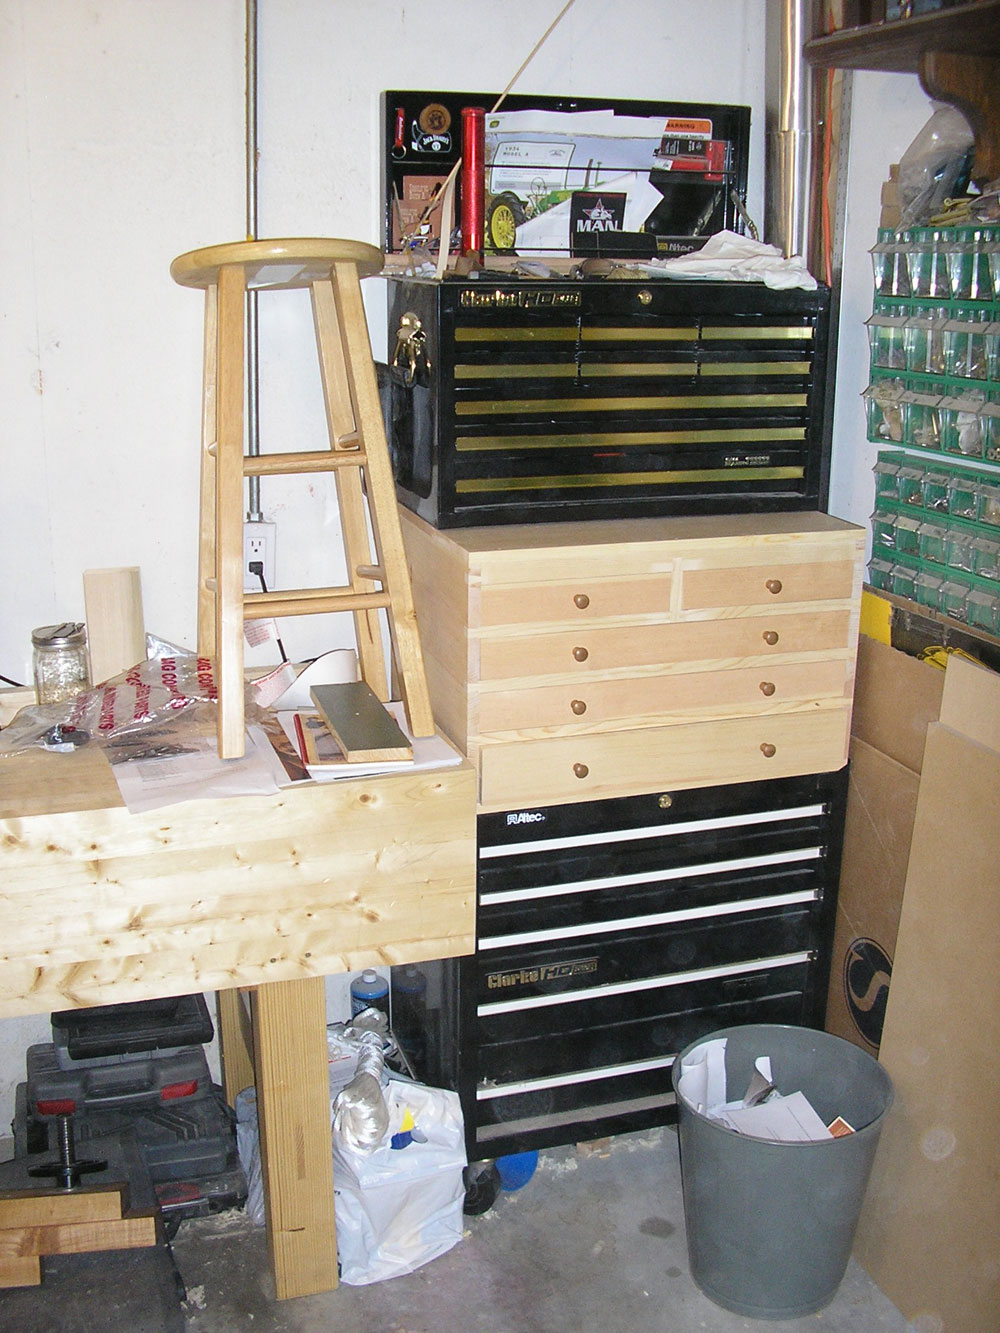
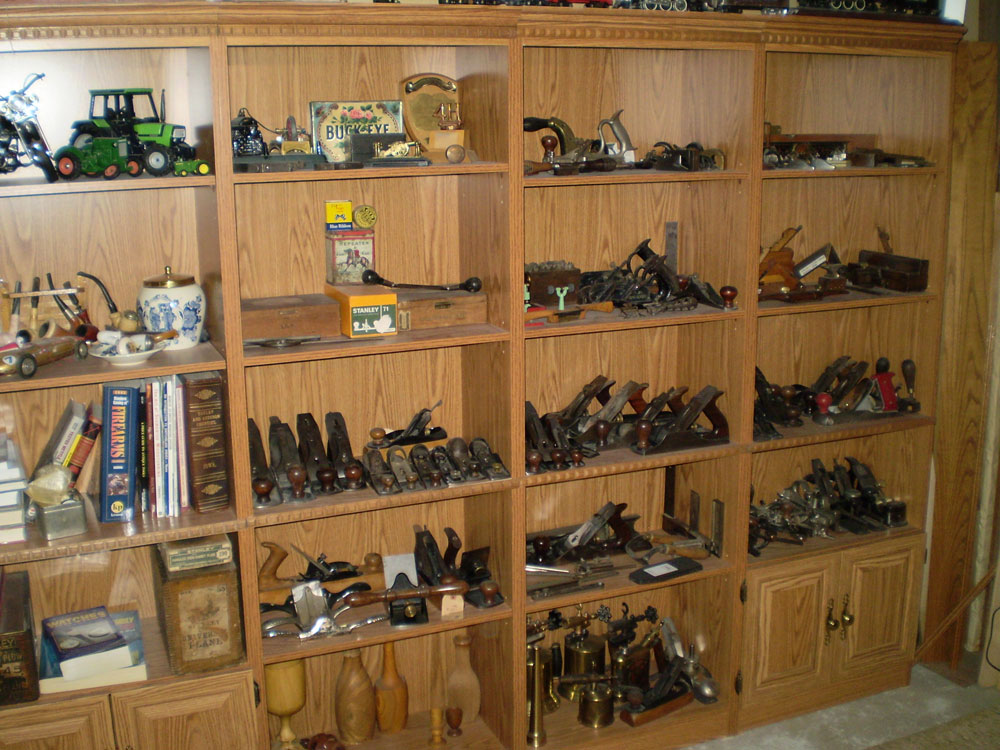
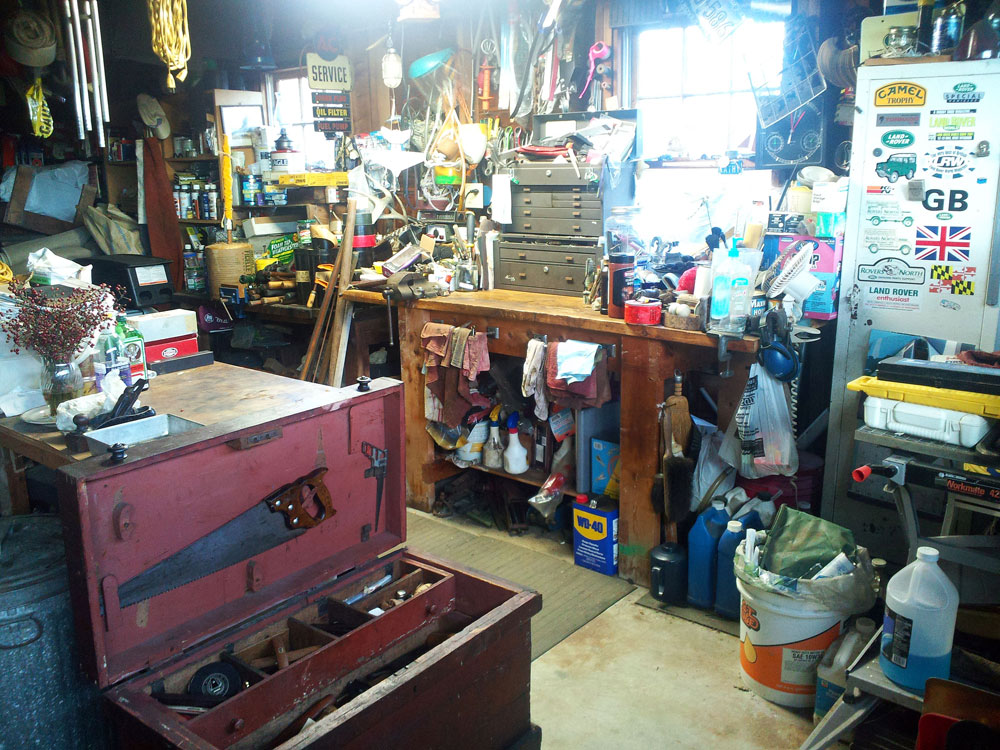
As you can see from the photos, my tool organization (yes, there is … sort of … some form of organization going on!) my workshop (3/4 of a 2-car garage) is a bit of a mess. My tools (the ‘heart' of which is a ‘real' workbench – my pride and joy – handmade, of course) are an eclectic mix of power and hand tools. Two Shopmith's, a power miter saw, a Craftsman 6″ jointer (both out of view on the other side of the garage), several tool chests (more or less loosely organized as mechanical tools in one and woodworking tools in the other), way too many hand saws and Stanley planes (of various types and sizes), blanks for wood turning (some are over 30 years old – well, they have to dry!!), and the list goes on. And on.
The wall behind the workbench (with peg board and handsaws) was built to separate the two halves of the garage and provide storage area on one side and, on the back side (not visible in the photo) a series of ‘pegs supports my collection of wood boards (or, as my wife calls it, my scrap heap). Plus that is where I hide the sheets and partial sheets of plywood.
Just visible in one picture, you can see my dust collection system – a ShopVac and Dust Deputy on a roll around cart. I consider that essential to my shop. Not visible (on the floor) is a small pile of wood shavings from some wood planing I did as part of sharpening some of my Stanley planes – I love to use them on odd pieces of wood! It is truly satisfying to see the effect of shaving down a piece of cruddy wood and getting a nice, clean piece of wood! Ah, yes, I do like my woodworking.
So my tool organization – well, I sort of can put my hand on what I want. I'm constantly working on better ways to hold and organize things. I need a better way to hold my wood chisels – some way to organize them, protect the edges and have them readily available to use (working on that). I need a stand for my router table. I need a much better set of casters and base for my jointer. It never stops and I love every bit of it.
|
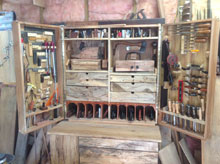 Carter Choate
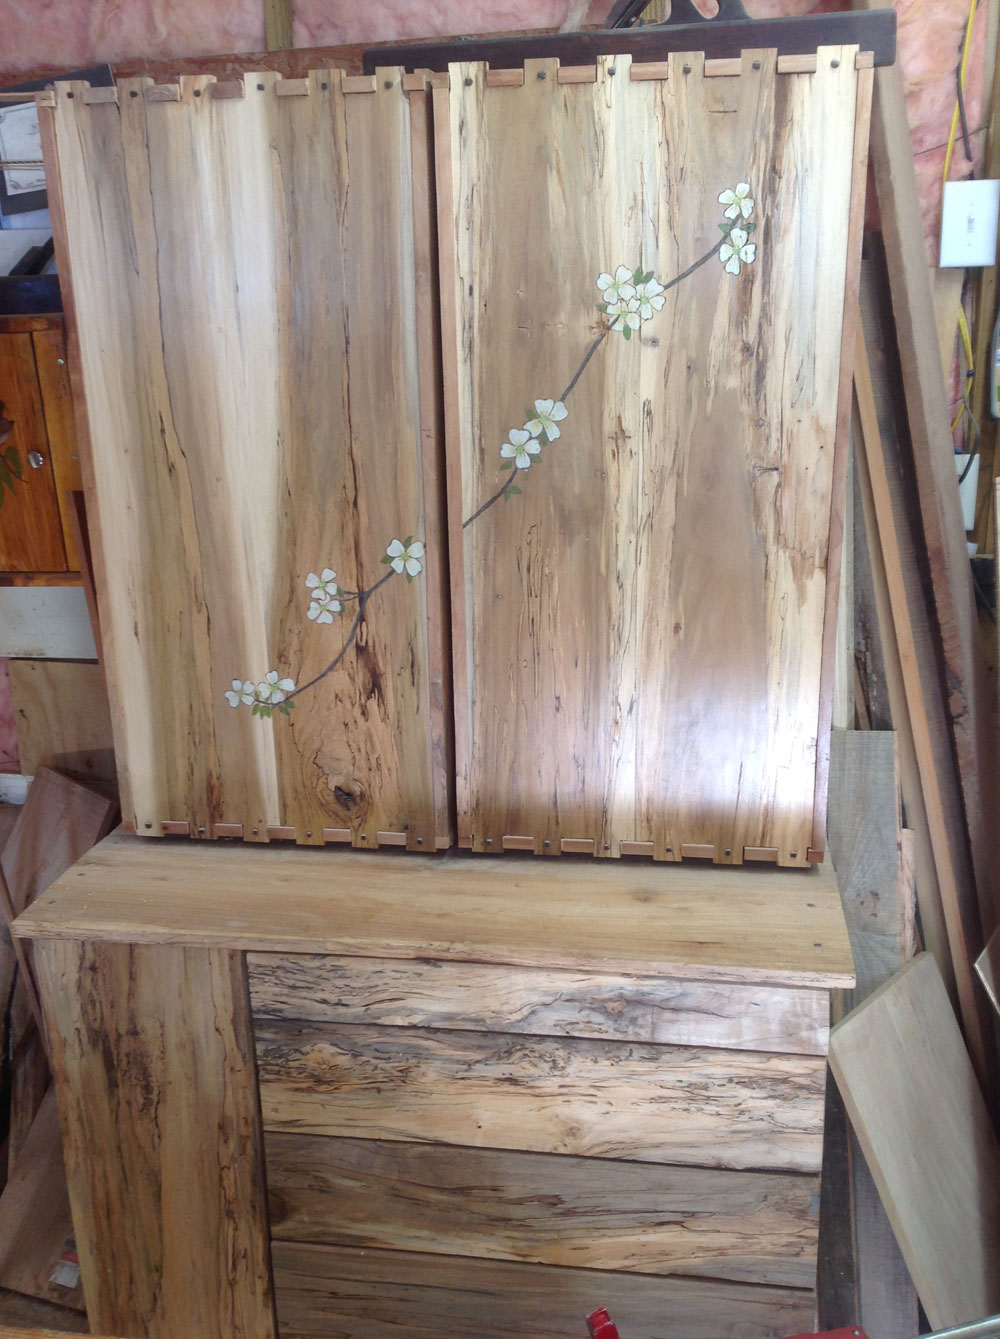
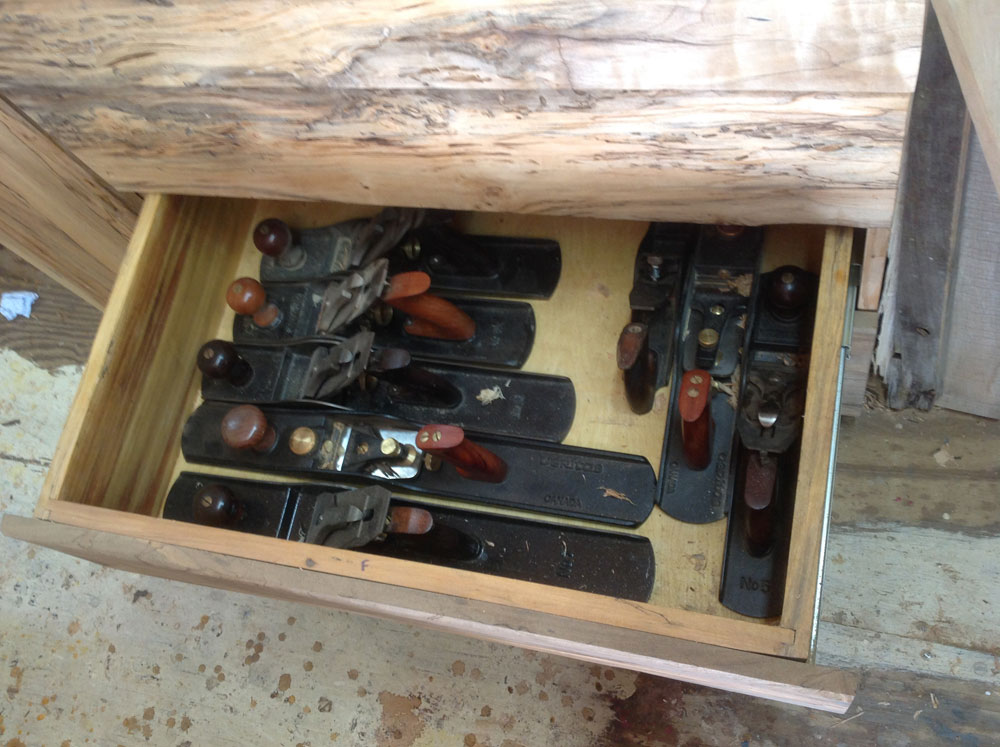
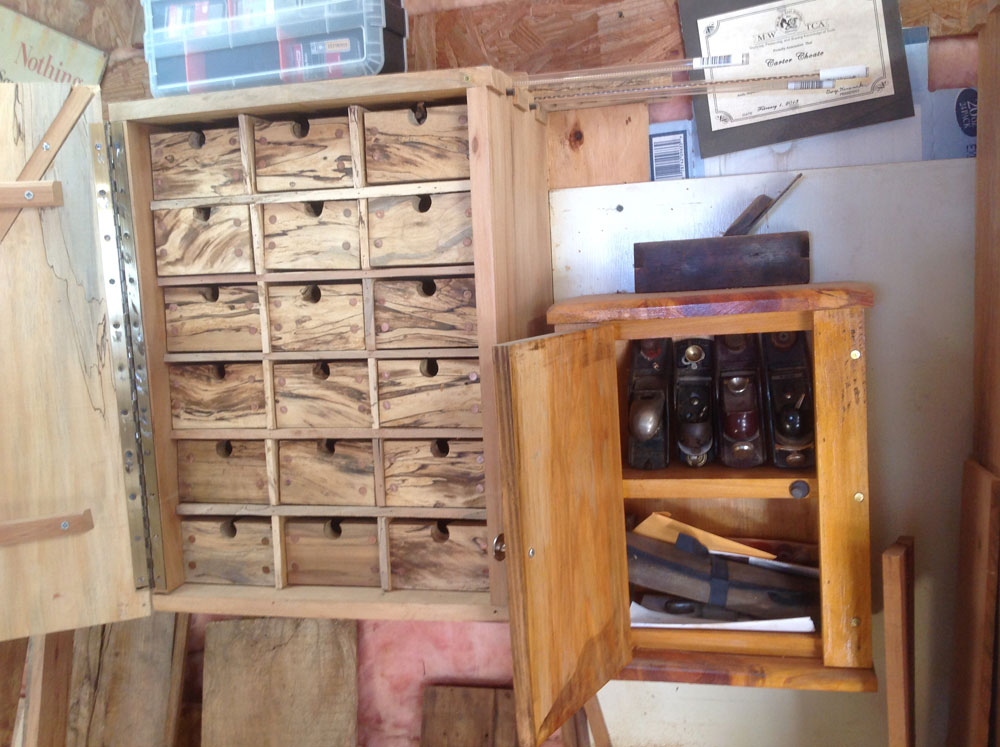
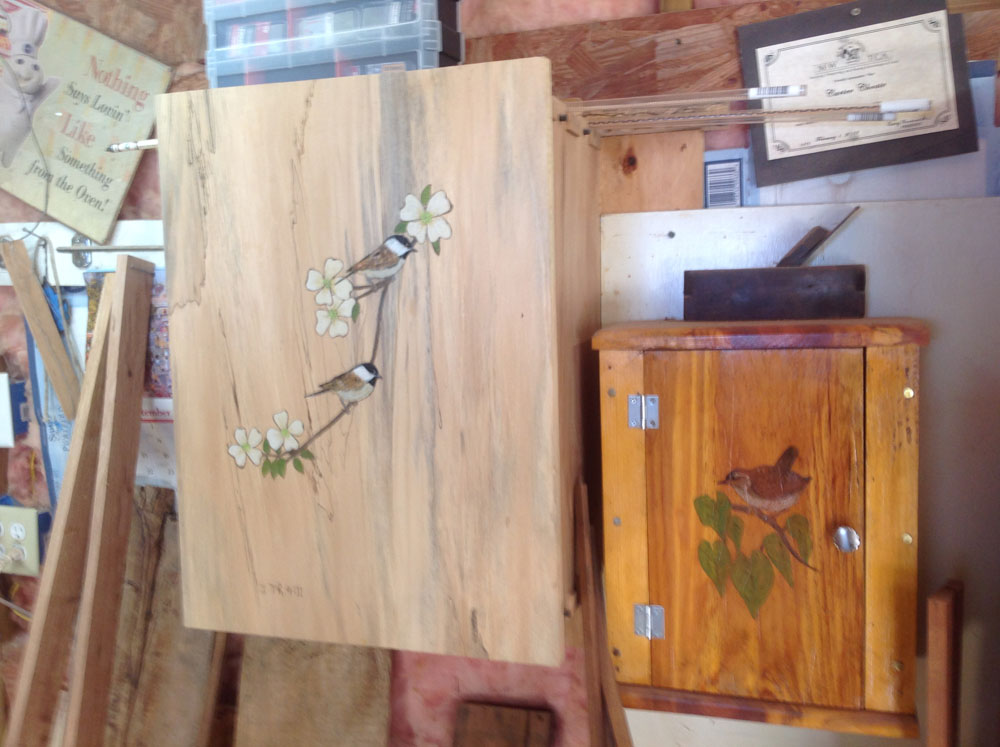
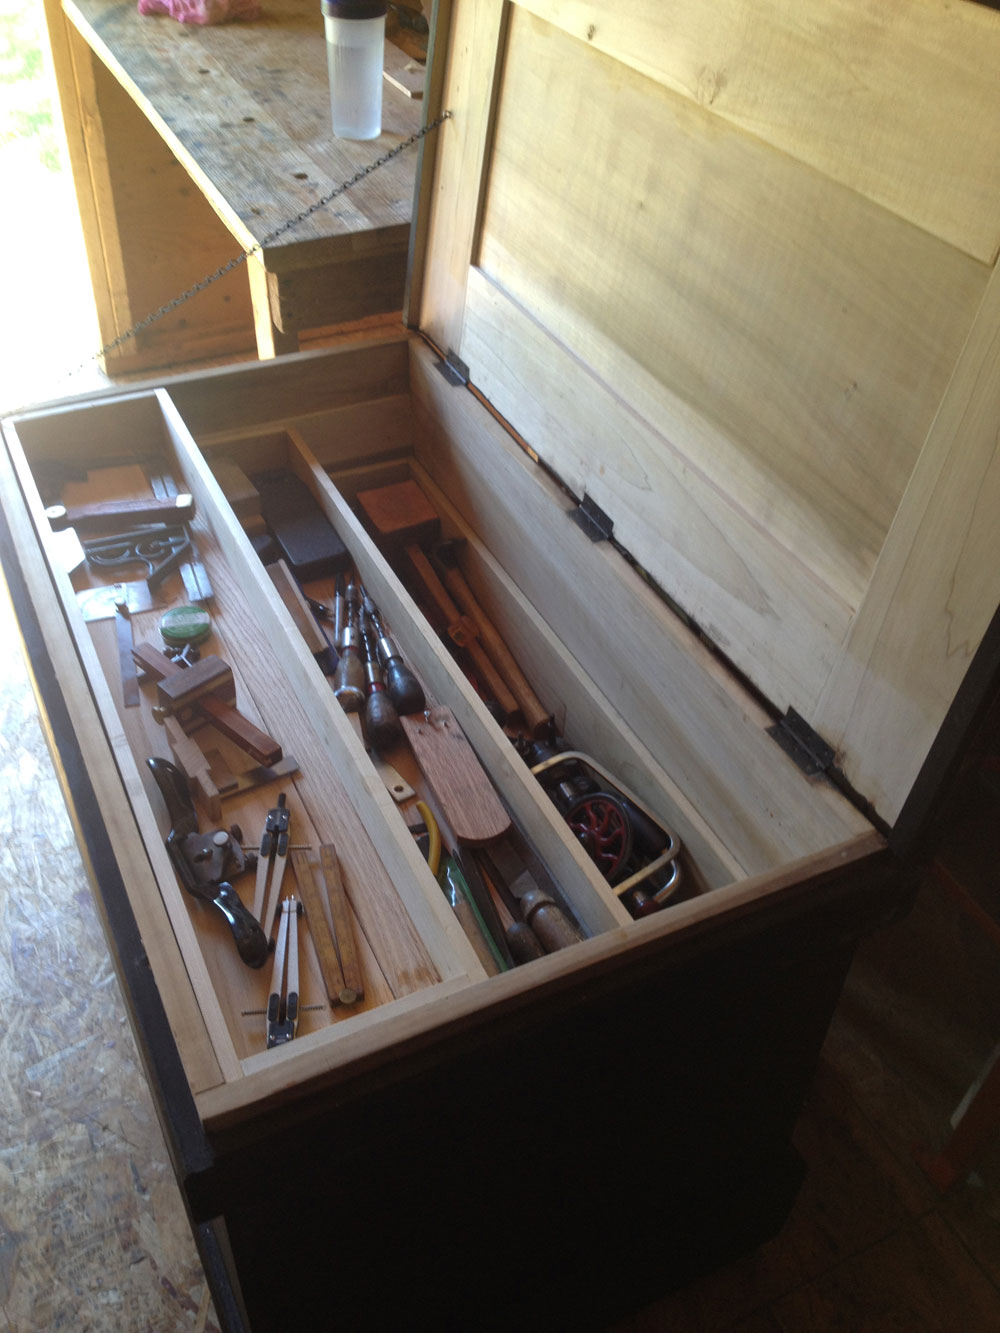
My wife does pyrography and art. She made the toolboxes pretty. altho i sweep the shop out every day it is small and work goes on. The lady at the saw mill Logs to lumber supplies me with cherry, sycamore, black walnut , spalted poplar, oak, and pine. I have lots of stuff to make. Like Jenny Alexander says: "Wood is wonderful."
|
|
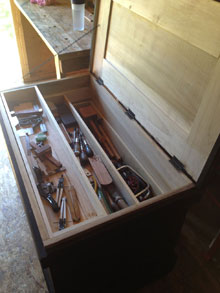 George Micklus
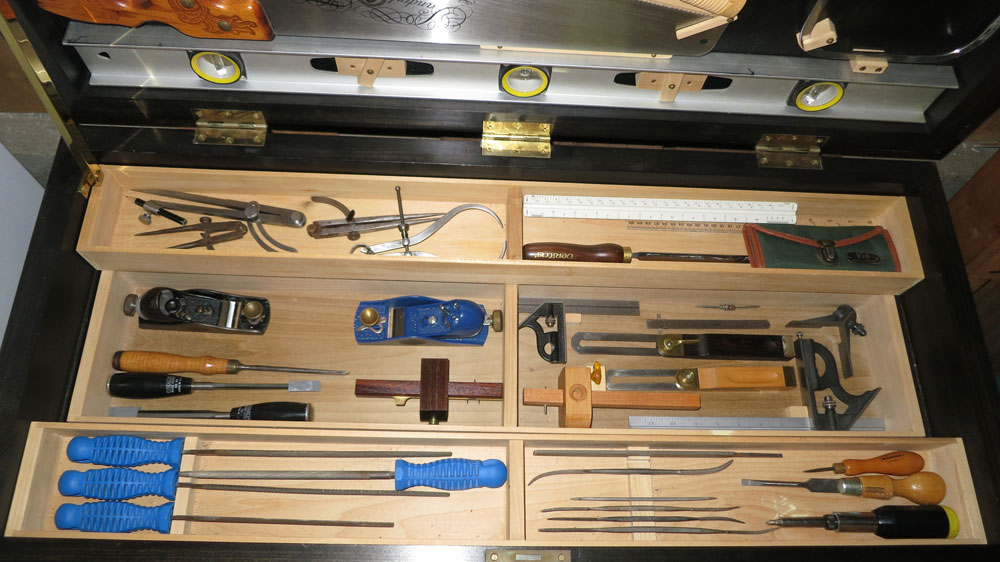
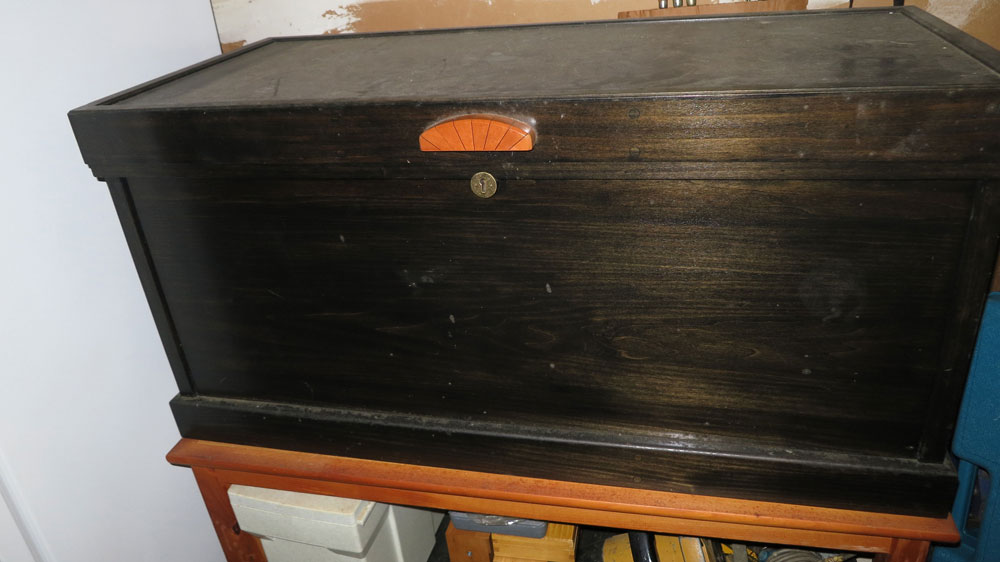
She may not be original but I made her with her hard earned contents.
George Micklus
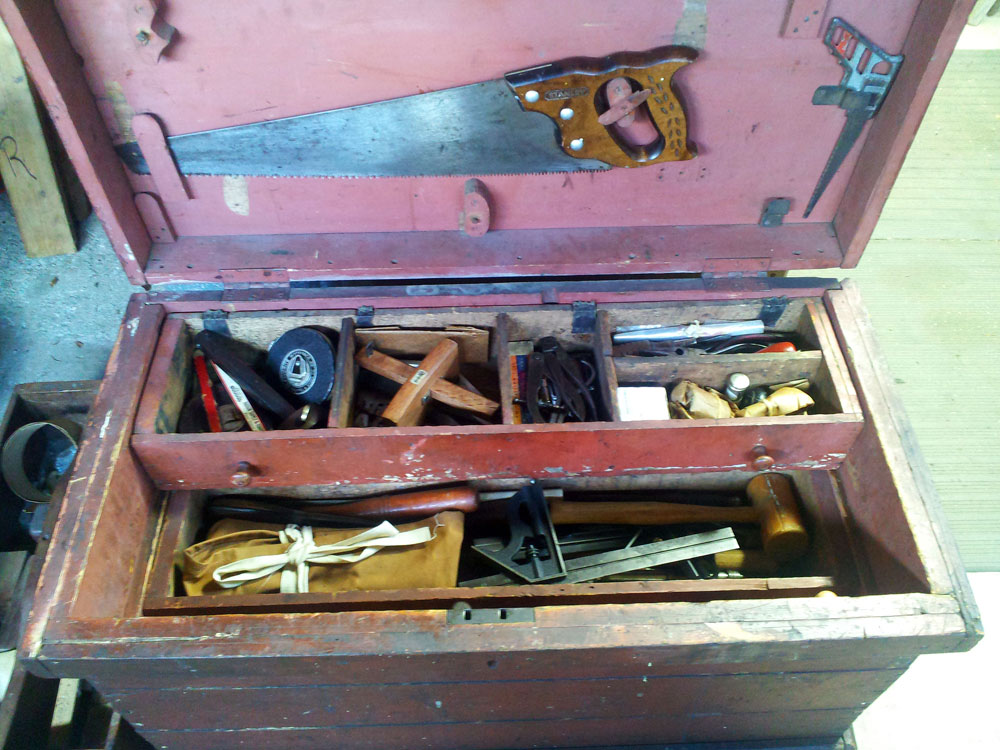
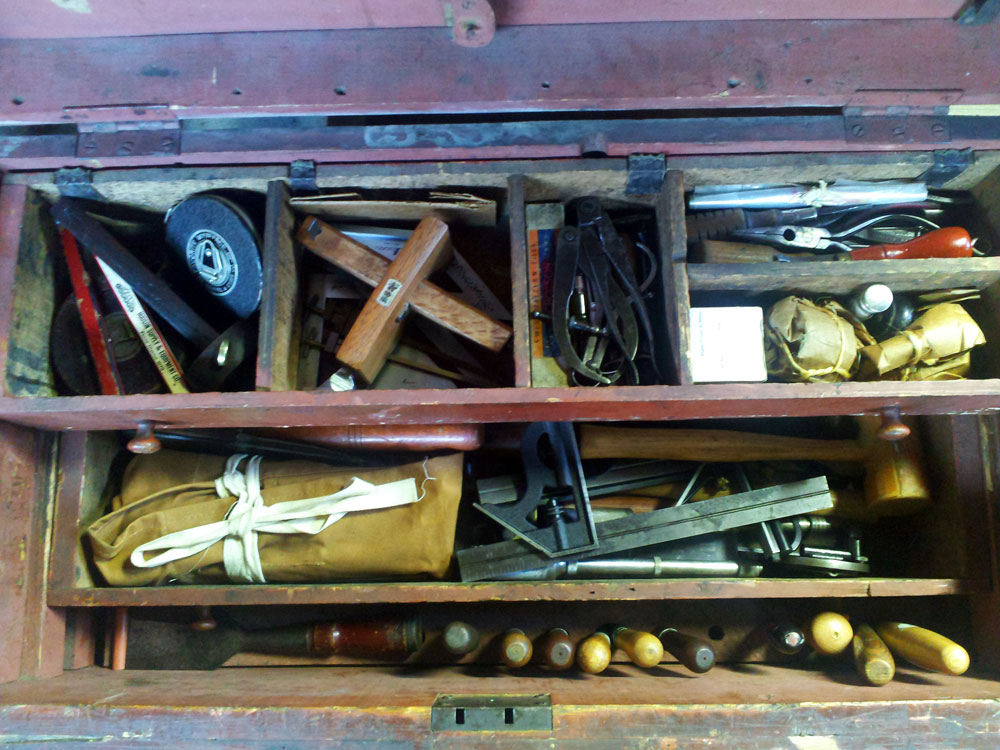
She may not be original but I made her with her hard earned contents.
|
|
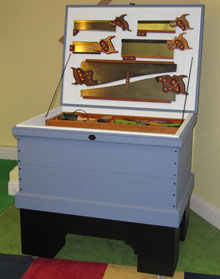 Peter Pedisich
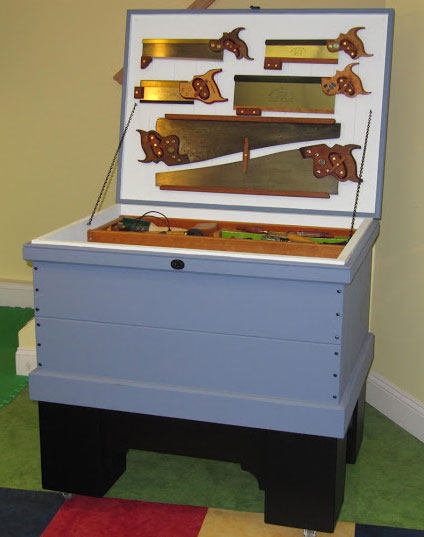
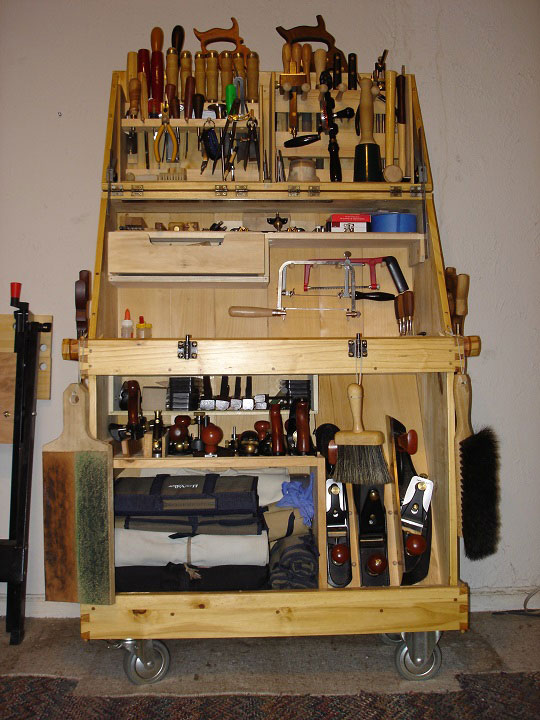
My Tool Chest is made entirely out of scraps of plywood stair stringer material, as well as pine and poplar cutoffs I've saved. I never send any wood to the landfill! It either gets used or burned. Even the paint was leftover from home projects and mixed for a custom colonial blue. The one feature that sets my tool chest apart is the raised module base that puts the chest at the perfect height and allows it to move around. Purists may gasp, but it has been the second best improvement to my shop after my workbench.
CLICK HERE
to see my Picasa photo album.
|
|
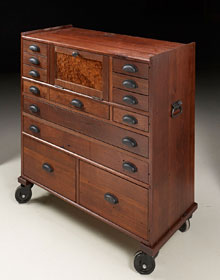 Phil Huber
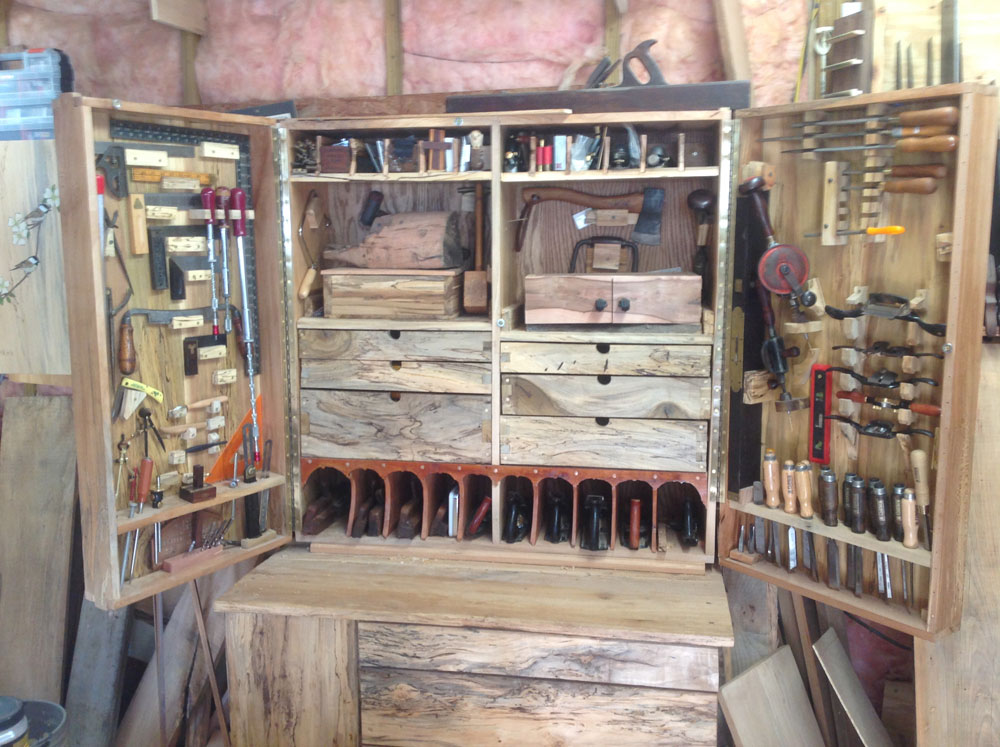
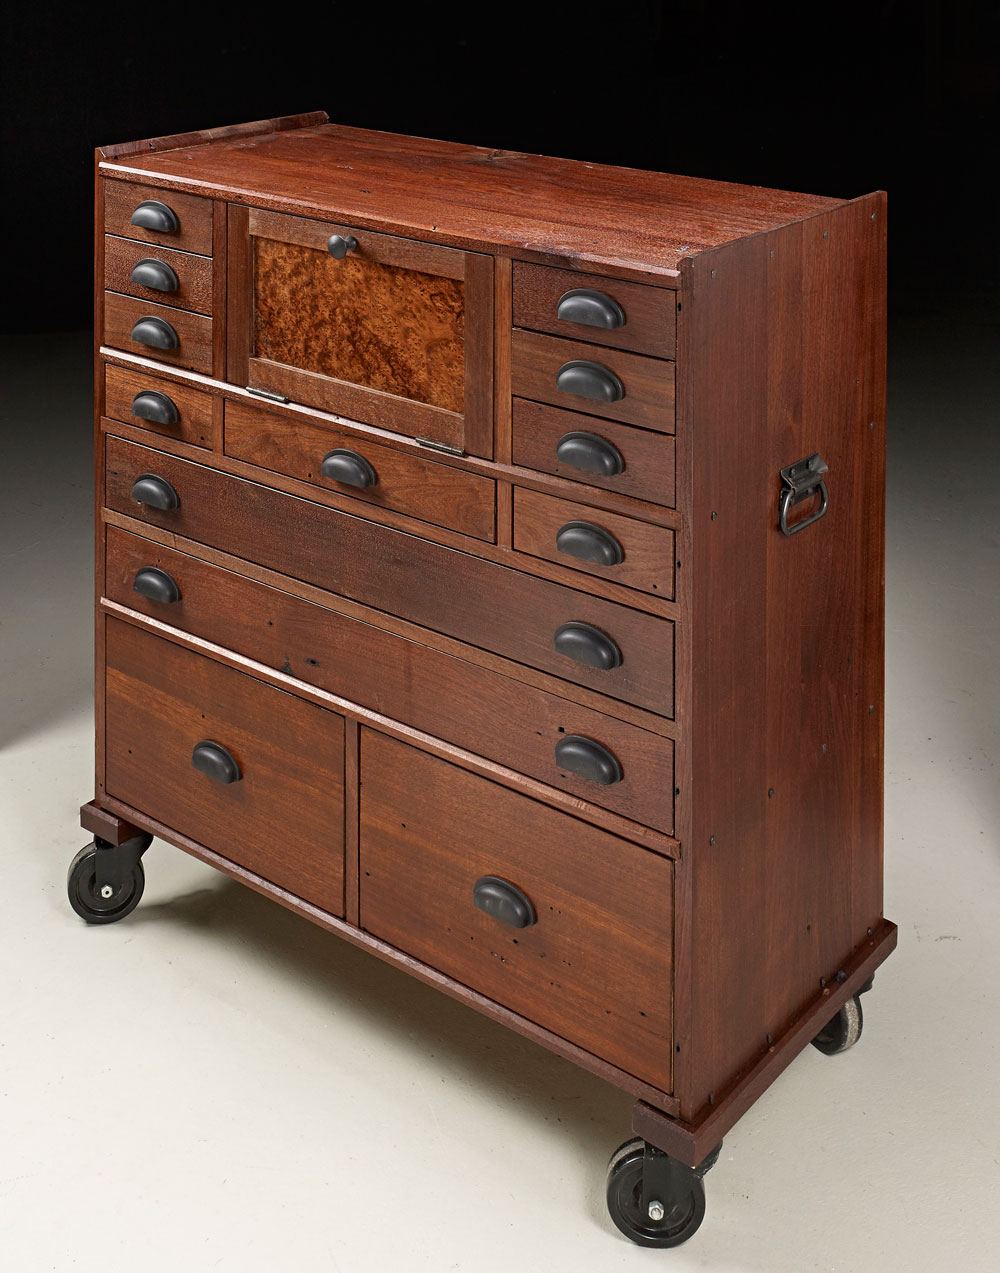
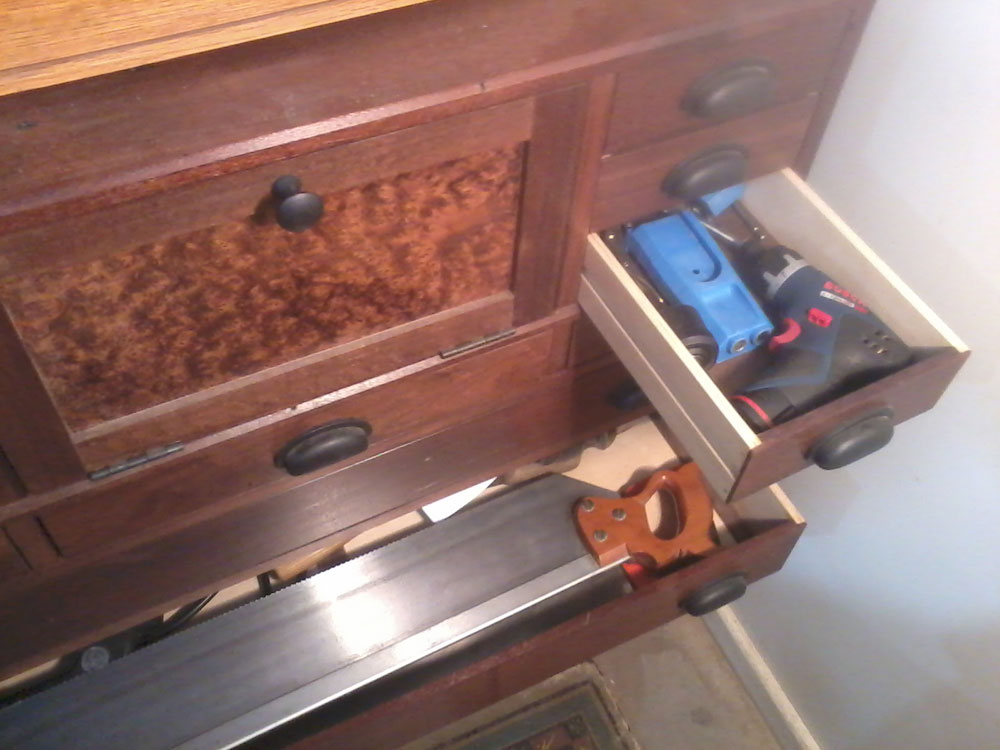
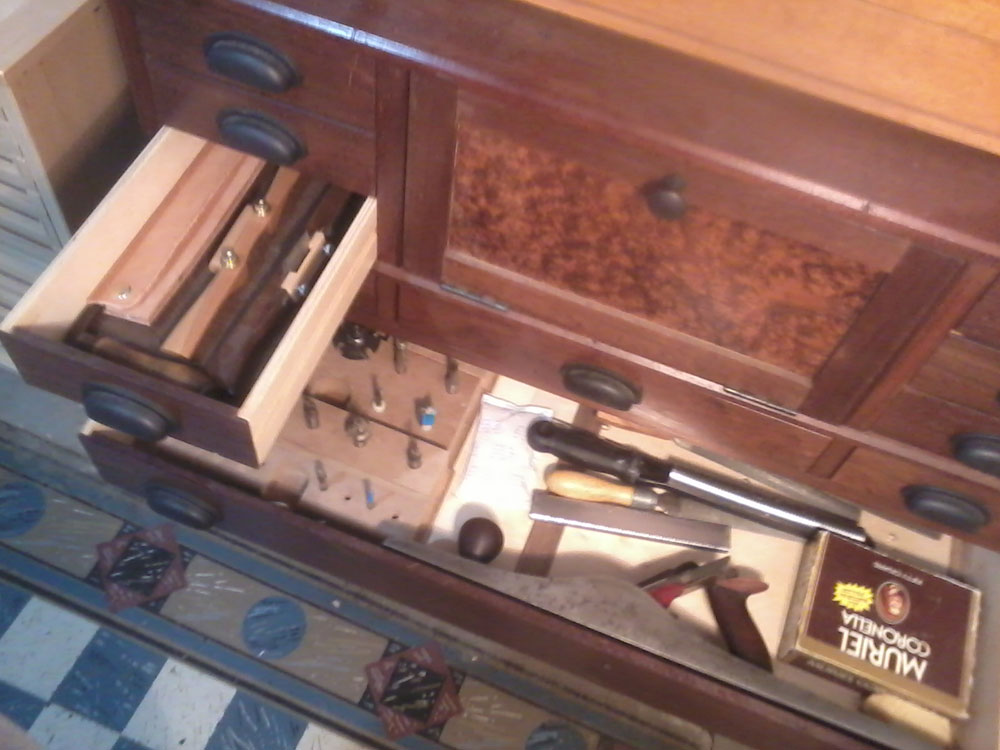
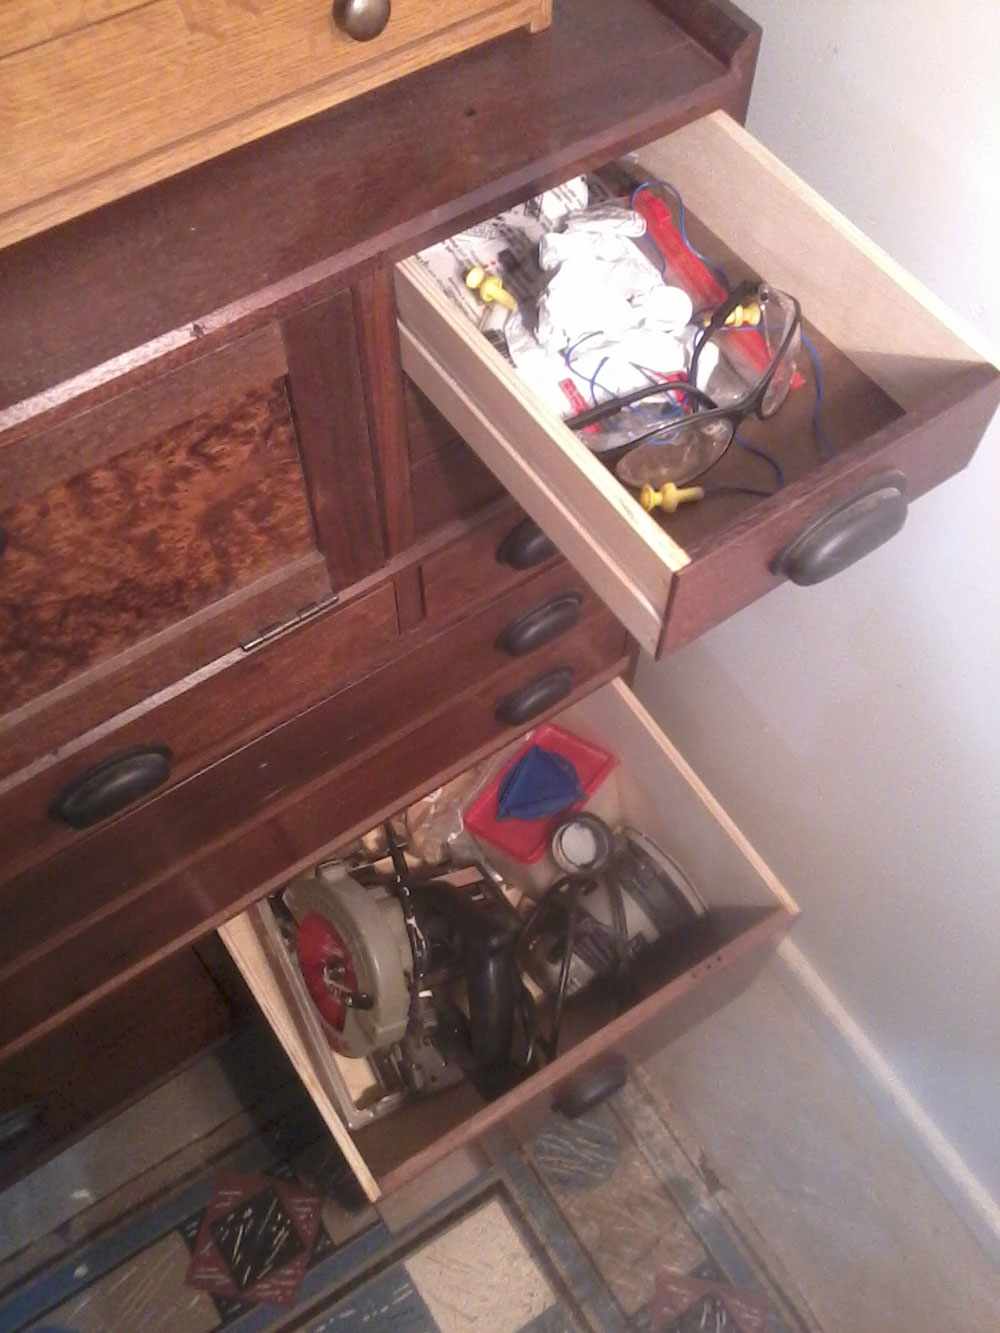
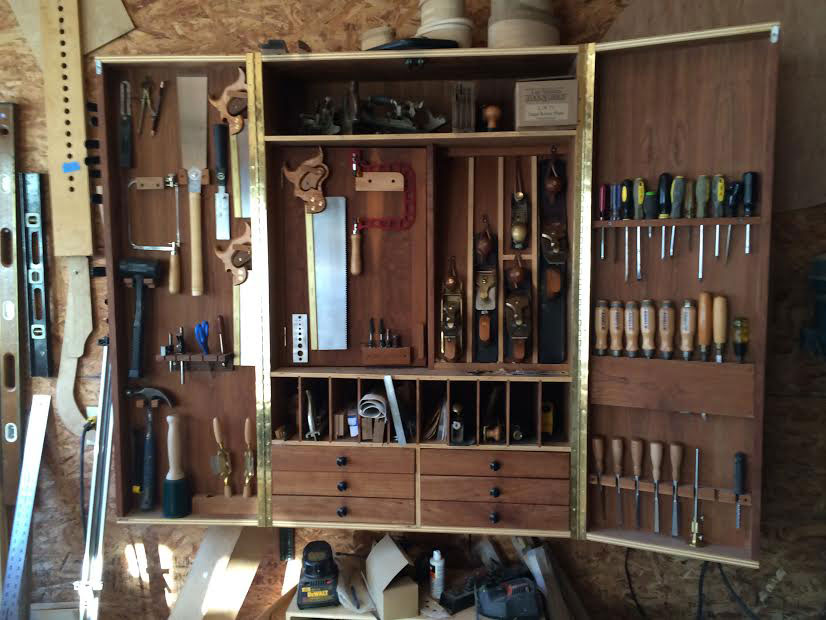
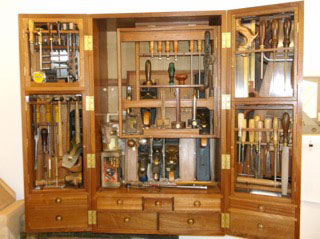
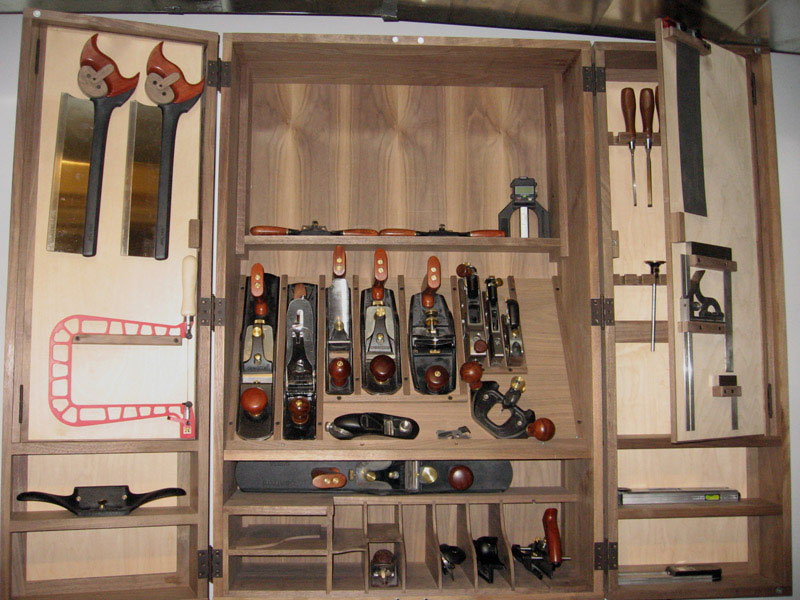
Here's the tool cabinet that I built last year. It's made from reclaimed walnut taken from an old farmhouse that was slated for demolition
For more detail, here's what each drawer contains:
-
Left Side Drawers:
-
Drawer 1: Block planes
-
Drawer 2: Scrapers
-
Drawer 3: Spokeshave, draw knife, scraper shave
-
Right Side:
-
Drawer 1: Safety gear: glasses, ear plugs, dust masks
-
Drawer 2: Auger bits
-
Drawer 3: Drilling accessories and cordless drill
-
Center Door:
-
Various planes (some I made myself), brace, hand drill
-
Small Middle Drawers (left to right)
-
Hammers and mallets
-
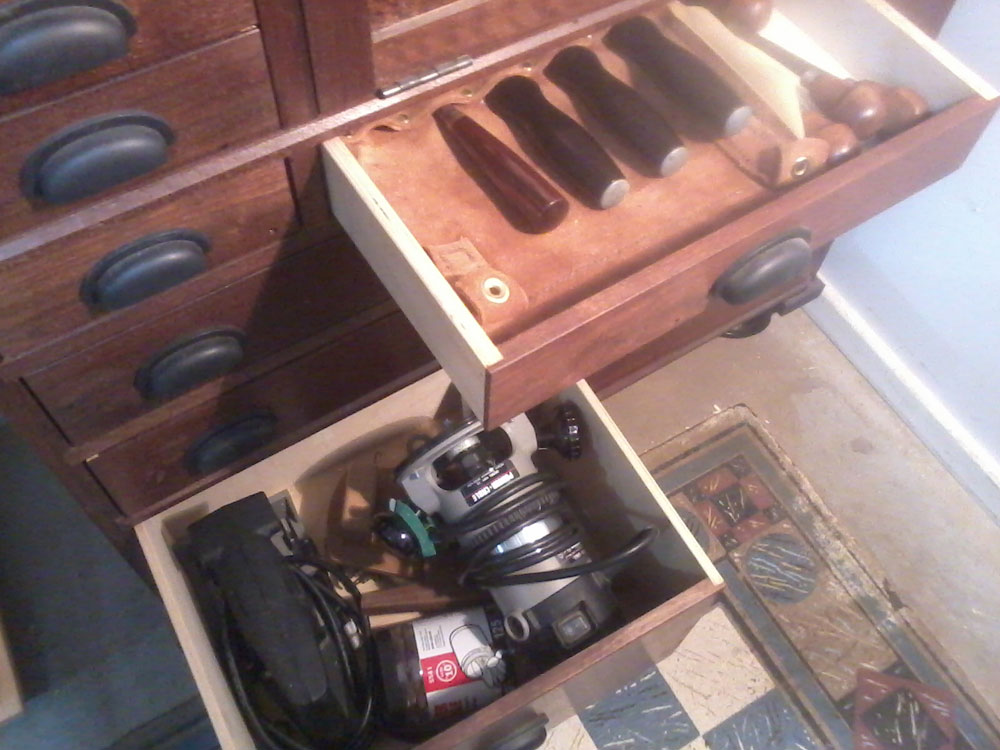
Chisels and carving tools
-
Router accessories
-
Wide Drawers:
-
Drawer 1: Router bits, jointer plane, files and rasps, sharpening box
-
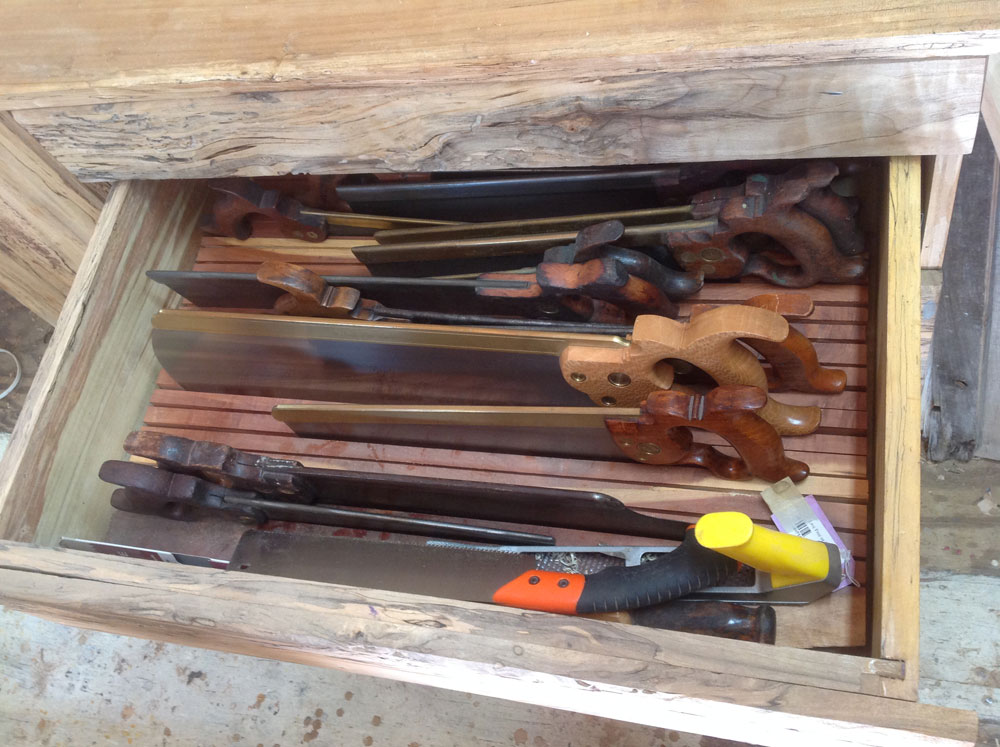
Drawer 2: Miter box saw, panel saws, hatchet, timber framing chisel
-
Deep Lower Drawers:
-
Drawer 1: Router and biscuit joiner
-
Drawer 2: Random orbit sander and circular saw
|
|
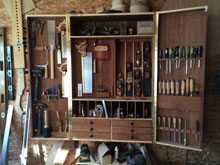 Mike Poulin
Here is my submission.
Mike Poulin
Here is my submission.
|
|
 Steven Coulter
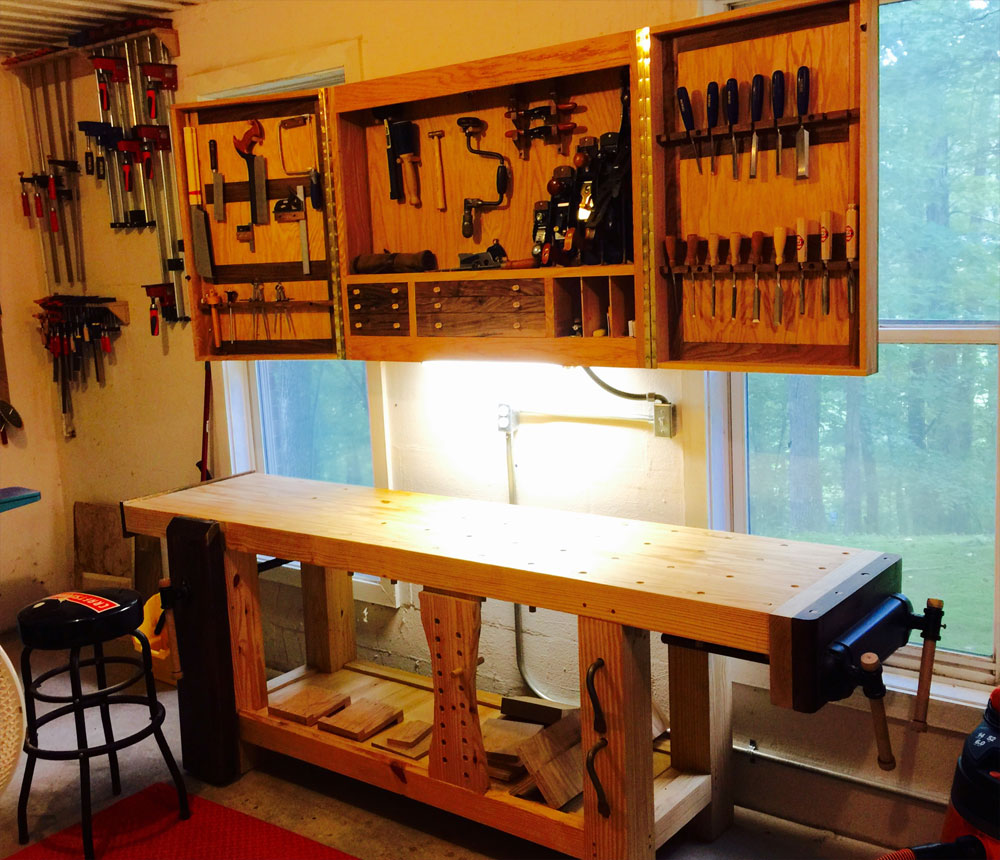
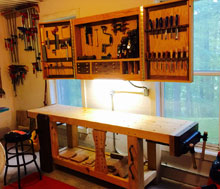
It just so happened that I recently finished a hand tool cabinet for my home shop and even though I consider myself to be a beginner level, amateur woodworker I thought it couldn't hurt to enter. I've admired the Studley Tool chest for years and would love to see the bench that went with it. It seems to me they should be studied together and now it seems that they have been.
When I planned tool storage for my shop I really only had two goals in mind:
-
Protect my tools from dust and moisture (I have a basement shop).
-
The tools should be within reach of where I use them.
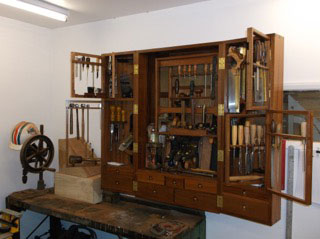
The storage under my bench is where my bench hooks, shooting boards, and other shop made bench fixtures are kept handy. Clamps are hung on the wall next to the bench. The wall cabinet closes tightly when not in use but when opened it displays my bench tools within easy reach of my workspace. With the exclusion of some common grade walnut for the door frames, drawer fronts, and tool hanging fixtures, as well as some ash for the vice jaws, I built the bench and storage cabinet with materials readily available at my local home center. Total cost of both bench and cabinet was around $1,000 most of which was spent on the vise hardware.
|
|
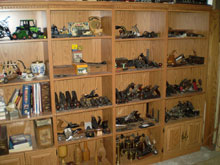 Barry Marshall
This is a work in progress as I am setting up my new shop.
|
|
 Doug Broadhurst
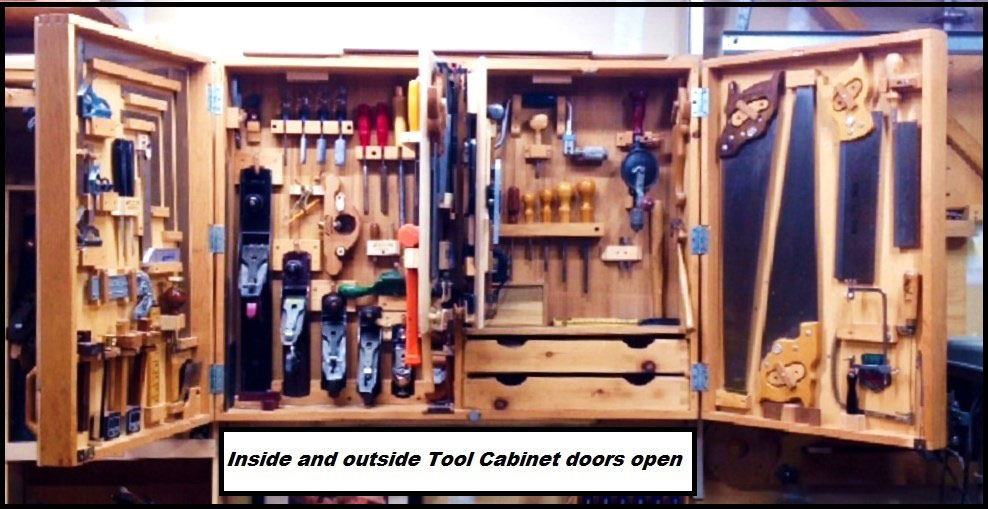
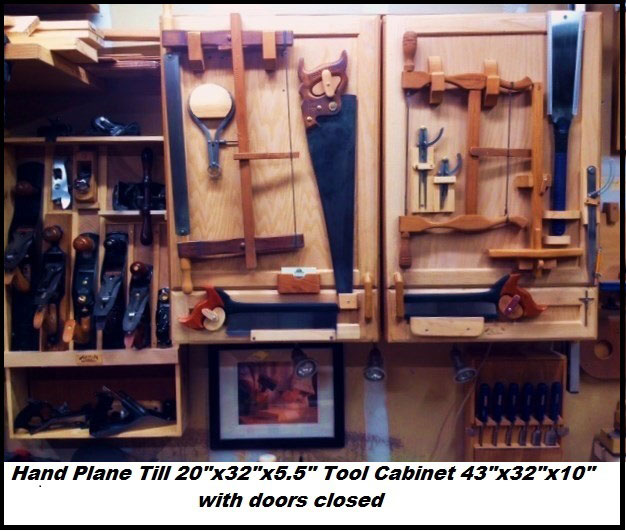
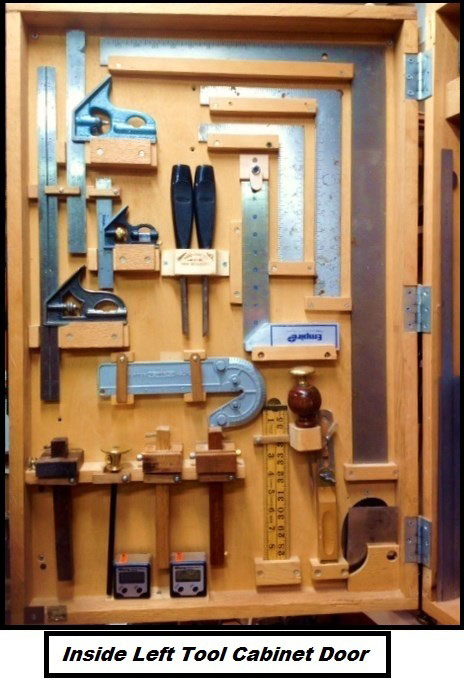
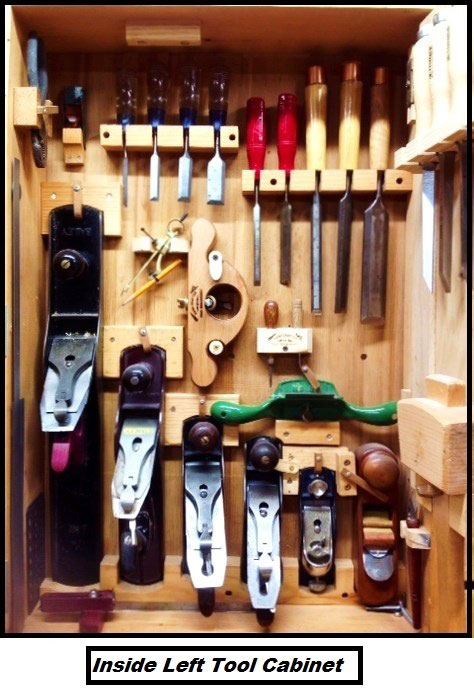
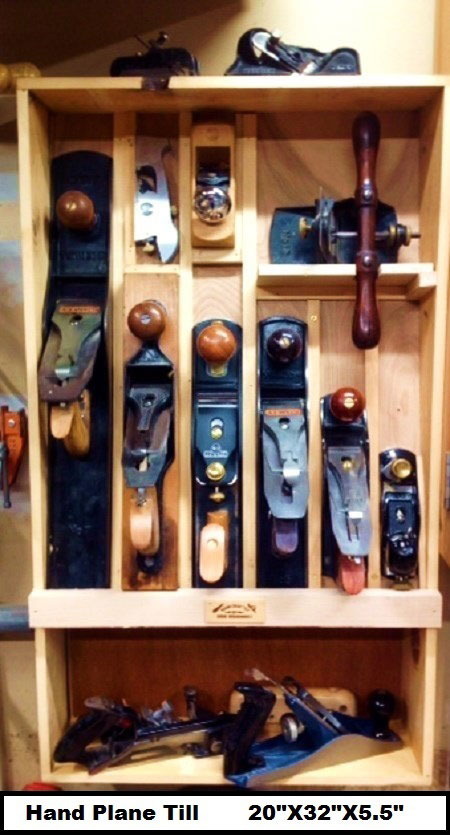
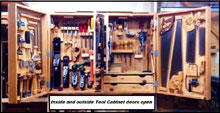
This is my forever evolving tool cabinet and friend for over 25 years. As I have added more hand tools I have changed the configuration of the cabinet and even added used cabinet doors to the inside. The main box has remained the same. The cabinet is built of pine and oak. Being a frugal “Yankee”, I have used reclaimed stock, old cabinet doors, and even magnets. This tool cabinet continues to serve me well, and together we have learned many lessons in my long journey into woodworking, from butt joints through dovetails.
The size is 43″ wide, 32″ tall and 10″ deep. Alongside I have had to add an additional hand plane till of 20″ wide, 32″ tall and 5 ½ ” deep.
|
|
 Clark Schoonover
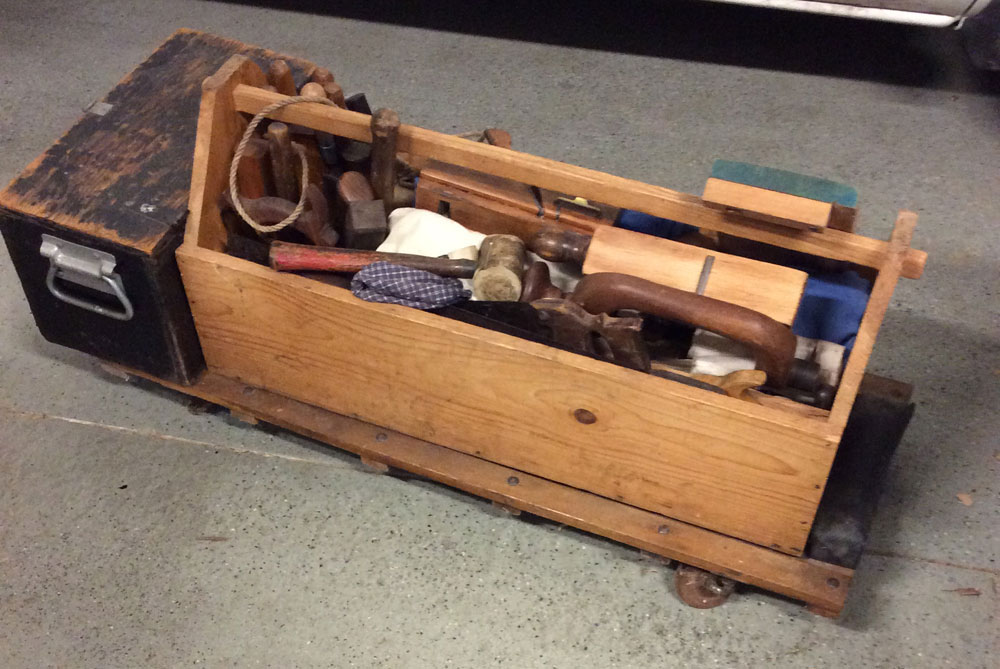
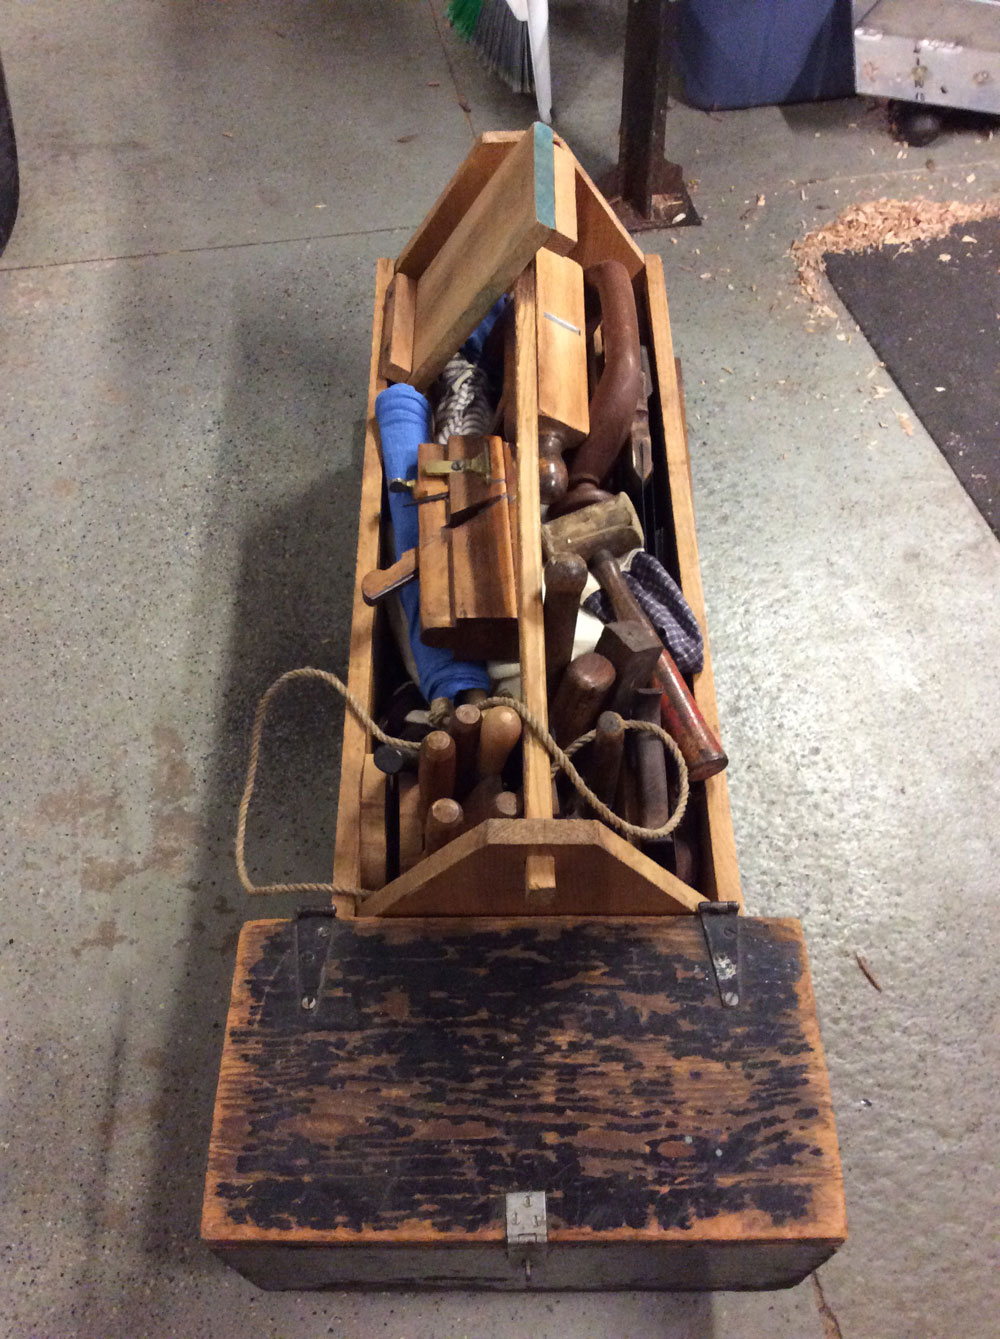
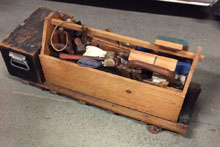
As an 18th century re-enactor, this is what I have been using for far too long. I have realized that (1) you should never build a tote this big. If you notice, there is a loop of rope around the handle. In truth, this is a tool “drag.” You may notice that while at the home base, it resides on my mechanic's creeper to allow easy movement. (2) I am way overdue for a nice Dutch tool chest. If you notice, I have my little auxiliary box for the small stuff.
|
|
 Steve Rice
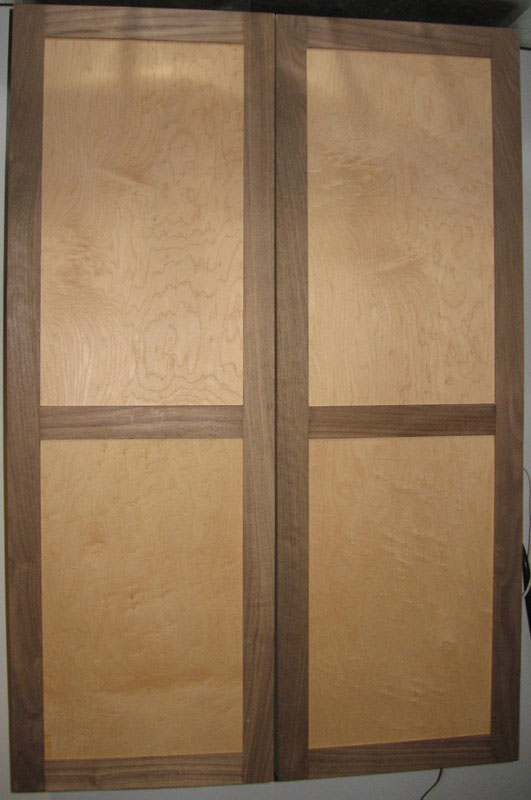
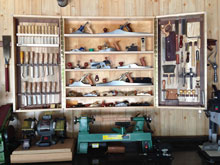
The sides are made of figured maple with hand cut dovetails (this was actually the first time I ever cut dovetails). The door fronts are walnut rail and stiles with ambrosia maple raised panels. The only problem with this cabinet is that there's no room for any more tools ('cause you know, you can never have enough tools!).
|
|
 John Schimpf
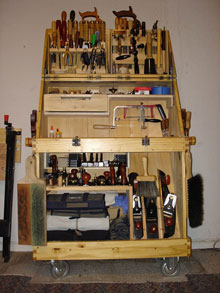
I live in an apartment so I work out of my tool chest. Also the tool chest closes up and is around the size of a large bookcase (box is 36″h x 30″w).
|
|
 Michael Donaldson
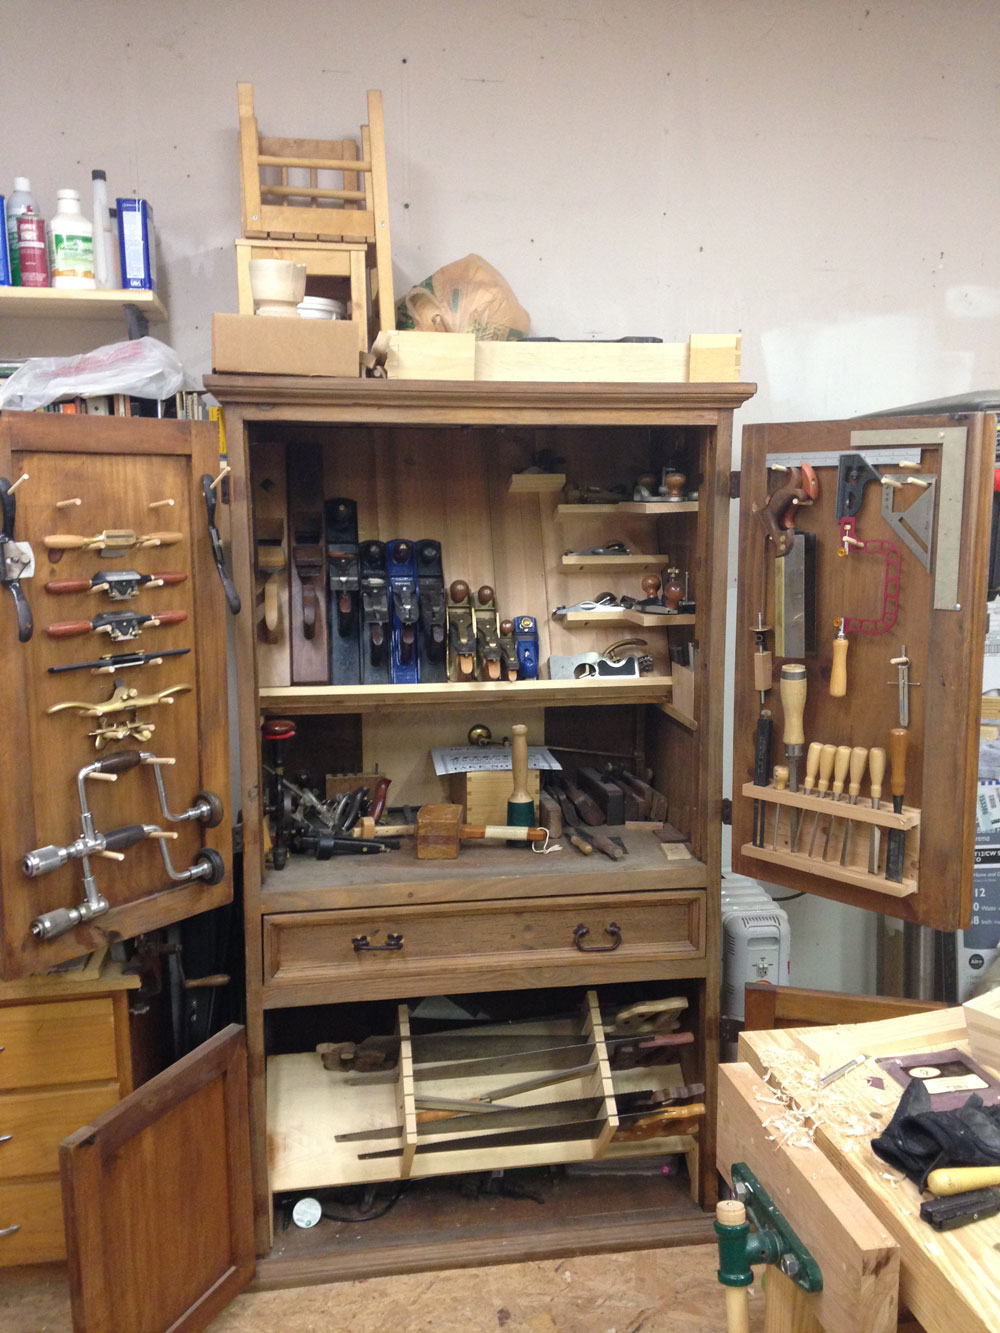
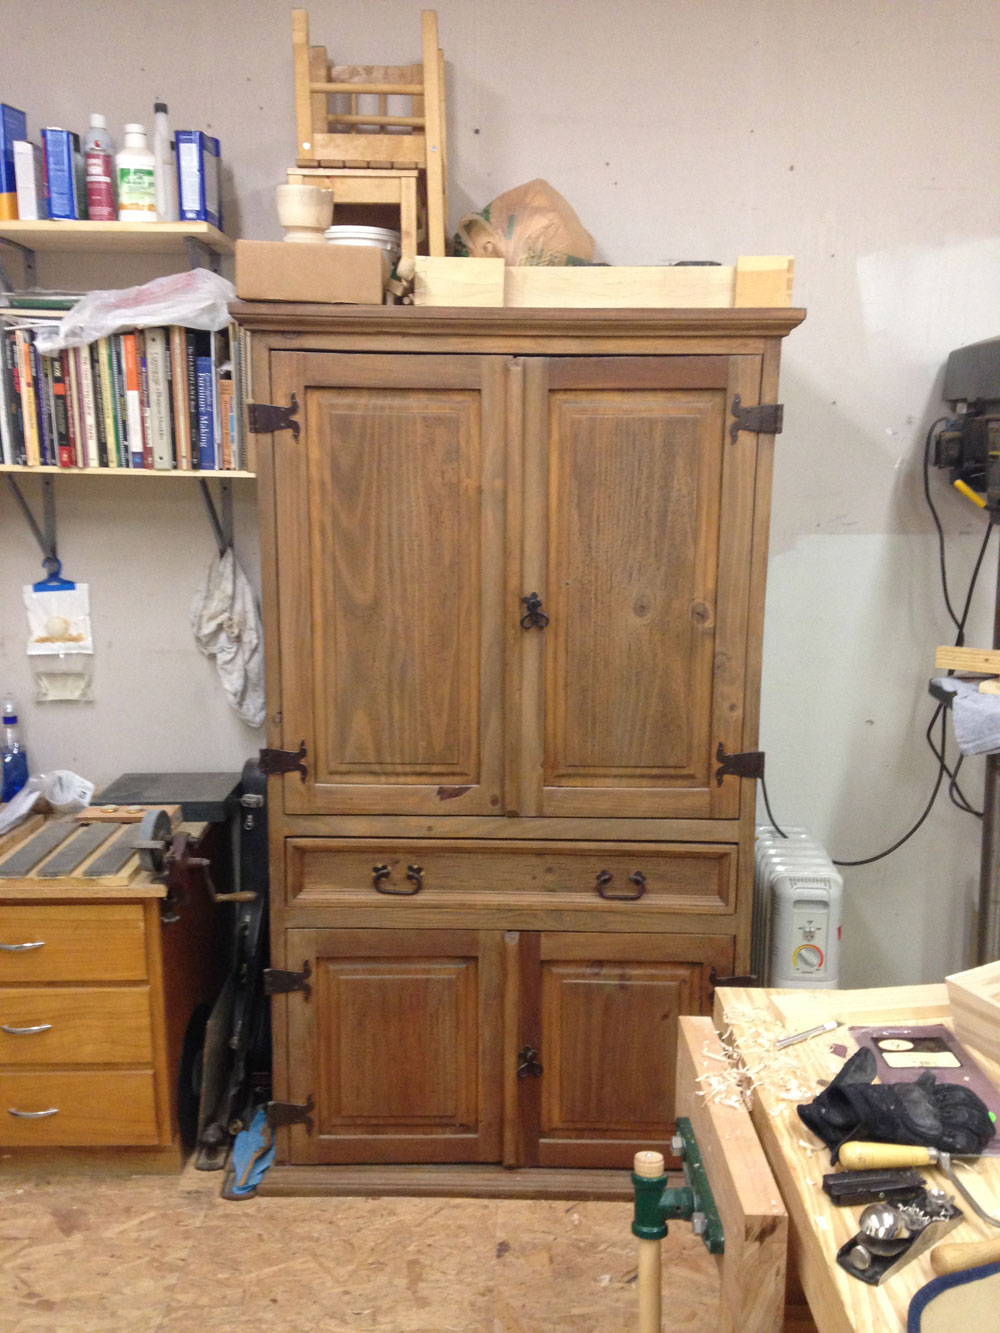
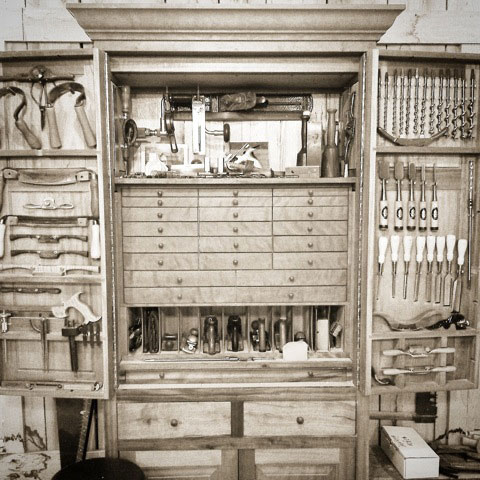
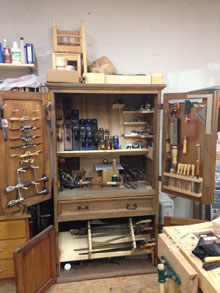
The cabinet is a re-purposed armoire someone was throwing away. It is made from solid wood and with it being free, I couldn't pass it up. Once I got the cabinet home, I made a plane till to hold my bench planes with shelves on the till for my joinery planes. The shelf below the plane till is where I store my hollows and rounds, as well as my Stanley 45 and plough plane, along with mallets, marking gauges, and card scrapers. The doors for the cabinet were over 1″ thick so I was able to glue in dowels to hold my primary joinery and layout tools as well as my spokeshaves and braces. The drawer in the center holds extra marking tools, layout tools, rules, and bits for the braces. In the bottom section I store my saw vise, some hardware and project parts, as well as a slide out saw till for my hand saws and panel saws.
|
|
 Keith Pullin
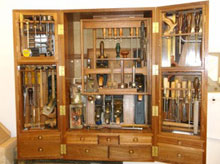
Here is my tool storage.
|
|
 Matt Owen
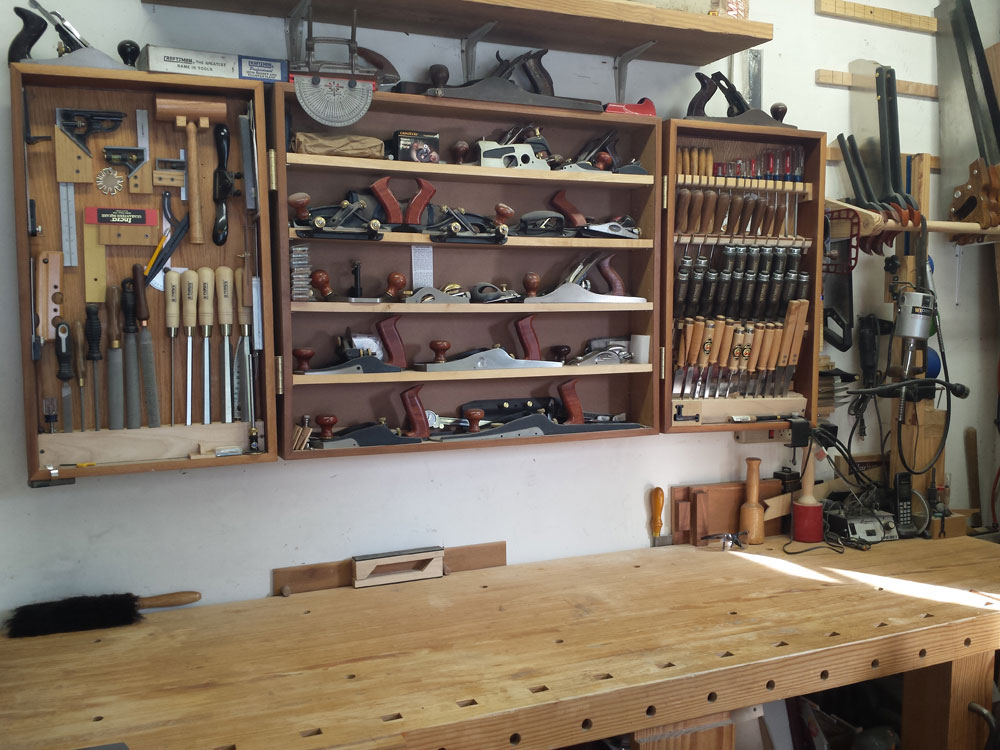
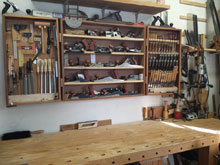
There really isn't much to my tool cabinet. On the left are measuring tools, chisels, rasps and other miscellaneous items. In the middle is where I keep the planes that I use. On the right are bench chisels and screwdrivers. I turned the handles for the wooden handled screwdrivers. To the far right is my measly saw rack.
|
|
 Greg Pennington
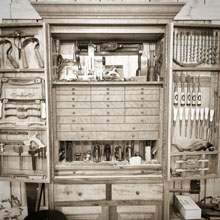
My name is Greg Pennington and I'm from Hendersonville, TN. This is my tool chest, which is located in my chair making shop.
|
|
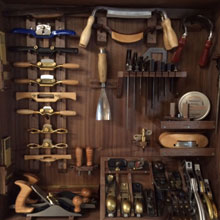 Larry Graubner
After storing my tools in chests for years, I recently started making Windsor chairs and needed quicker and more convenient access to my tools. So I took some air dried walnut I had milled and made some wall mounted tool chests.
|
|
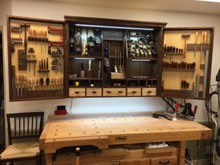 Dave Lindeman
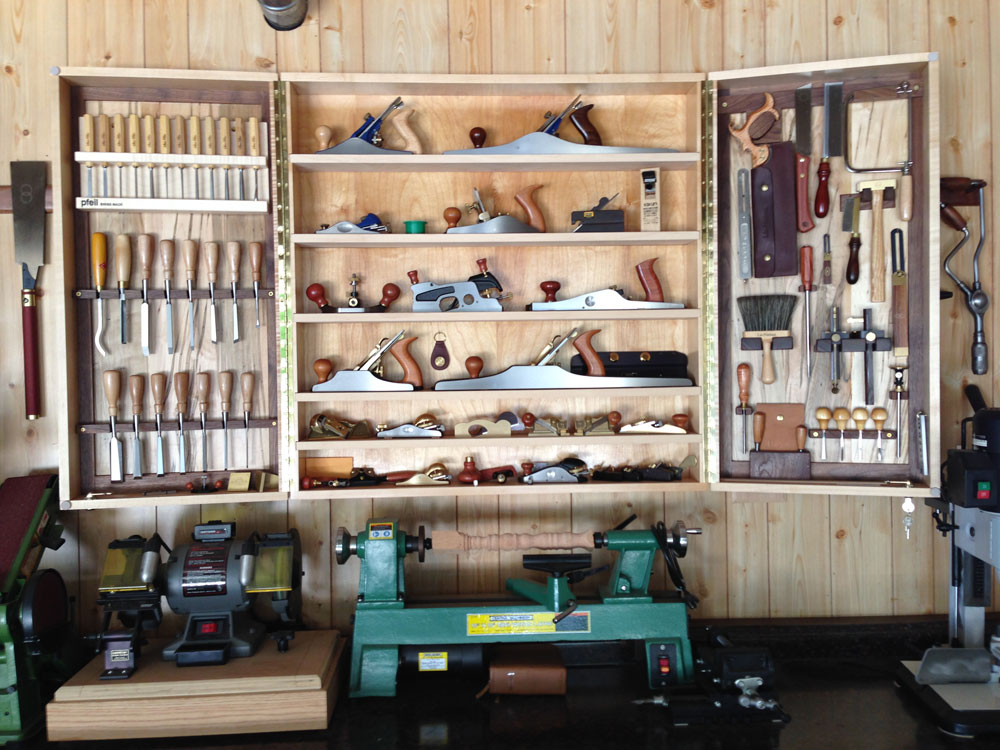
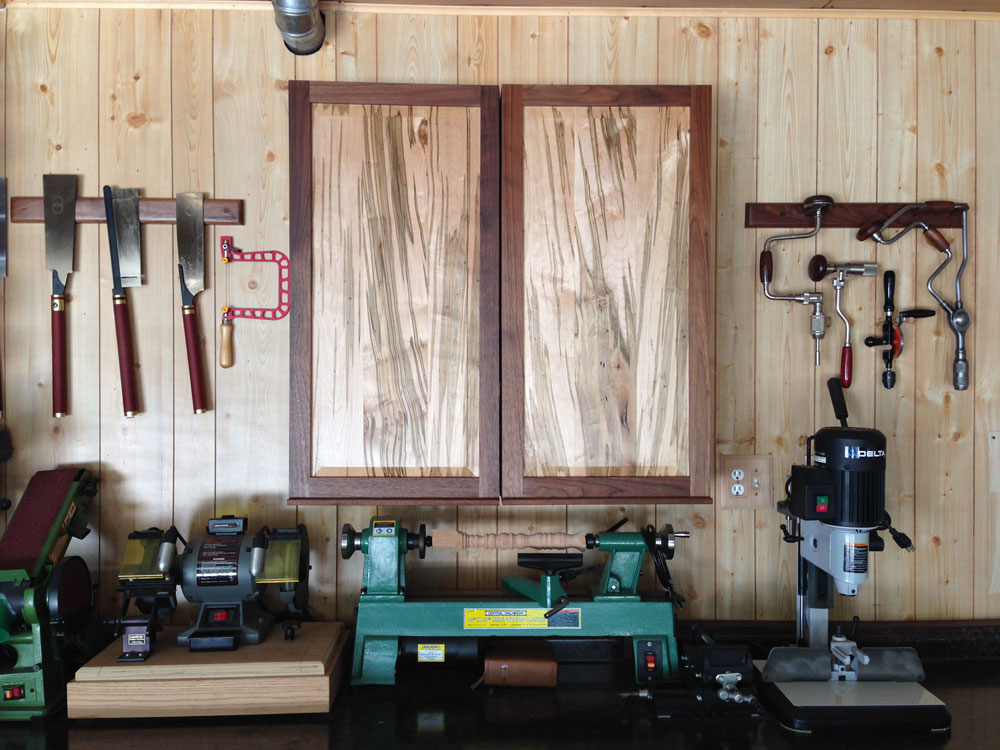
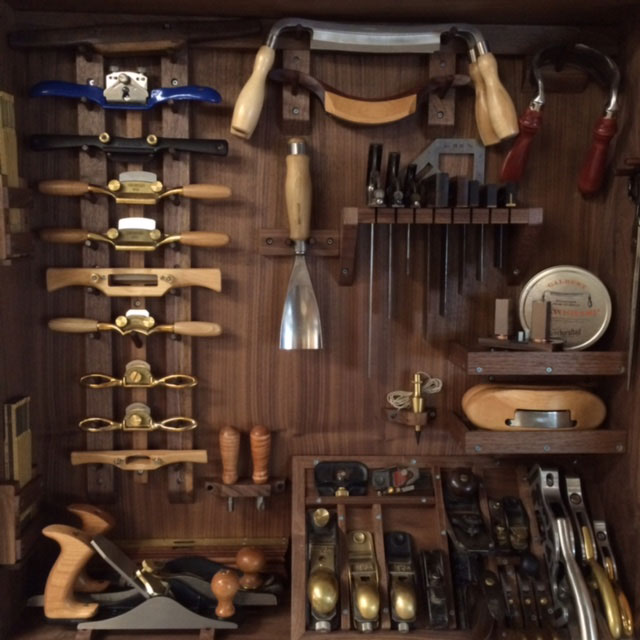
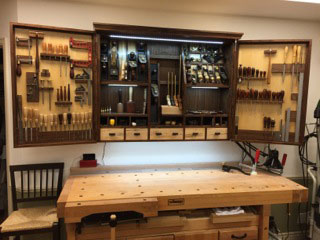
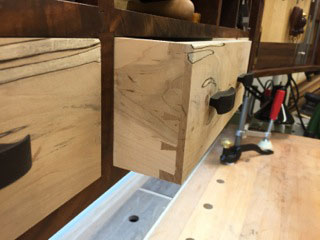
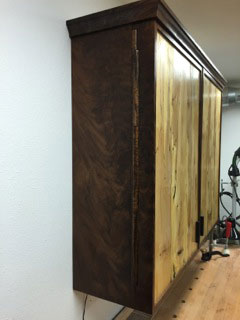
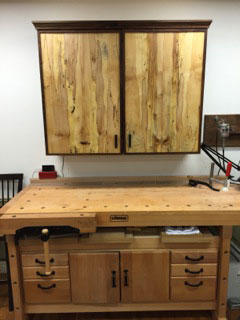
This is my attempt at tool storage. This is a 48w x 36h x 12d wall cabinet. Made of Claro walnut and Spalted maple. The door panels are connected with a wooden hinge dowel system. Tools are held in place with rare earth magnets placed from behind. The five drawers are handcut dovetail and are piston fit. The handles are carved ebony. Recessed LED light strips highlight the tools when the doors open. As all projects go – its still a work in progress- I added a few more tools from my trip to Amana!
|
|
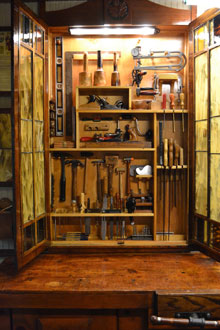 Scott Bennett
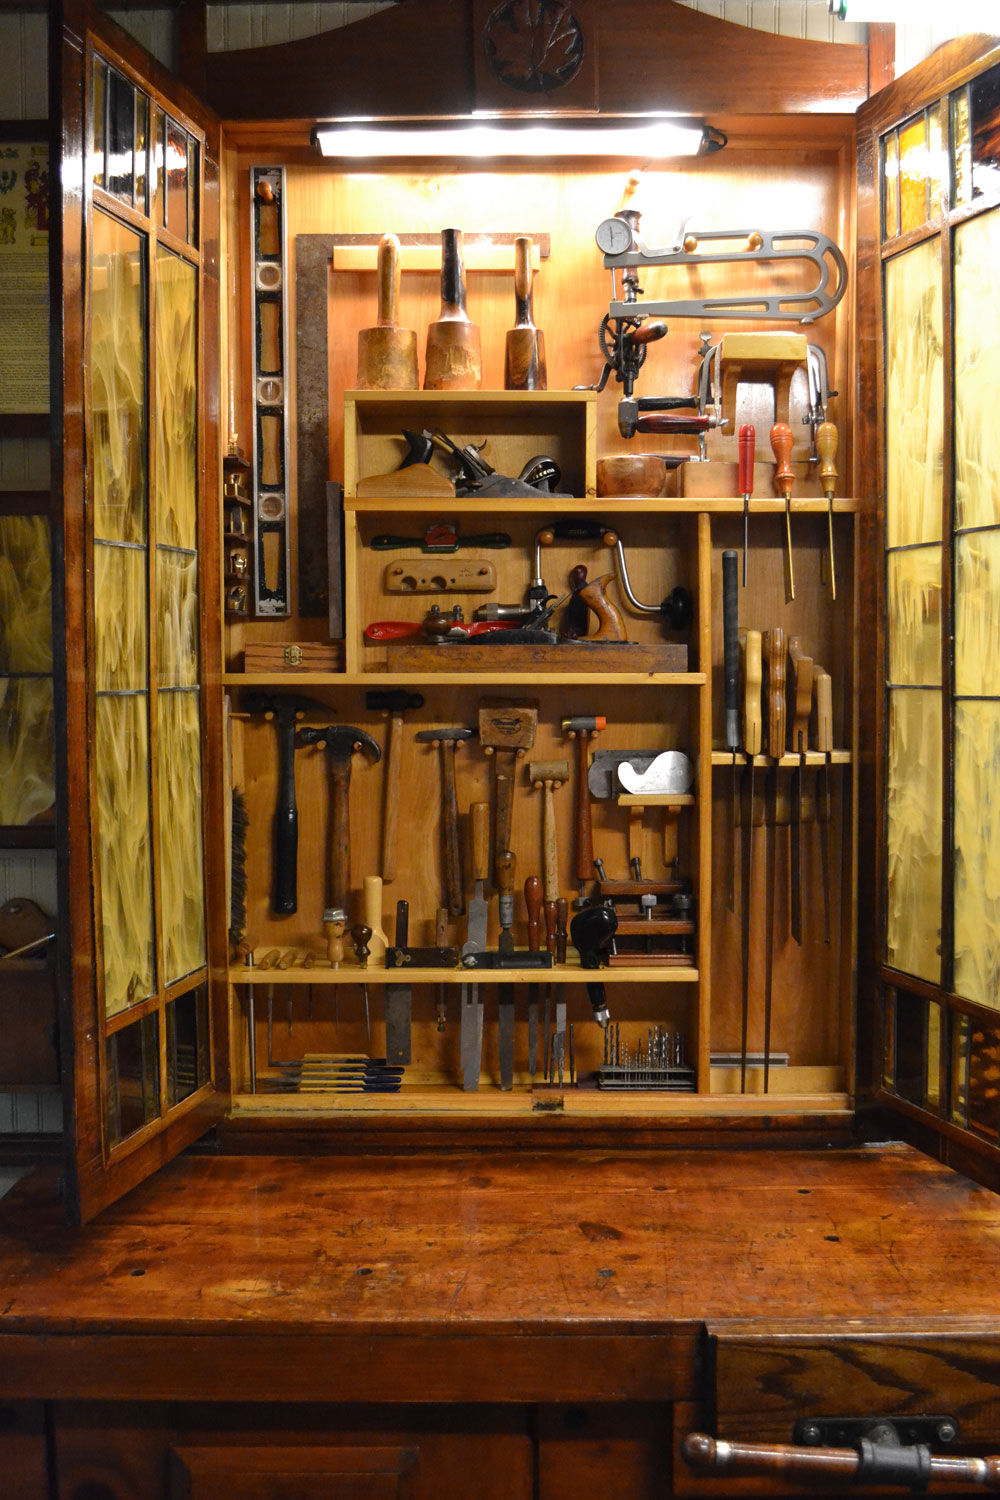
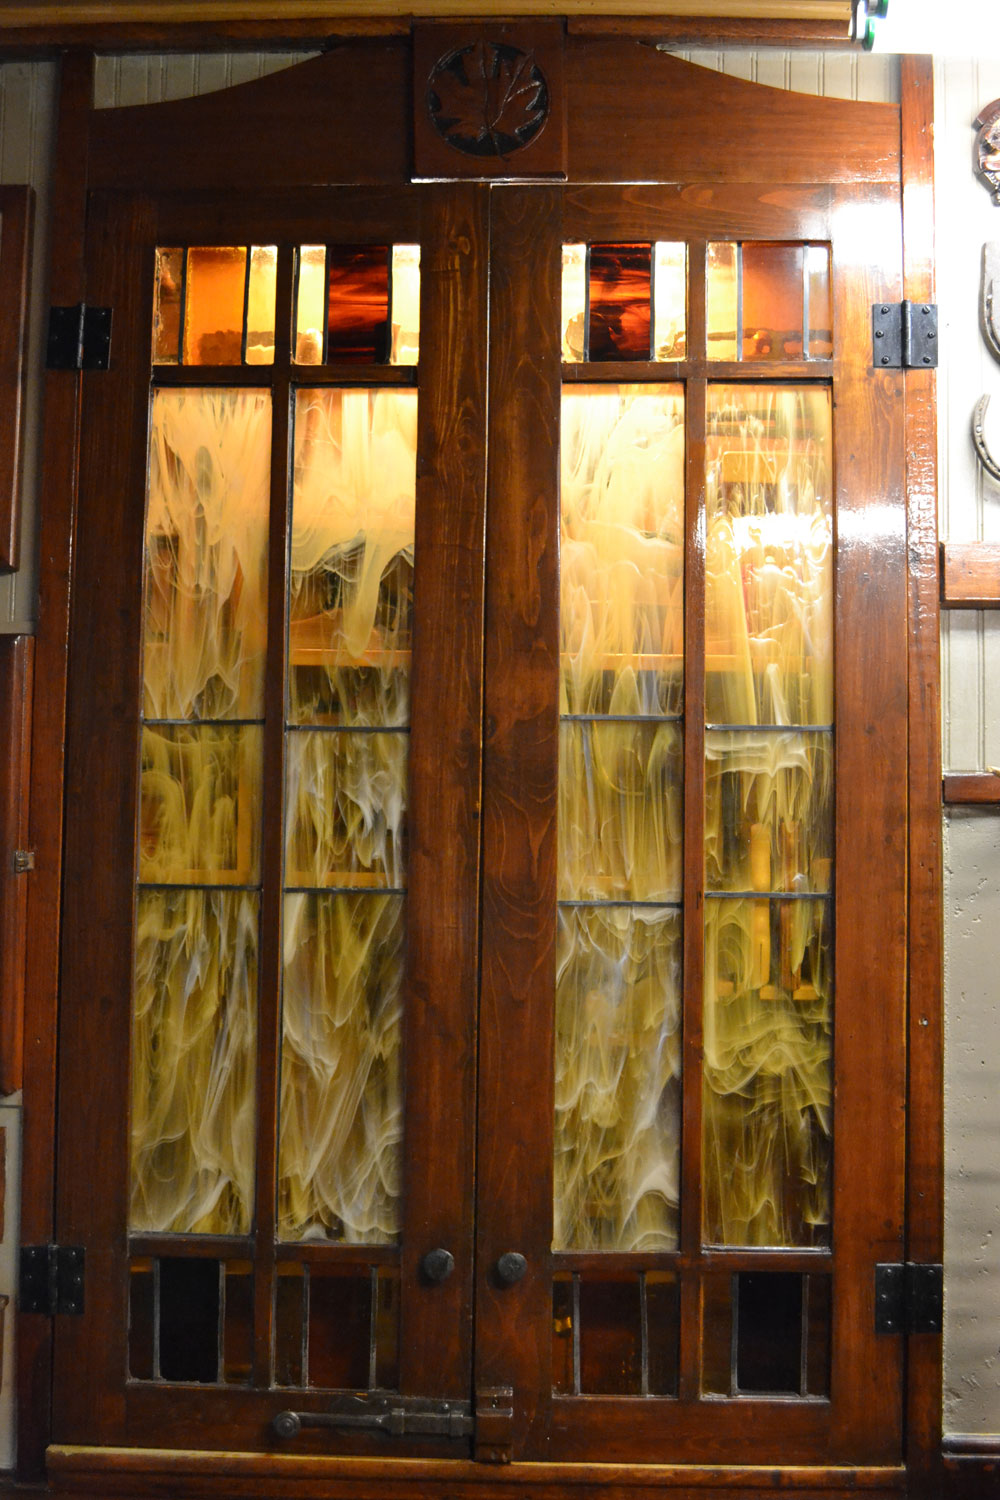
I am a luthier and woodcarver. This cabinet (shown open and closed) is where I store hand tools directly above the bench, with the exception of some chisels and screwdrivers, which are stored in drawers in the bench.
The cabinet and others in the shop were inspired by Studley's and the bench was patterned after a fictitious violin maker's bench from the movie,
The Red Violin
.
|
|
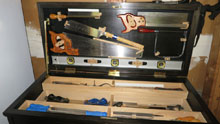 Highland Staff Member- Ed S.
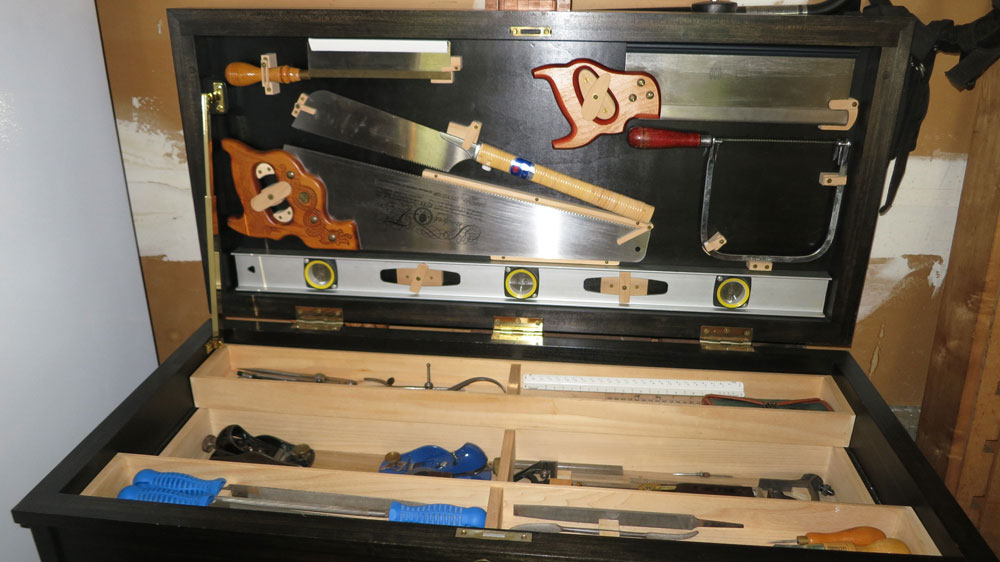
Tool chest with fitted lid and sliding drawers.
|
|
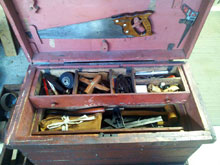 Mary Fowler
These are tools that I inherited from my dad, purchased retail, or purchased at Liberty Tool in Liberty, Maine. I take great pride in these tools and have used them for 37 years as a professional furniture finisher, antiques dealer, student at Woodenboat School, student at RIT School of American Craftsman and general fix-it person in Rochester, New York and Cape Elizabeth, Maine. I also want to mention that I saw the Studley Tool Chest at the Smithsonian…what an astounding work of craftsmanship!!!
|
|
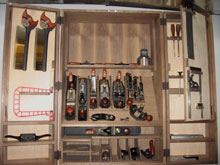 Bob Rankin
Here is how I'm beginning to organize my hand tools. I've gone without a cabinet of any kind since I began my journey 7 years ago and piled my stuff on top of my table saw as well as my sacred workbench. It got to be too much (collecting and shuffling). I'm still building it but I'm loading it up as I go, making custom tool holders for each item. It is made of walnut and maple. The deep cabinet doors let you have doors within the doors. Inside is the plane till and up top is the soon to be mini cabinet.
|
Return to Tool Storage Contest Front Page
Go to
Highland Woodworking Home Page

|
|

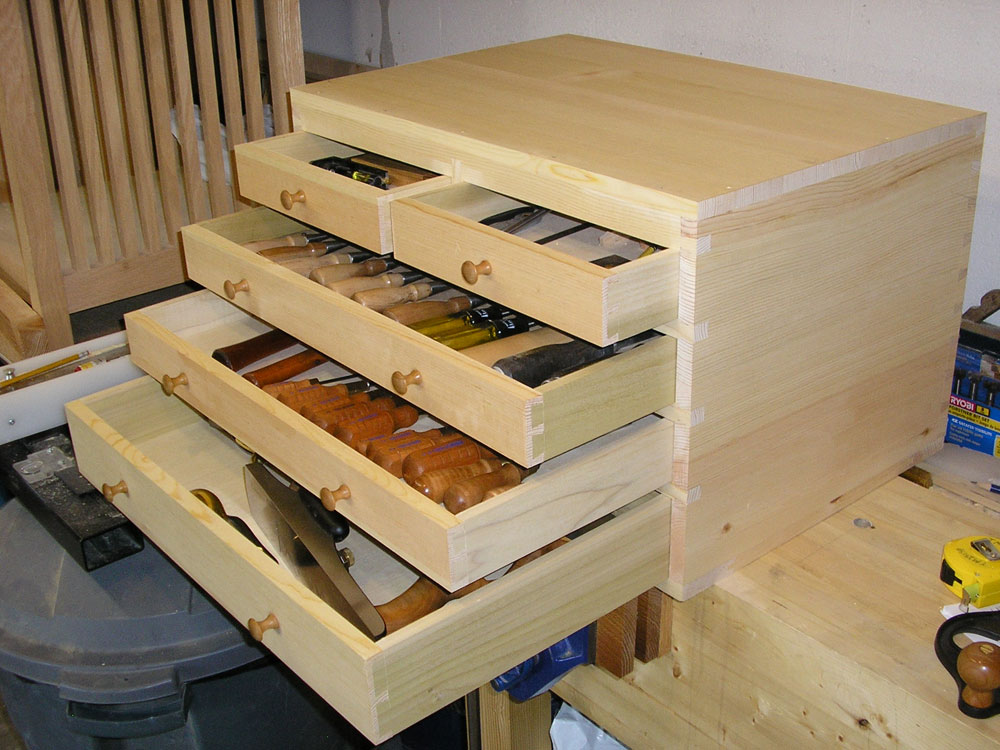 Brian Graham
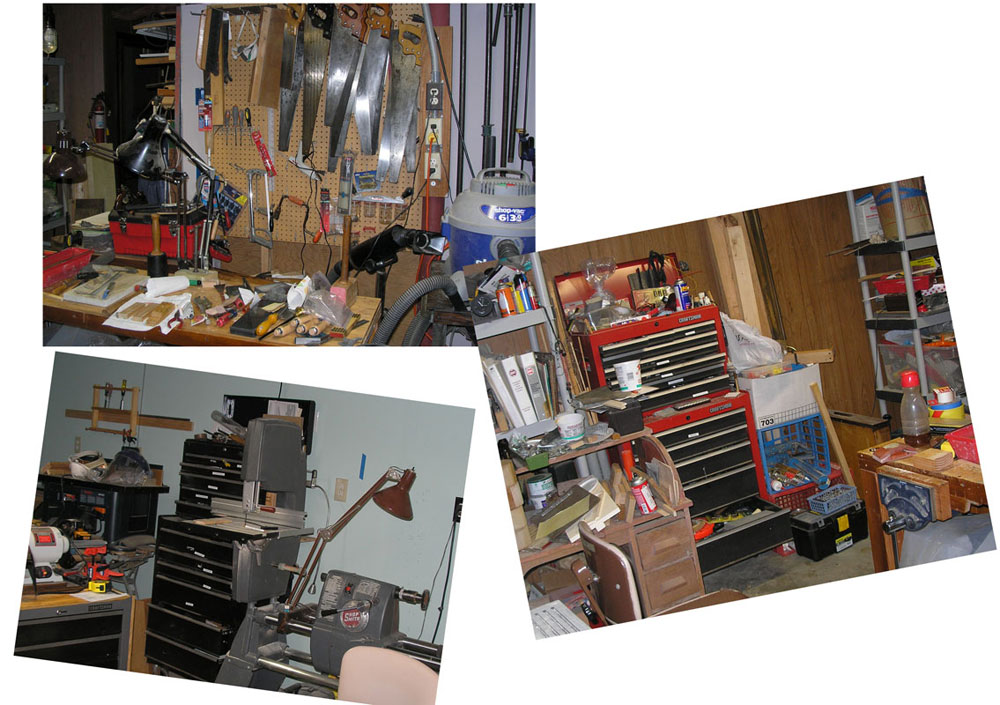 Bob Groh