|
There are many brands of sharpening stones but
Shapton Stones
are highly regarded as a high quality stone. Shapton is a Japanese company and is best known for their hard, fast cutting surfaces and ceramic construction. Natural waterstones (whetstones) have been around for thousands of years but Shapton ceramic stones are man-made using ceramic abrasives which are fast cutting and last a very long time. The Kuromaku (Pro Series Stones) are the fifth generation stone produced by Shapton.
|
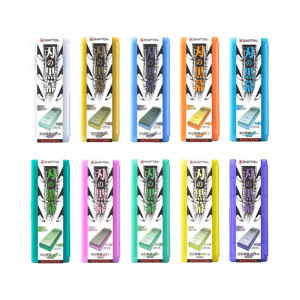
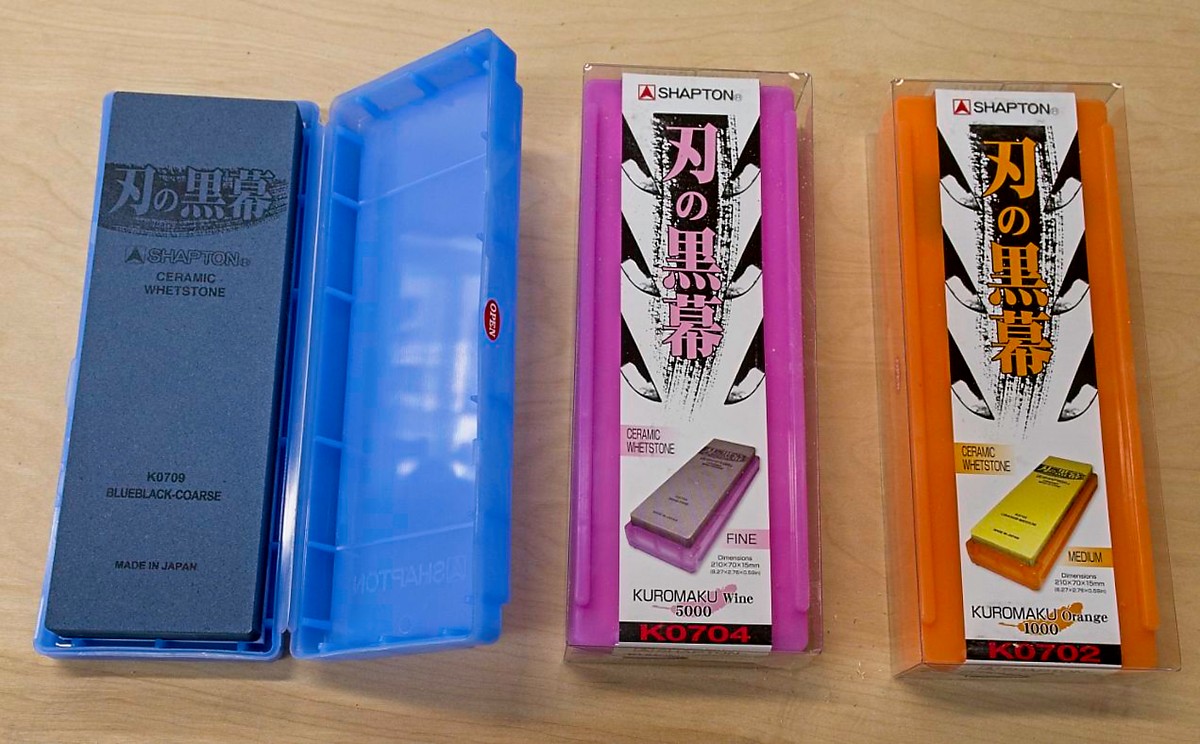
The Kuromaku series offers ten different sharpening stones in a variety of grits from 120 grit to 30,000 grit. They are color coded for easy identification and their literature includes a chart showing which stone is best suited for the types of knife blades or tools to be sharpened. For example, there are different recommendations for Japanese swords steel, Swedish steel, melt-formed high-speed steel, stainless steel and Molybdenum steel.
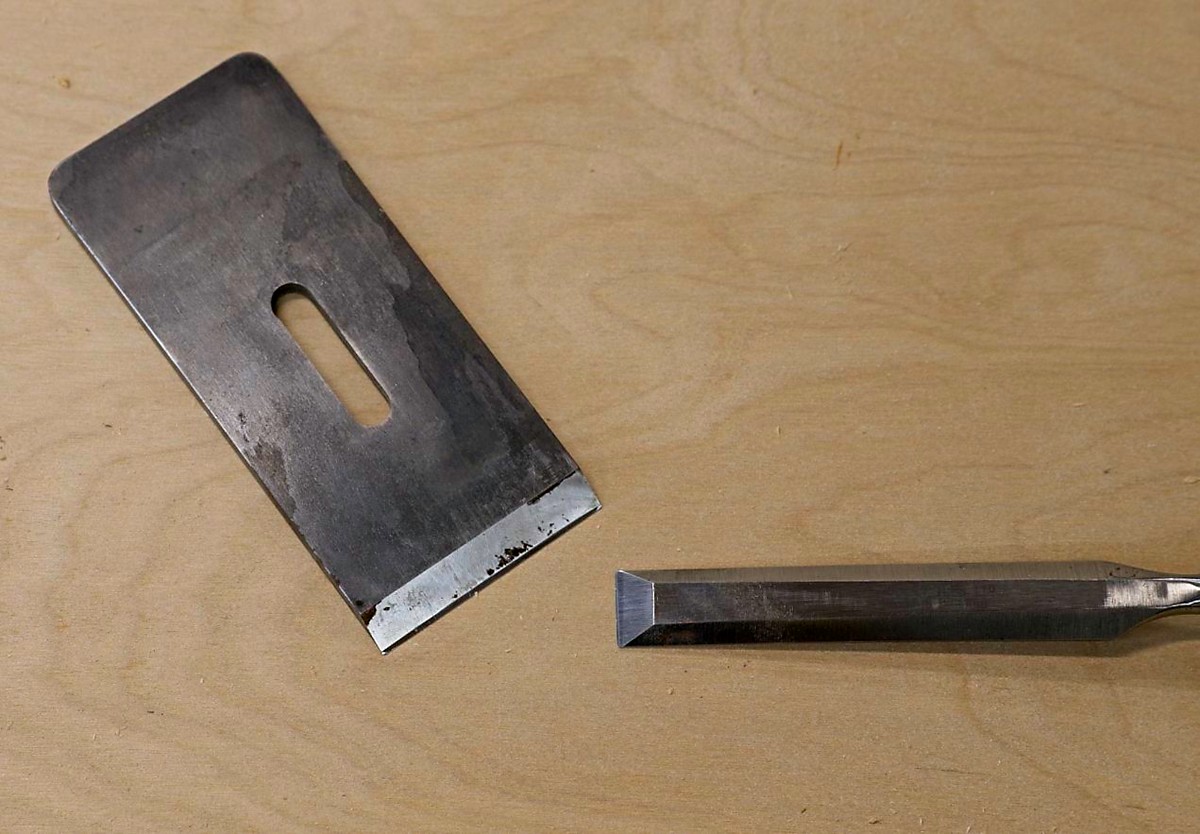
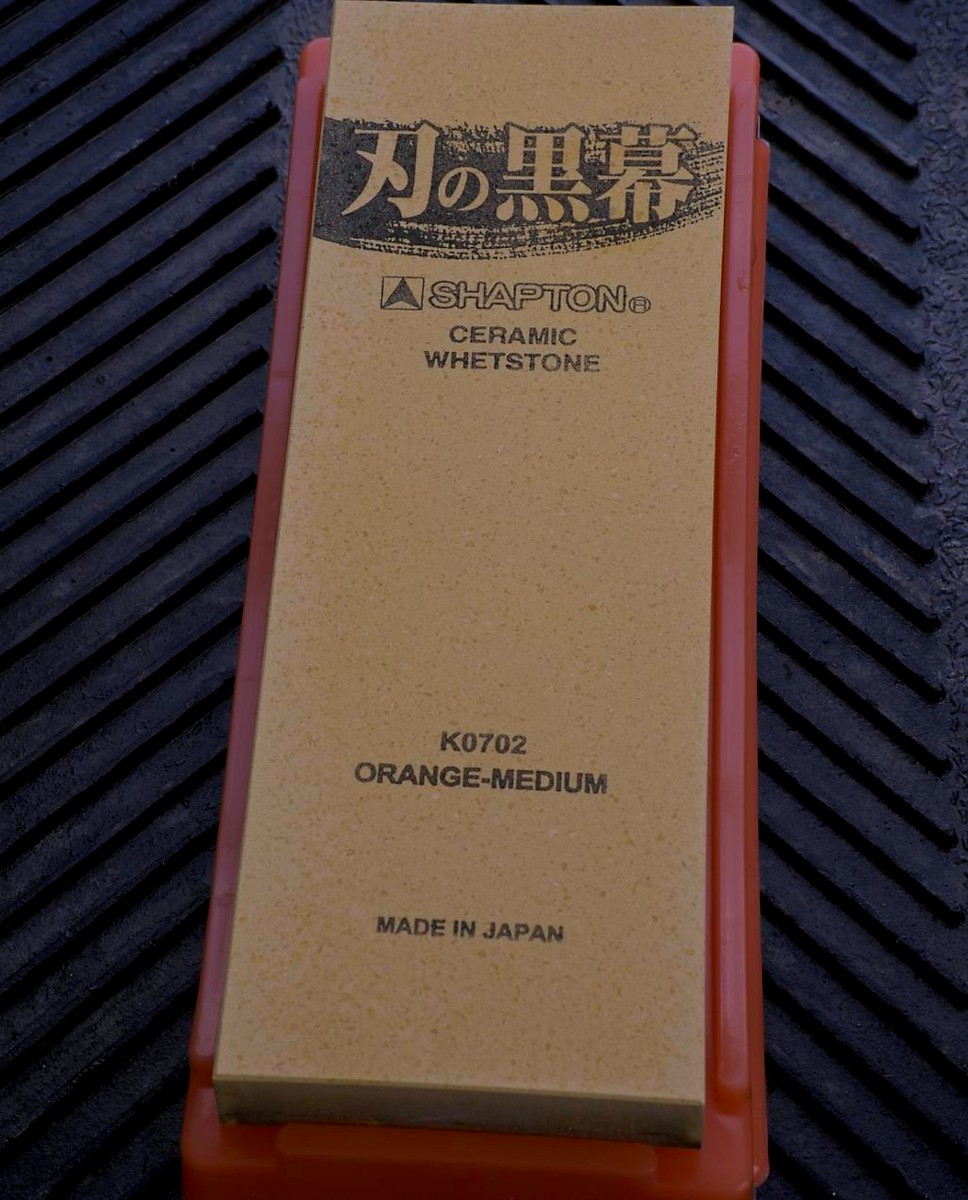
For this review, I am going to use the Kuromaku 120 (coarse-Blue Black), 1000 (medium – Orange) and 5000 (fine – Pink). I will use them on an older chisel and plane blade.
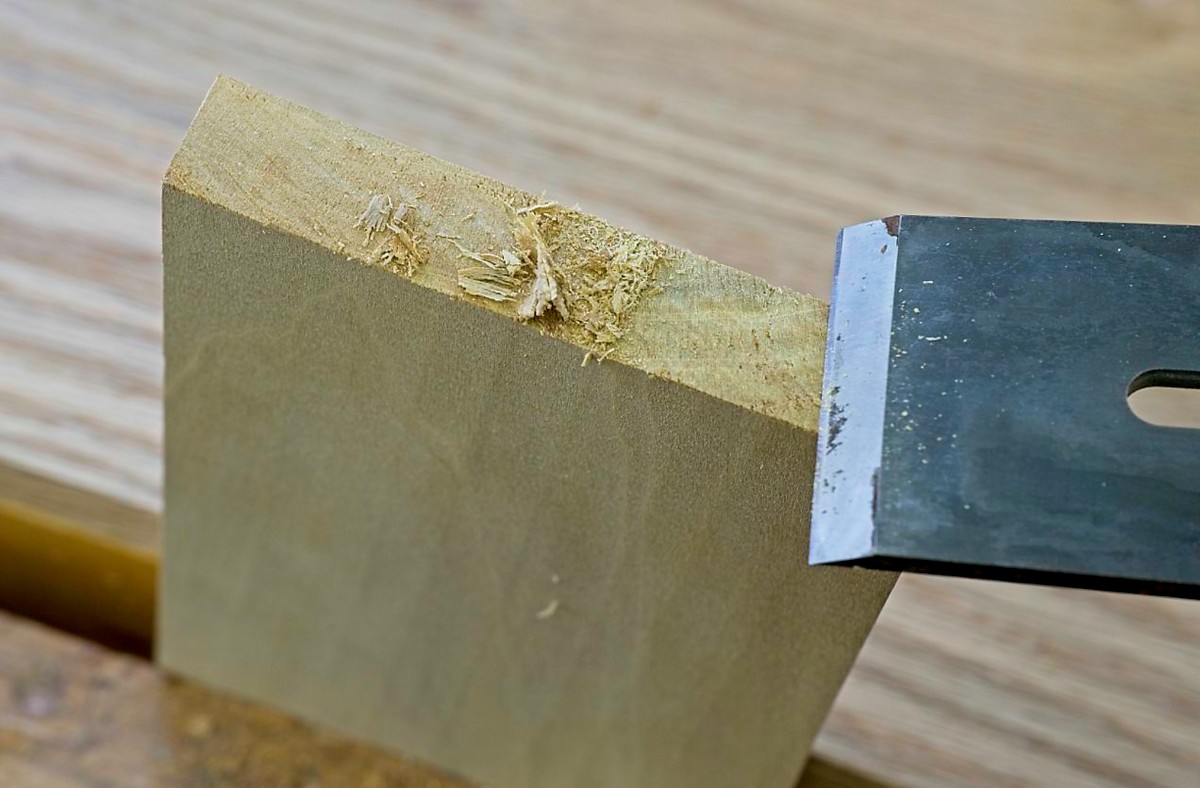
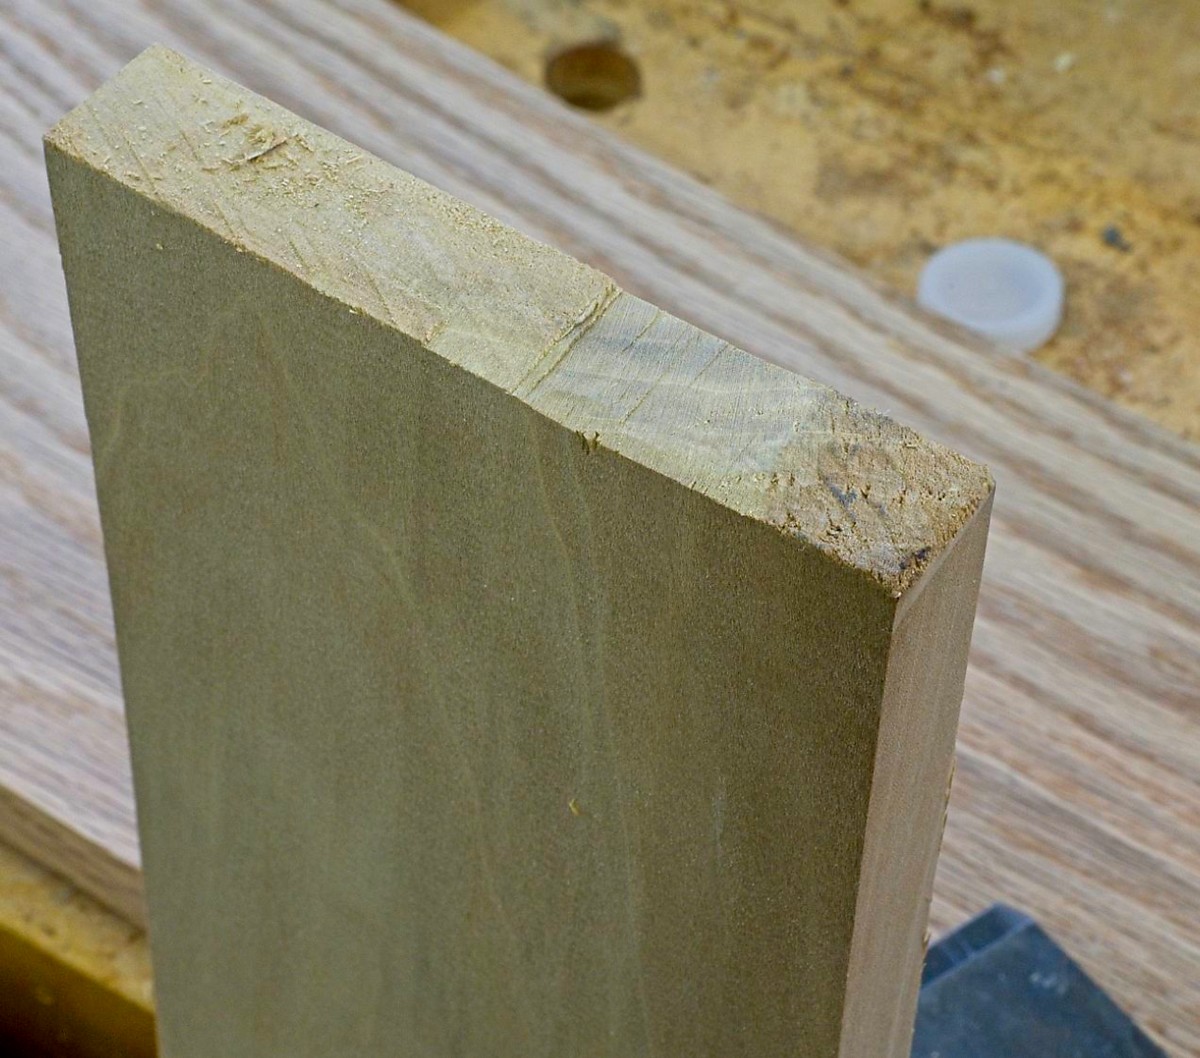
There are many ways that people use to test the sharpness of an edge. Some shave their arm hairs (not me!), some slice a pice of paper and some shave the end-grain fibers of a board. I’ll use that technique as shown in the following picture. You can see that the blade is pretty dull since it is not a very clean cut!
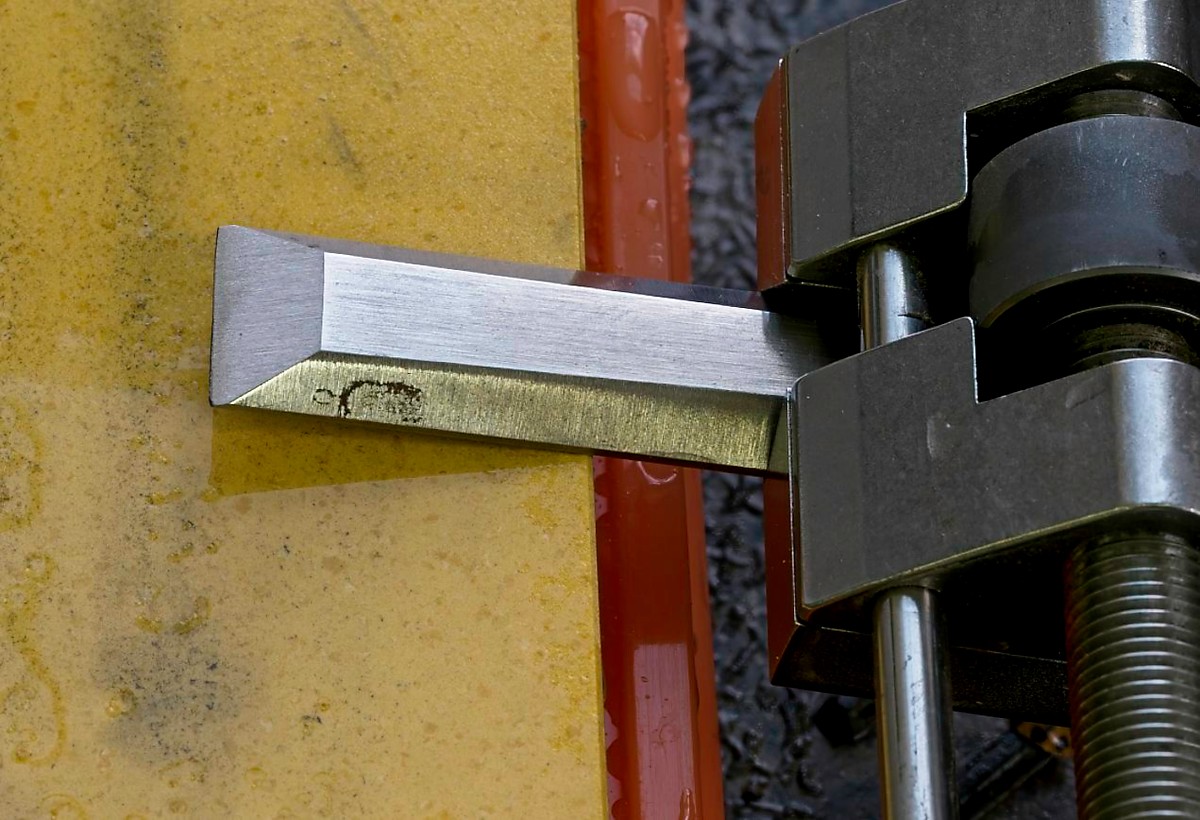
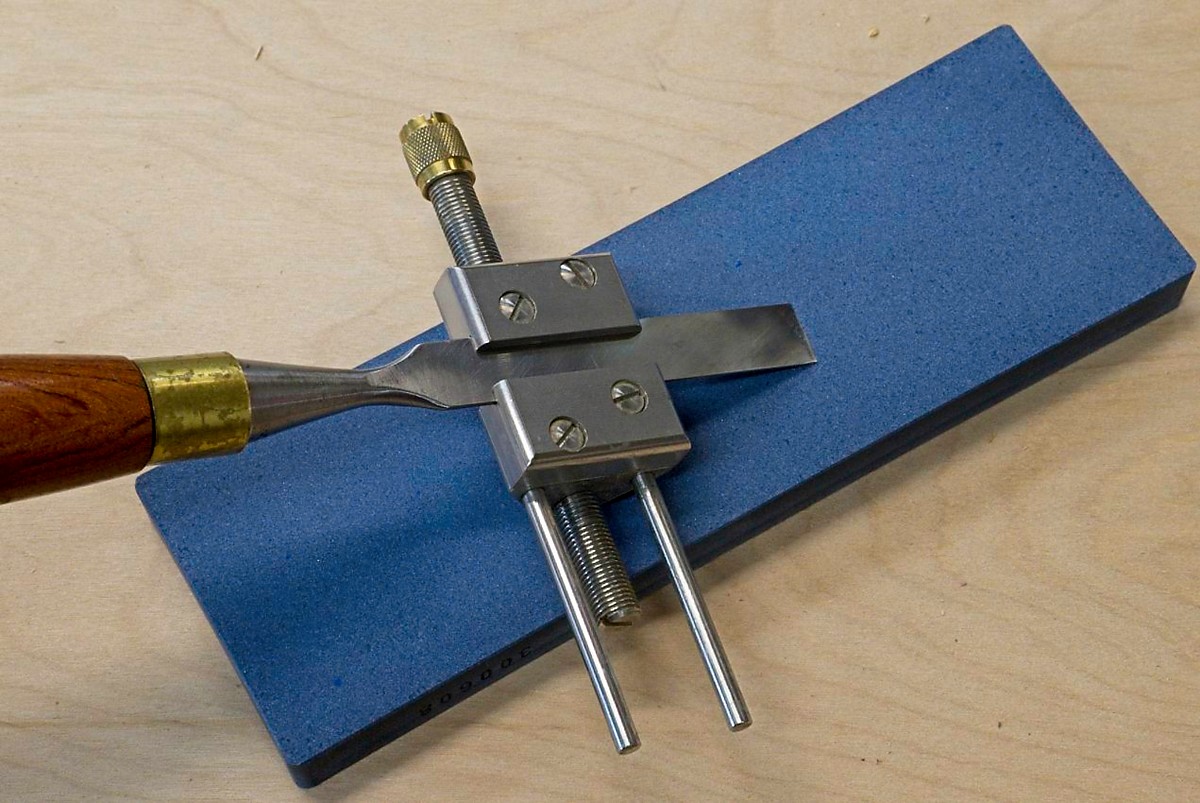
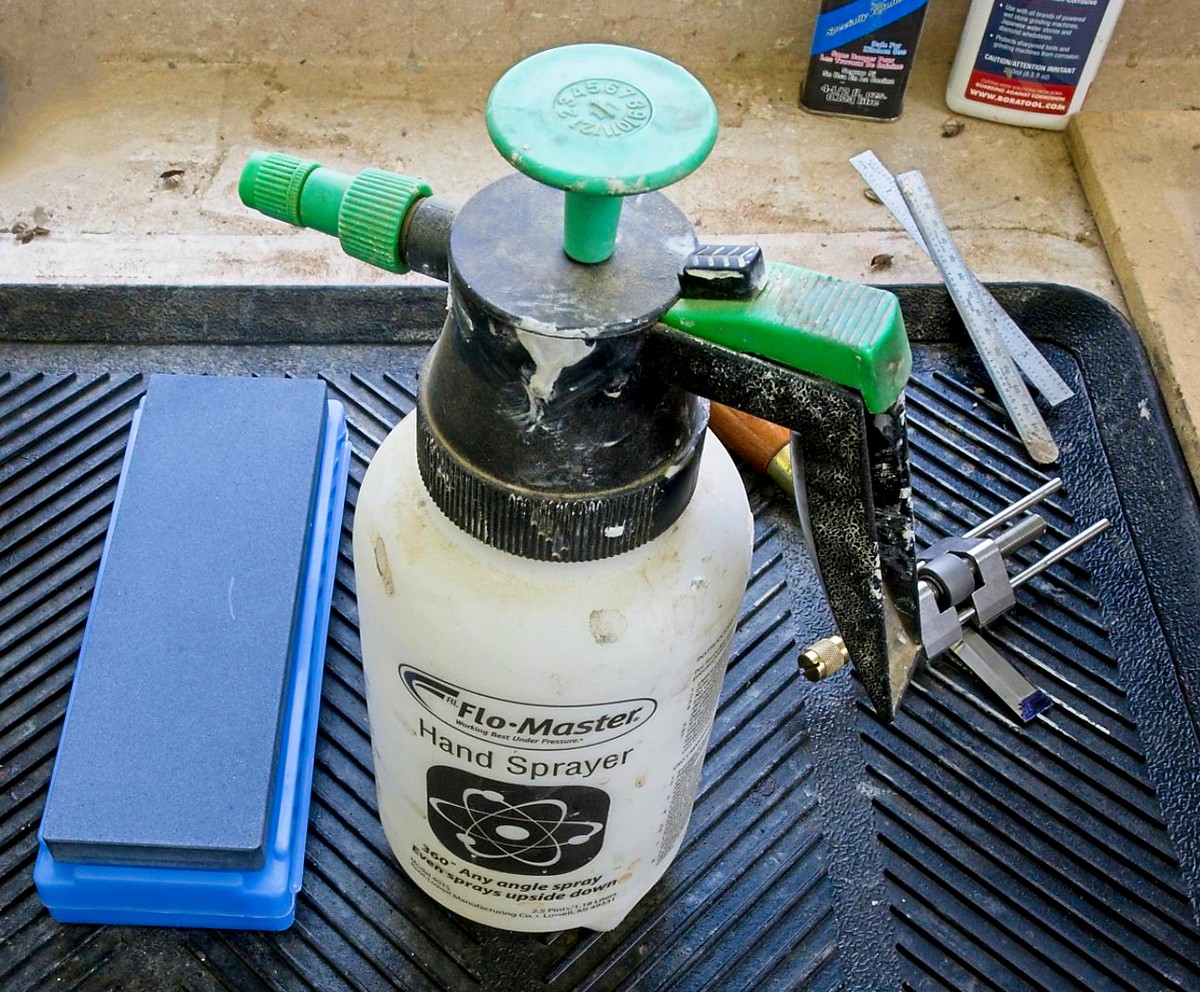
I am going to use a Lie-Nielsen side-clamp Honing Guide to hold the chisel or plane blade while sharpening. I learned to sharpen freehand at the North Bennet Street School and did this for many years when starting with a grinder to create a hollow grind and it was easy to find the bevel for freehand sharpening. I don’t use a grinder now because stones like the Shapton cut so fast that I find grinding unnecessary but it takes longer to find the bevel. Using a honing guide gives me both speed and consistency.
|
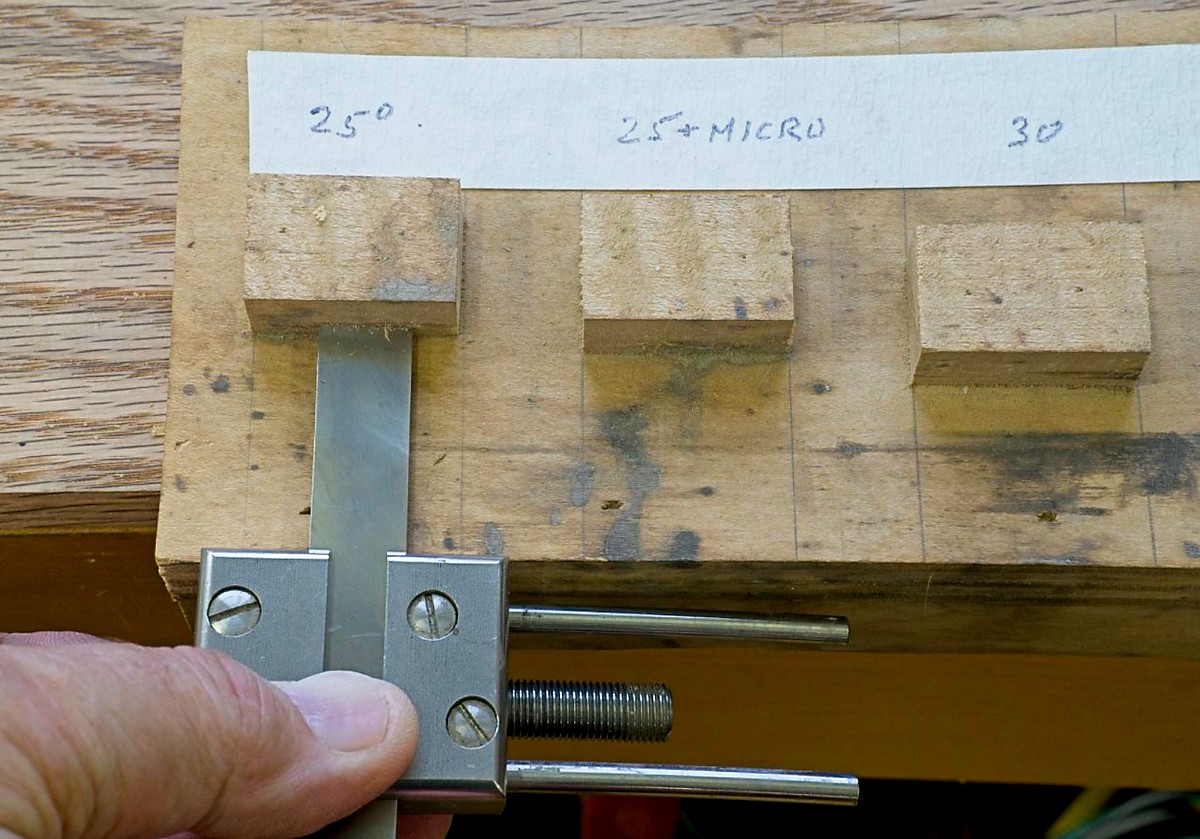
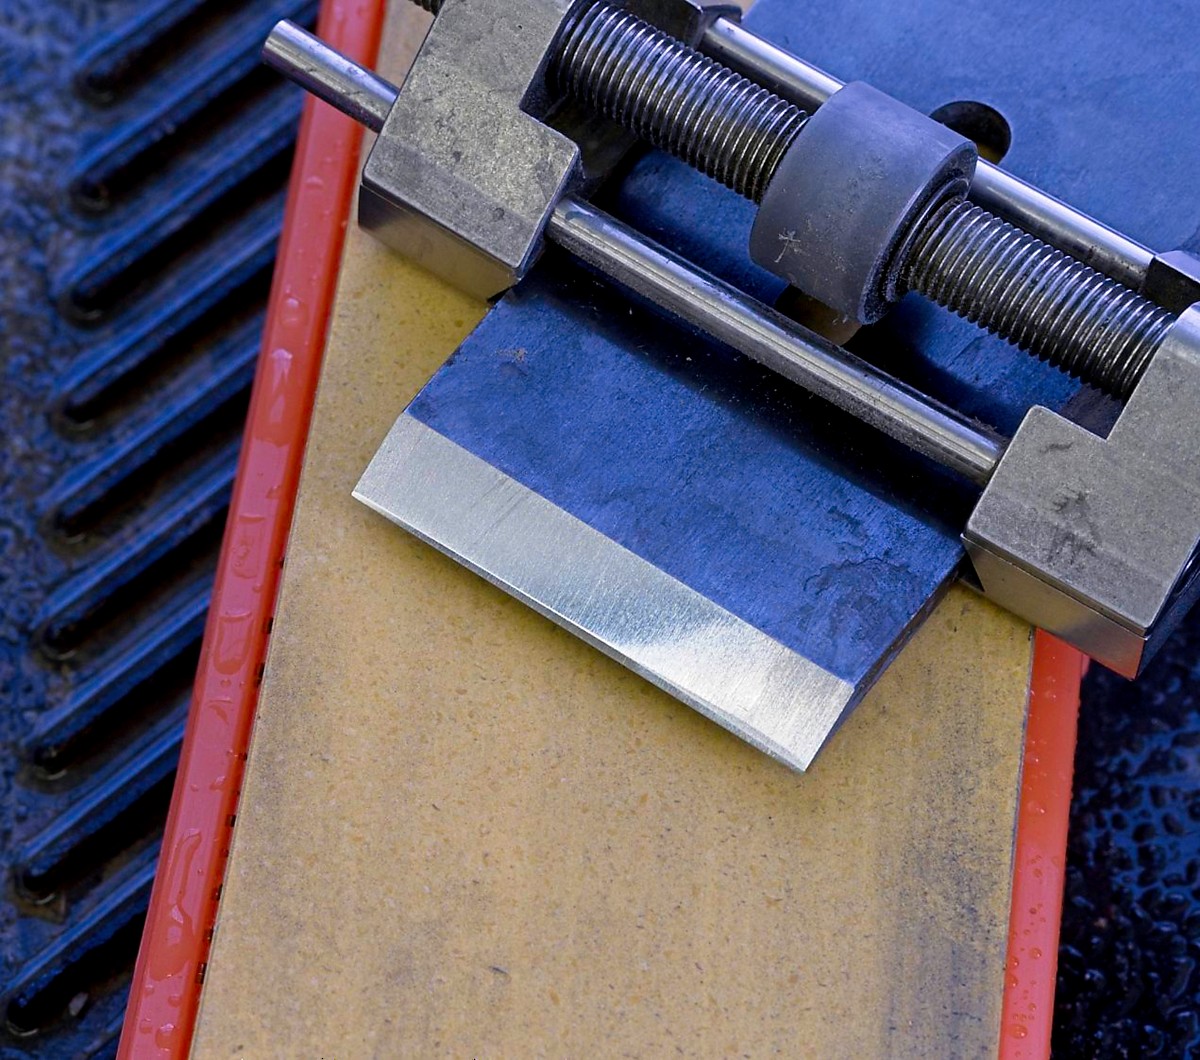
I also use a jig to set the correct angle for the bevel. On this type jig, the angle is set by setting the correct distance that the blade extends out from the front of the guide. Rather than using a ruler I made a jig with the stops set to the correct measurement. I mainly use 25 and 30 degrees so I have a block mounted on a board at the correct distance from the front edge. I also use a micro-bevel so I have a second block set for that distance. I just put the front edge of the guide against the edge of the board and push the blade forward until it hits my stop block, as shown in the photo.
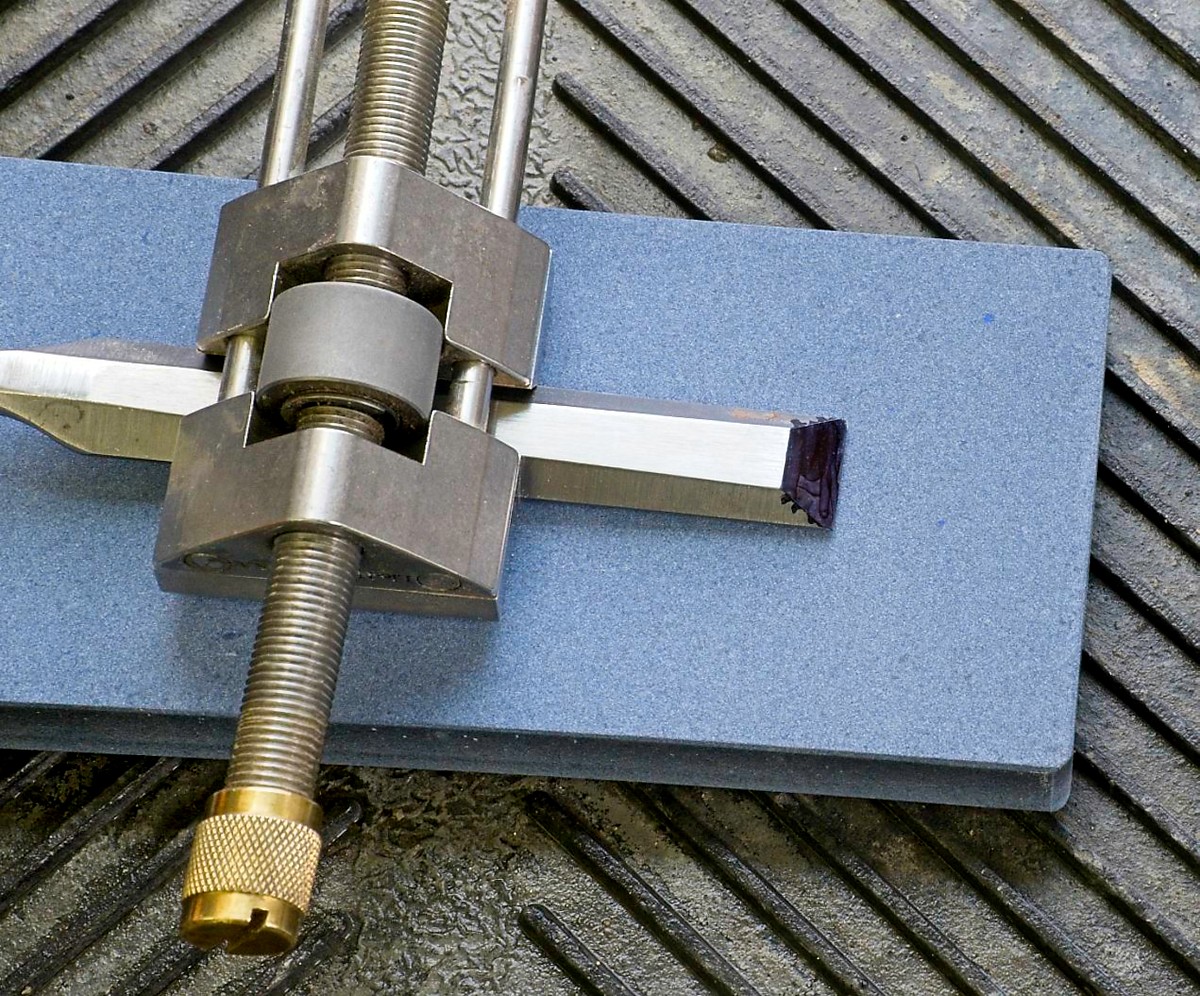
Finally, I use a black marker on the bevel so I can see where I’m cutting. This is one of the best accessories to have at your sharpening station!
I started with the 320 grit Blue Black coarse stone. One of the best features of these ceramic stones is that you do not need to soak them in water like a conventional water stone. You just splash water on them to get them wet and to lubricate while sharpening. This eliminates the tedious time spent letting them soak before using. Using them under running water is fine but not necessary. I use my trusty garden sprayer to keep them wet!
|
|
|
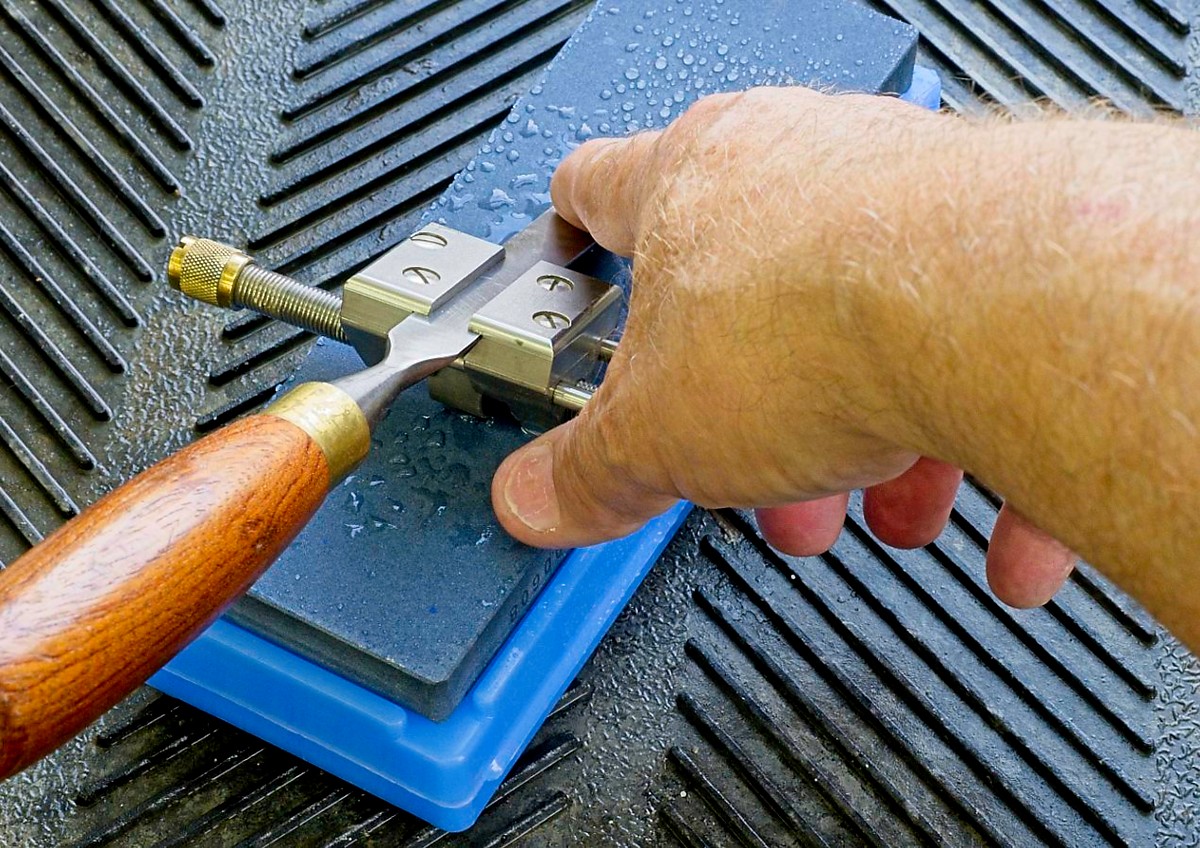
I’m ready to sharpen! What I expect to see as I work through the grits are both a reshaping (if necessary) at the coarse 320 grit and then progressively finer scratch patterns as we move from shaping to honing to polishing. At each grit level I’ll move the blade back and forth on the stone feeling for a burr to raise on the back side of the blade. If you think of a blade edge as two surfaces coming together at an infinitely thin edge, then as you approach this condition the metal edge rolls up and you can feel a burr form on the opposite side. When you feel a burr you are done with that grit. The chisel and plane blade had their backs flattened previously so I am not going to worry about them.
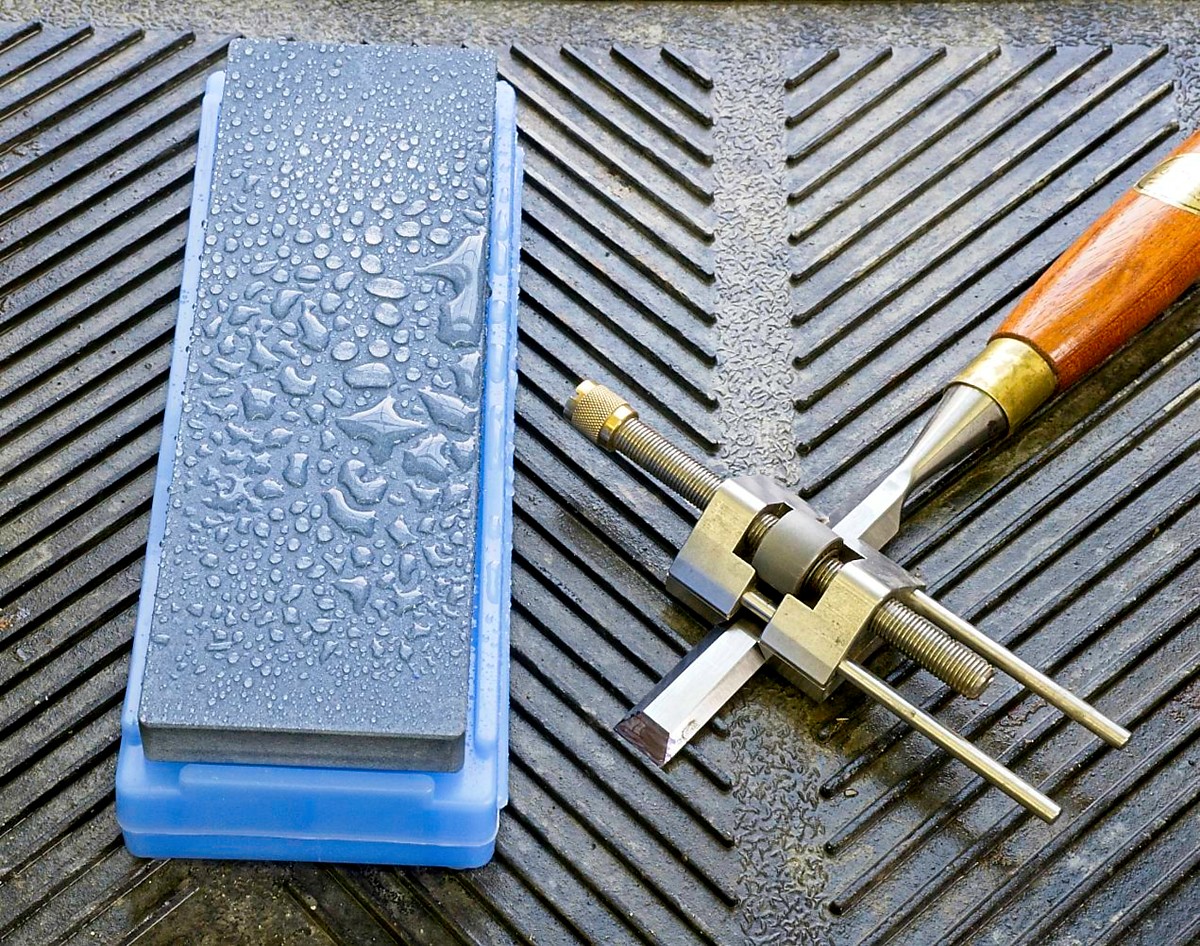
The directions say you can use either side of the stone but they recommend using the side without the lettering as shown in the above photos.
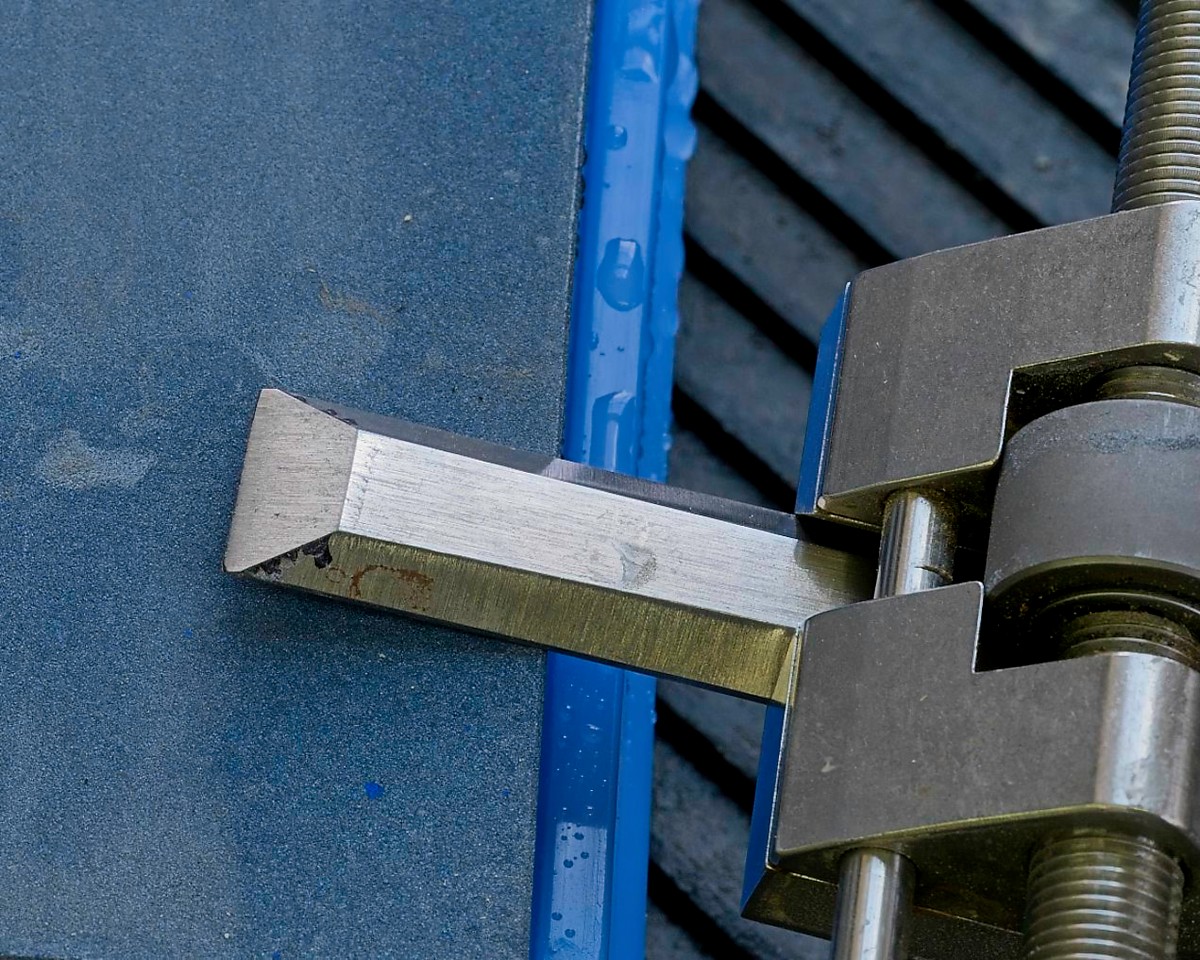
I was very pleased that it took less than 15 strokes on the 320 grit stone to clean up the bevel surface and show a uniform scratch pattern and also raise a burr on the backside. As advertised, the ceramic stone has a nice aggressive cut.
|
I’m now ready for the medium 1000 grit Orange colored stone. I will do the same process with this stone.
Before starting with the Orange stone it is critical to wipe down the chisel and honing guide wheel to clean off any metal from the previous step. Any contamination from the coarser giit may introduce more scratches as you are trying to hone with a finer grit. Even microscopic scratches, at the edge of the blade, will create a serrated edge and weaken the edge.
Here is the result after using the medium grit stone. I was starting to feel a burr at only 5 strokes but did 10 strokes to get a nicely raised burr on the backside. It is hard to tell in the pictures but the scratch pattern is now finer than after the coarse stone.
All water stones will wear and cup after repeated use and need to be lapped with a coarser stone or lapping stone to maintain a flat surface. These ceramic stones will eventually require lapping but not for a very long time.
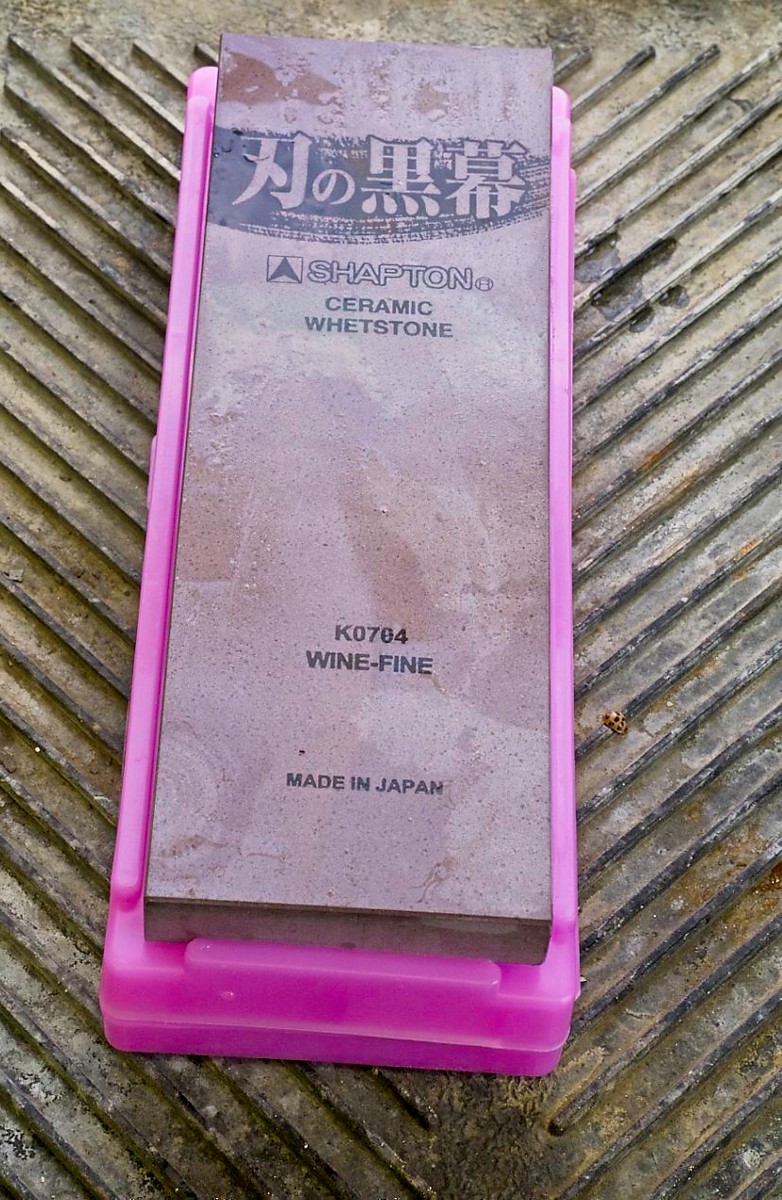
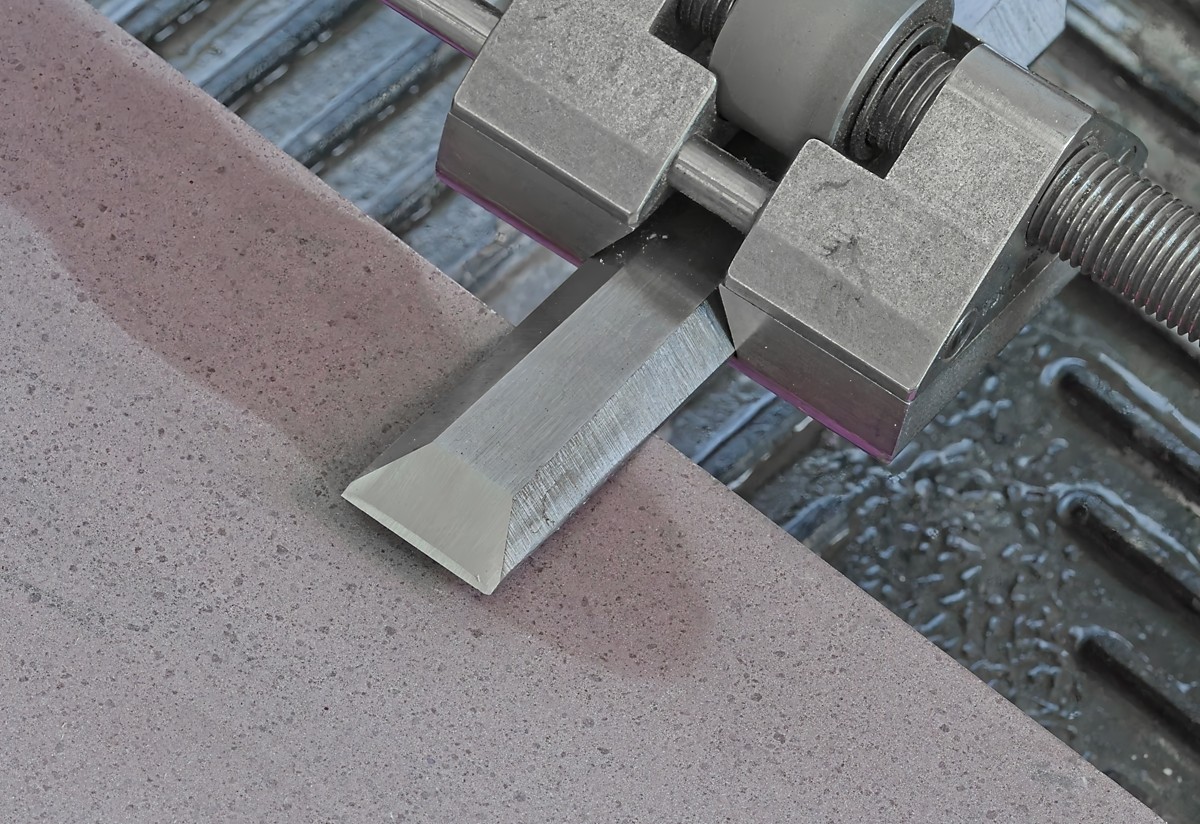
Now time to move onto the Fine 5000 grit Pink stone.
After the initial honing on the 5000 grit I add a micro-bevel by resetting the angle of the bevel with my guide. This adds a couple of degrees which creates a secondary bevel. Only a very small amount of metal is removed so it is very easy to repeat this angle as necessary to keep the blade sharpe. I am doing this with the 5000 grit stone but would normally do this with a higher grit like 8000 and up. At this point the Shapton stone has created a nicely sharp edge. Going to higher grits like 8000 or 15,000 is actually polishing the edge to reduce friction when cutting. I also strop with a strop of horse butt leather to give it that extra polish!!
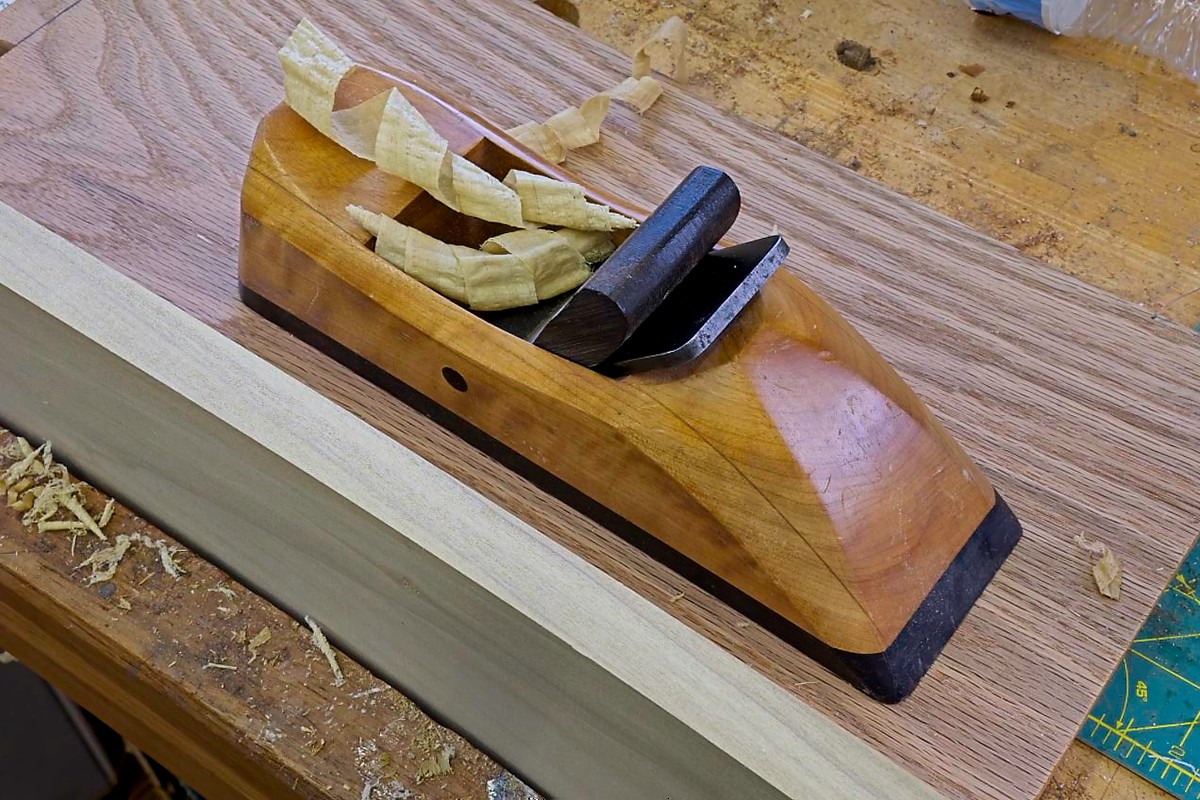
Here is the result of doing the same process on my plane blade. I am very impressed with the quality of the shaping and honing and doing the plane blade took approximately 10 minutes to go from coarse stone to the fine 5000 grit stone. This is a very acceptable time in my opinion.
Going back to my end grain board test, the plane blade did a very nice job at cutting the end grain fibers.
But, do these stones create a sharp blade to use in the shop? I think so!!
The Kuromaku blades from Shapton create a keen edge in very little time. They are designed to be hard, fast cutting, produce a keen edge with very little wear.
Jeffrey Fleisher has been a woodworker for approximately 20 years and a professional woodworker for the past 6 years. He is the president of his local woodturning club, the Woodturners of the Virginias and past president of the Northern Virginia Carvers. You can see some of the furniture he has made at
www.jeffswooddesigns.com
. He can be reached by email at
furnmkr@gmail.com
|