|
Click on any picture to see a larger version.
Hand planing boards is one of the simplest and most fundamental concepts that should
be covered in both a hand tool and power tool wood shop, and yet in the modern day, planing
is often taught in an overly complicated way that is overwhelming for beginners. It is very hard
for beginners to know what actually needs to be done to a plane, and how to achieve the
diaphanous shavings every woodworker aspires to create. Which sized handplane do I need to
get started? A number 4 or 5? Which cutting angle should be honed on the blade? I intend to
review the basics of hand plane usage and simplify the process to help you get started with
what you really need to know.
The Stanley Numbering System
Different sized planes are used and best suited for different functions and tasks.
Stanley Tools
,
one of the first great plane makers, created a system for numbering the different-sized planes.
The system's smallest plane is the number 1, and its largest is the number 8. The full list of
sizes are: 1, 2, 3, 4, 4-1⁄2, 5, 5-1⁄2, 6, 7, and 8. Stanley threw in some other oddball sizes, but
nowadays these are the applicable planes. I will address the planes in size order.
The first group of planes are the Smoothers. These are the shortest planes, typically
sizes 1 through 4-1⁄2. My favorite smoother is the
Stanley Number 4
because of its weight and position in the
numbering system. It is a good all-around smoother. The numbers 4 and 5 are by far the most
common planes available today when searching for antiques because their blades are 2 inches
(5.08 cm) wide, while the 1⁄2 sizes (4-1⁄2 and 5-1⁄2 ) are 2-3⁄8 inch wide. The wider the plane, the more
effort is required to push the blade through the material because more of the blade is engaged
with the wood. Some people find that when planing figured woods and woods that have tough
grain, having more weight from the half sizes (4-1⁄2 and 5-1⁄2), comes to benefit the user. The
extra mass helps the plane carry through the cut with as little chatter as possible, thus
producing a smooth surface. We'll talk about grain direction later on.
The next group of planes are the Jack planes. They are considered like a "jack" of all
trades, so to speak, since many find that they excel at a wide variety of tasks. They can smooth,
when set up to, and are long enough to flatten shorter boards. Their primary use in a hand tool
shop is to hog off material to bring the stock to the desired thickness. They are the numbers 5, 5-1⁄2, and 6. The 6 is arguably considered part of the next group. Jack planes are longer than the
smoothing planes, which allows them to bridge off the high spots on a board and cut them, while
skimming over lower parts of the board. In the end, you are left with a far flatter board than a
smaller plane can grant you. Simply continue planing until you get a full length and width
shaving. In order for you to take a fine shaving with a jack plane, the board needs to
be far flatter than it does for a smoother to take the same shaving because the smoother,
having a shorter sole, bridges over a shorter part of the board. This is why I consider the Number 4 as
the best choice for the beginner woodworker.
The final group are called Jointers, who typically are about 22"-30" long. Their use is
primarily to flatten really long boards. These include the 6, 7, and 8, with the 7 being the most
popular of jointers. The trouble with jointers is that they need to be completely dead flat along
their entire length in order for them to work as intended. This makes them very hard to refurbish
when it comes time to flatten the sole of a jointer plane. You need a piece of flat material that is
at least a bit longer than the sole of the plane, and a piece of abrasive that is the same length.
Thus, the most common reaction is to purchase a modern plane made by a premium maker like
Lie-Nielsen
. These planes come ready to use right out of the package and will be dead flat out
of the box within a thousandth of an inch or so.
The longer the plane, the harder it is to flatten and the more money it will cost you to buy it new.
My personal recommendation for a first hand plane is a number 4 or 4-1⁄2 because with a
smaller sole it can take shavings readily almost anywhere on a board. If it comes time to joint a
long surface, place a straightedge on the surface of the board. The straightedge will show
where the highspots are on the board. Then, employ short plane strokes on those highspots
alone. Soon, you will have a flat surface ready for glue up. That being said, there are certainly
other woodworkers who argue for having a jack plane first. With the understanding however that
jack planes remove large quantities of material to bring a 1" board down to 3⁄4" say, for a table
top, the question you need to ask yourself is whether the lumber you are purchasing is
machined or rough lumber. If you have machined lumber, the planer and jointer have done the
heavy removal so a smoothing plane is likely the place to start. If you will not use machines to
dimension lumber, you may need to consider a set of planes.
If you deal with rough lumber, you will need one plane from each category: Jack, Jointer,
and Smoother. First the jack brings the material to rough dimension. Then the jointer flattens the
surface and prepares it for the smoother to take the final shavings. The most common
combinations of planes are the following:
1) Number 4, Number 5, and Number 7
2) Number 4-1⁄2, Number 5-1⁄2, Number 8
You will need to hold the planes and decide whether you want the extra heft from option 2.
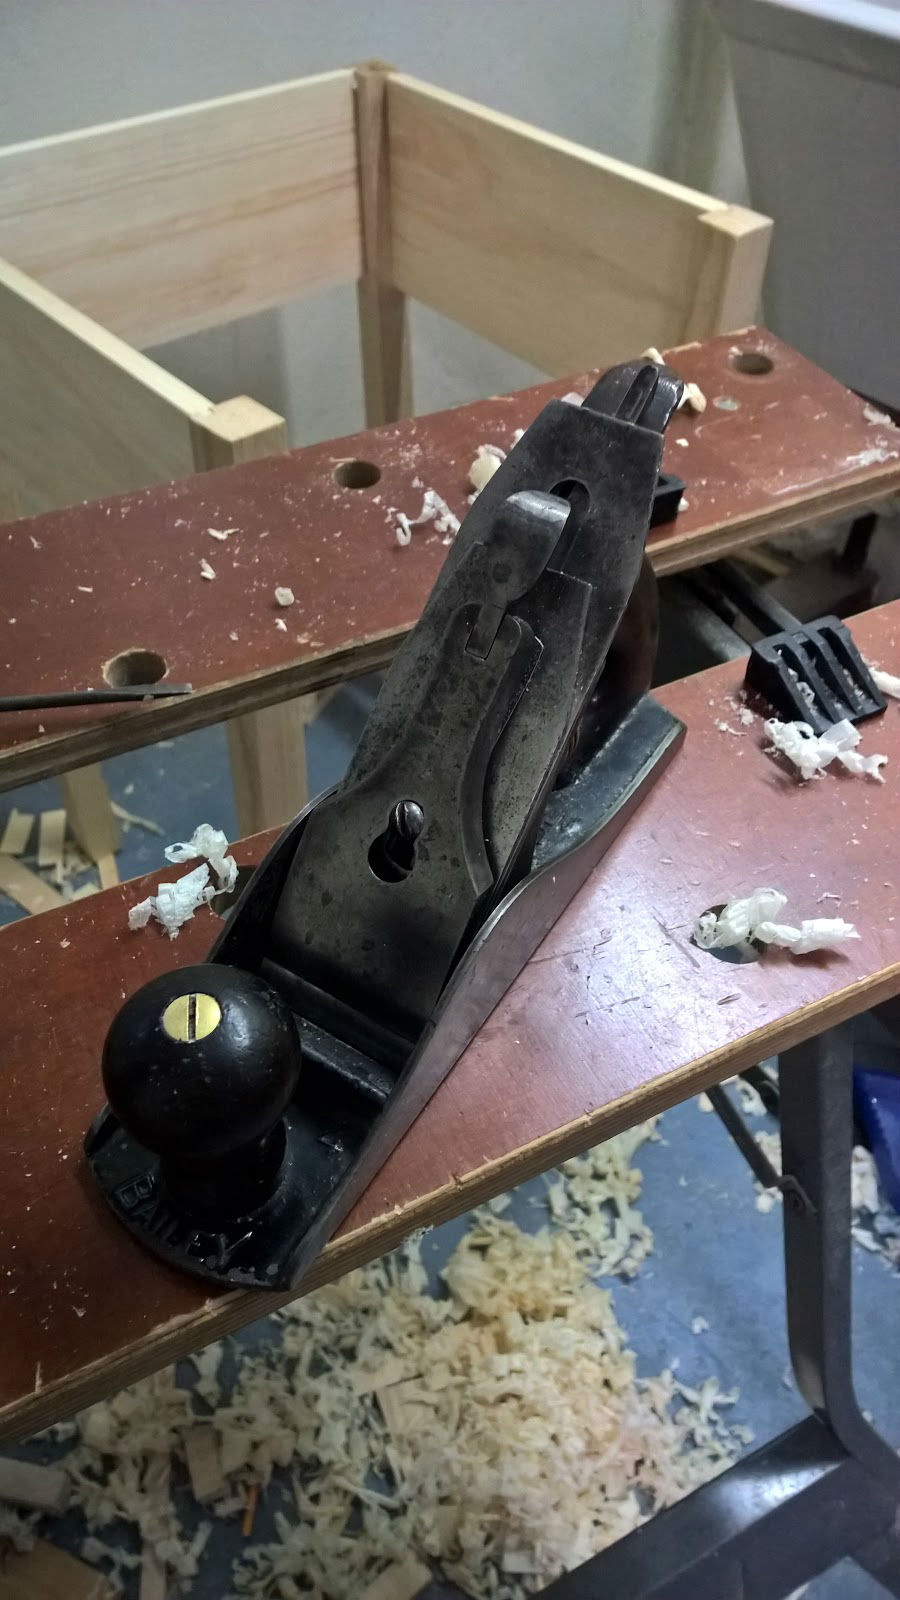
Planing a Board
First you will need to learn how to adjust a plane to take the type of cut you will want to take. There are two main adjusters on a plane. The lateral
adjuster and the depth adjuster. The lateral adjuster adjusts how the blade protrudes out of the
sole in relation to skew. You want it to come out of the sole evenly across the entire width of the
plane as pictured below from my number four plane for normal cuts:
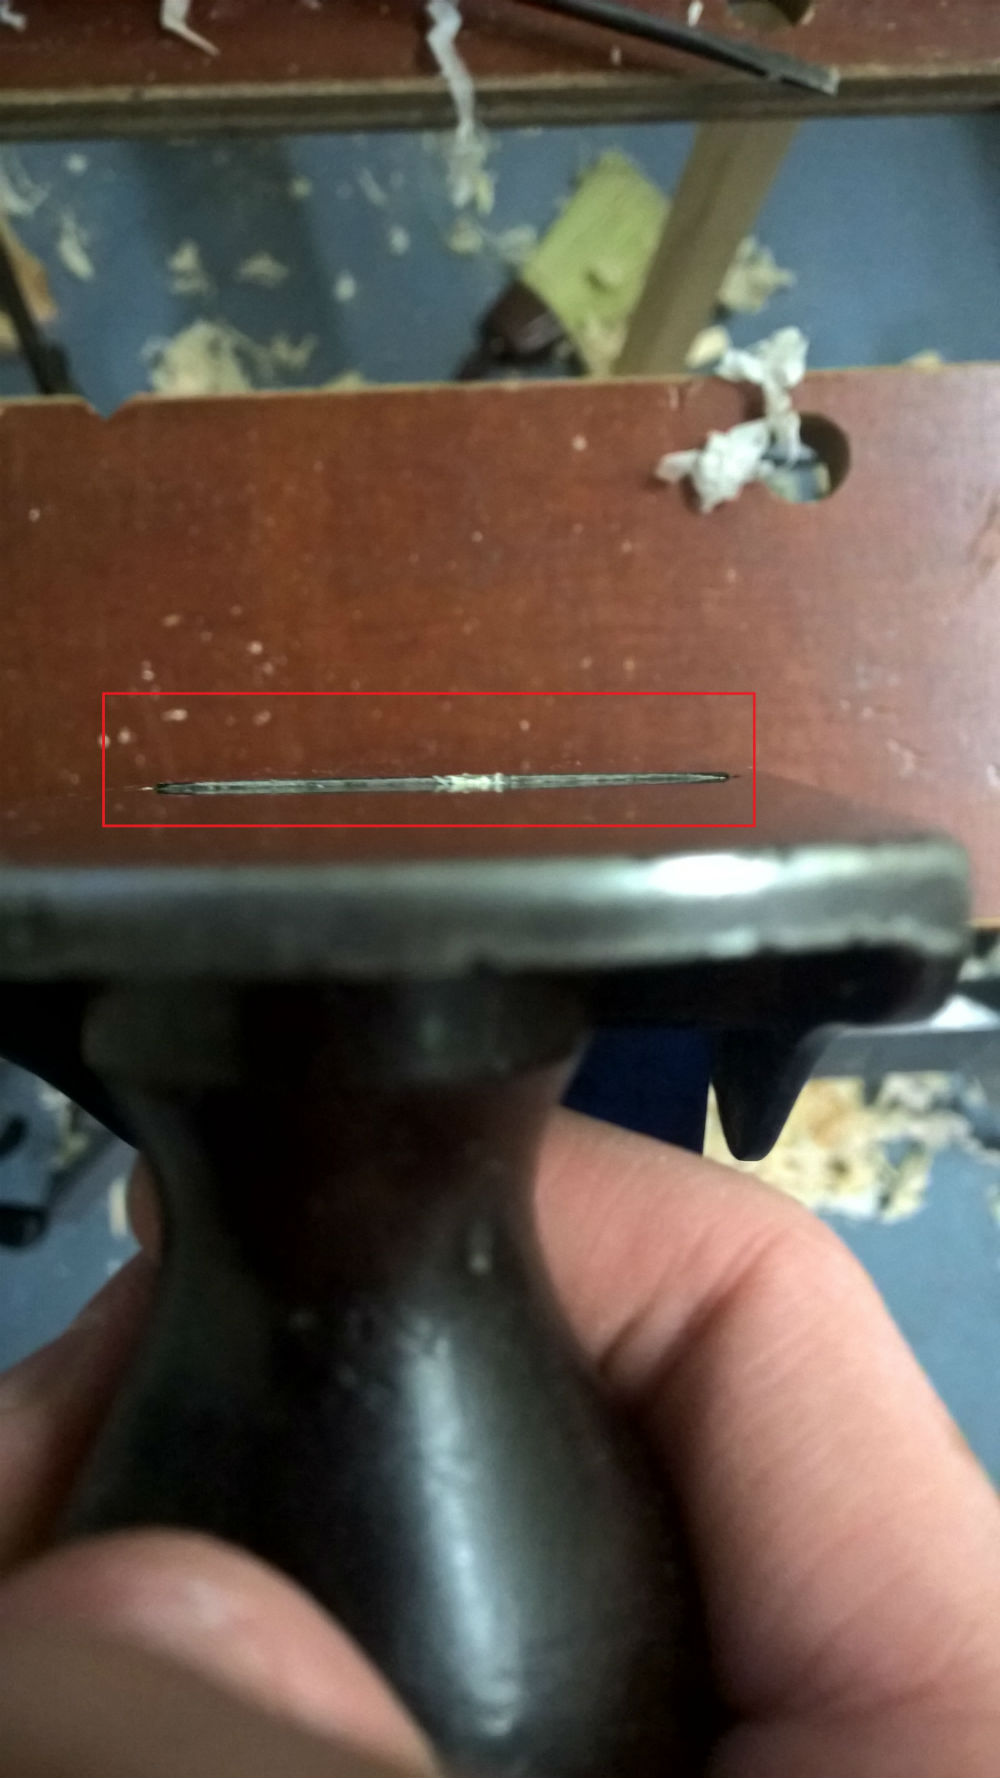
You adjust the projection of the blade with the lateral adjustment:
The adjuster is the bar that appears above the handle. In order to skew the blade in the sole,
you press the bar towards the side where the blade sticks out more. If the right side of the blade
is protruding too much, you need to press the bar toward that side of the plane, so that the left
end of the blade will protrude more. It sounds complicated, but after some practice, you will
learn to adjust the adjustment lever with ease and by rote. The easiest way to look for the skew
of the plane blade is to look down the plane from the front knob, as pictured in the first photo.
You want equal distance across the entire width of the plane.
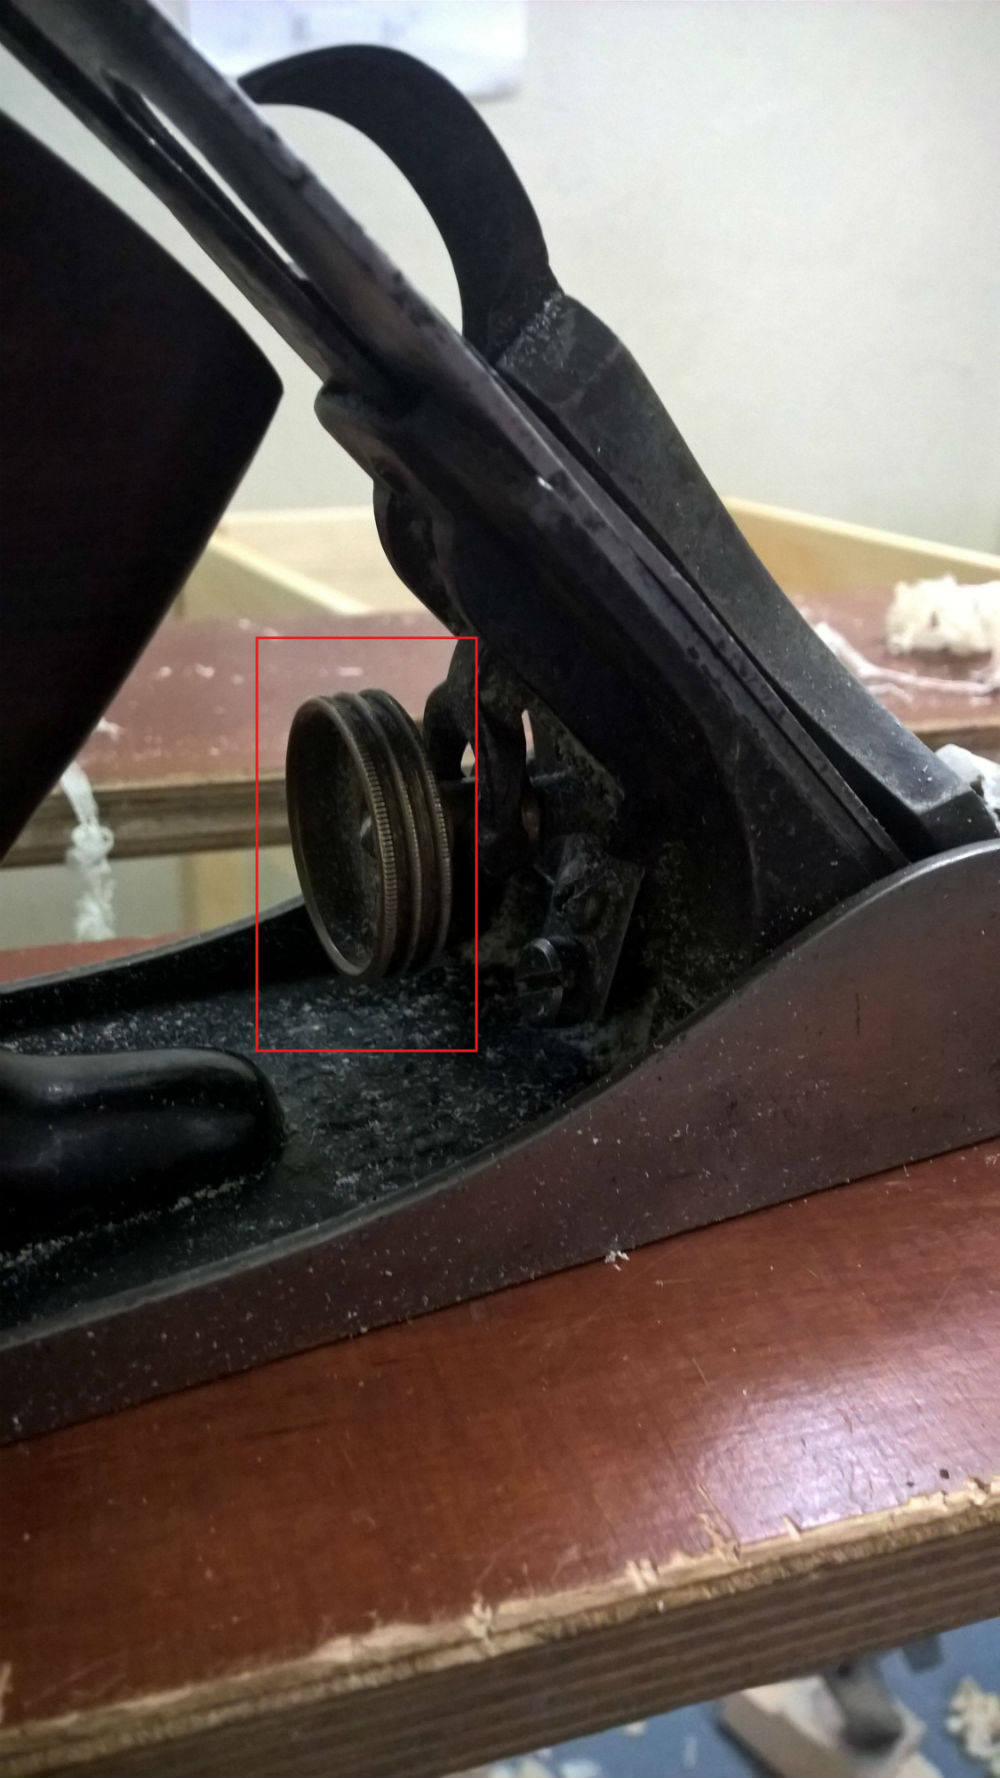
The next adjuster that you need to learn to use is the depth adjuster. As its name
connotes, it adjusts how much the blade sticks out of the sole, and thus, the thickness of the
shaving the plane will take. You can see the depth adjuster below on my Stanley Bailey no 4
from 1920:
To advance the blade further out of the sole, you turn the dial clockwise. To retract, it turn the
knob counterclockwise. If you can take a shaving after having advanced the blade, it is
preferable to a cut after having retracted the blade, because if you hit a knot or take a deep cut,
the blade may be inclined to jolt back into the plane since your last adjustment was pulling the
blade into the plane, whereas if you advanced the blade, you are constantly putting pressure on
the blade that keeps it from coming into the body. For this reason, it is preferable when you
come to take a shaving after sharpening, to start with the blade completely inside the tool, so
that it is taking no cut. Then, slowly advance the blade out of the body so that the blade is
always advancing and never retracting from the plane. Again, this may sound complicated, but
with practice you will find yourself doing it instinctively, and you will come to truly love planing.
Now we must discuss how to take a shaving from a board. For this, one must look at the
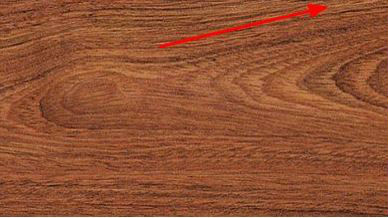
grain direction of each board they wish to plane.
As you can see, the grain gradually rises, until it eventually leaves the board. You must plain in
the direction of the grain. Planing "with the grain" is sometimes compared to hair. You can easily
run your fingers in the direction that your hair is combed, but if you run your hand "against the
grain", your hair will stick up. So too, if you plane in the opposite direction of the arrow that
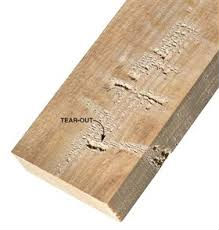
symbolizes grain direction, little pieces of wood will be "torn out." This is called "tear out."
This highly exaggerated example of tearout above shows the dangers of planing against the grain.
Before you start to take your shaving, retract your plane blade completely into the sole. Then,
slowly advance it until you get a very thin shaving. Look to make sure the shaving is the exact
same thickness across its entire width. If it is not, remember to press the lateral adjustment lever
towards the side of the plane blade that produces the thickest shaving. When you first take
shavings from a board, you may not get one long shaving. This is because before a plane can
take one long shaving, it must flatten the entire board out along the length of the sole. This is
why trying to smooth with a jointer can be difficult. It can be very hard to get a full length and
width shaving from a jointer, and you want to be able to take wispy shavings with ease.
The final topic to cover is
sharpening
. I personally like to use a Honing Guide such as
this one from Lie-Nielsen
. This jig holds the blade at the desired angle while sharpening. When working in a hardwood a 30
degree angle will increase blade life. On a soft wood, you can get away with a 25 degree angle. I personally hone my blades to 3500 grit at 30 degrees regardless of whether I am planing
softwoods or hardwoods, but with some experimenting, you will find an angle that works well for
you. Remember that if I am having an issue with the plane, the first place I look to is the
sharpness of the blade.
I hope that this summary of planing basics helps confirm some of the concepts you may already
know, and hopefully you've learned more about how to effectively use hand planes for everyday
woodworking.
Sign up for our Using Hand Planes class on 11/5/19
Click here to browse through Highland Woodworking's Hand Plane department
Samuel Colchamiro is a hobbyist woodworker who works solely with woodworking hand tools.
He enjoys writing, and is hoping to share his woodworking expertise with others to make their
woodworking experience more enjoyable. He can be reached by email at
samuel.colchamiro@kushneracademy.org
Return to the
Wood News Online
front page
|