|
|
Fundamentals of Woodworking Class with Sabiha Mujtaba
February 28 - March 1, 2026
|
|
This intensive weekend class was especially designed by Sabiha to provide a solid foundation in workshop safety and the proper use of hand and stationary power tools. It covered operating a jointer, planer, table saw, miter saw and router, and used joinery techniques that employed rabbets, miters and dovetail splines, all made using various jigs while creating a multipurpose sliding-lid box.
The class helped create confidence and knowledge around shop tools while improving woodworking skills.
In the 2-day box class, Sabiha walked everyone through the fundamentals of taking a design concept, applying it to a drafted paper plan, and executing the idea while safely using power tools in our classroom shop. Each step of the box build involved interacting with various tools while Sabiha explained their use, how to operate them safely, and why they’re essential to achieve a certain type of cut.
After the cuts were made, it was satisfying to assemble all the puzzle pieces to create a unique and stunning wooden box.
The class not only tackled the “how”, but also the “why” of design work, and why it’s important to follow a plan. Even though this was a beginner’s level woodworking class, the skills learned can later be used to produce larger and more complicated woodcraft pieces.
Here are some photos taken by Alex Cameron during the class.
|
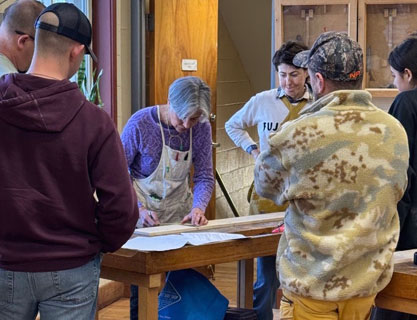
Sabiha lays out the plank of wood that will be used for creating the 4 walls of the box. Grain orientation is continuous around the box, which requires planning before making the initial cuts.
|
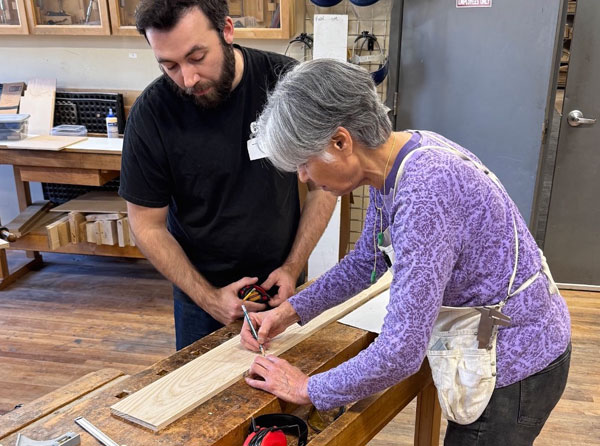
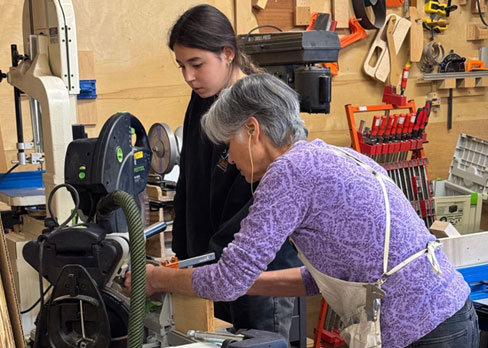
Sabiha is showing a student how to mark out his board for the continuous grain box.
|
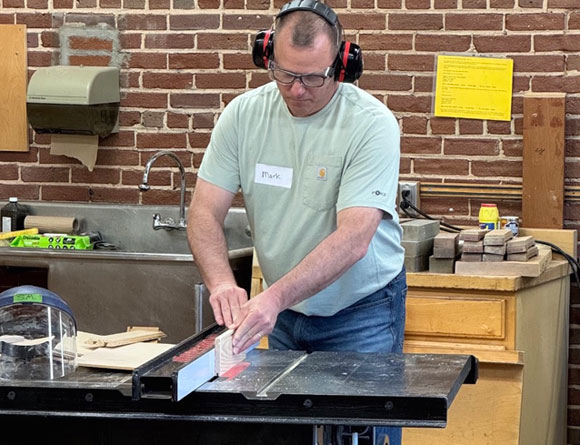
After learning table saw safety and instructions, students can run their box walls through along the tablesaw fence and do a rabbet cut for the floor panel to reference during the glue up later.
|
Sabiha reviews how to safely secure your work piece to the Festool Kapex Miter Saw for doing safe mitered cuts.
|
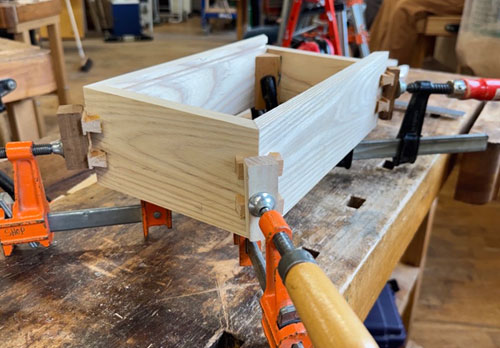
After the glue dries on the miter joints, dovetail splines are created and spline cuts are made in the corners of the box using a router jig. Clamps hold these splines in place while the glue cures.
|
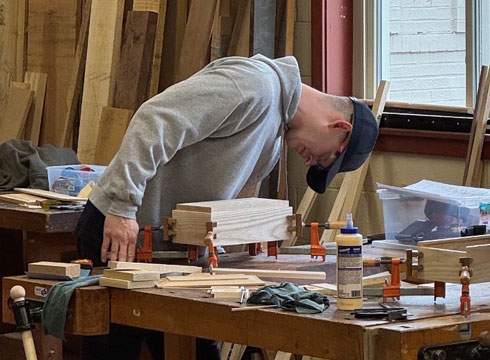
Students are now glueing their dovetail splines into the corners of their mitered boxes. A student inspects for any gaps in his joints.
|
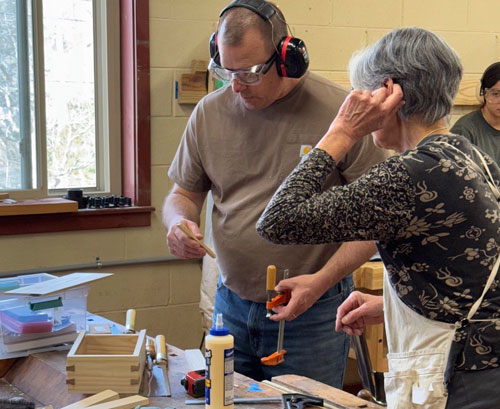
The lid design uses a mitered lip to pull out along with the lid and keep the box looking stylish at the same time. A student is asking a question before wood glueing it onto his finished lid.
|
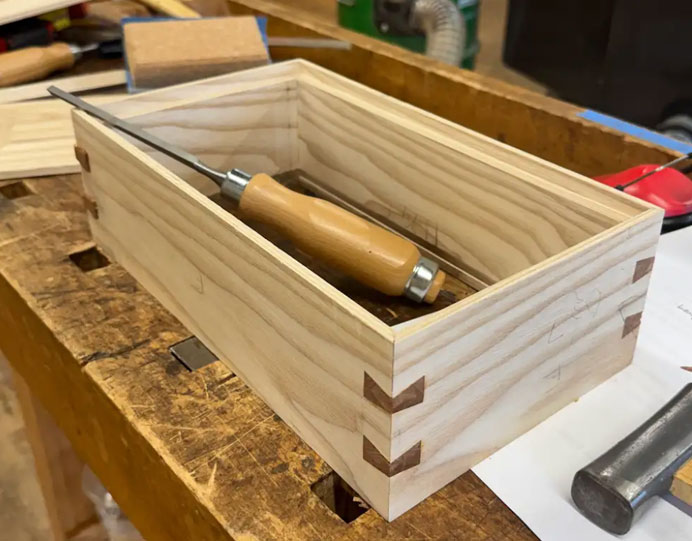
After flush cutting the dovetail splines, a sharp Narex Bevel Edge Chisel is used to clean up the excess material to make a clean presentation.
|
|
|
|